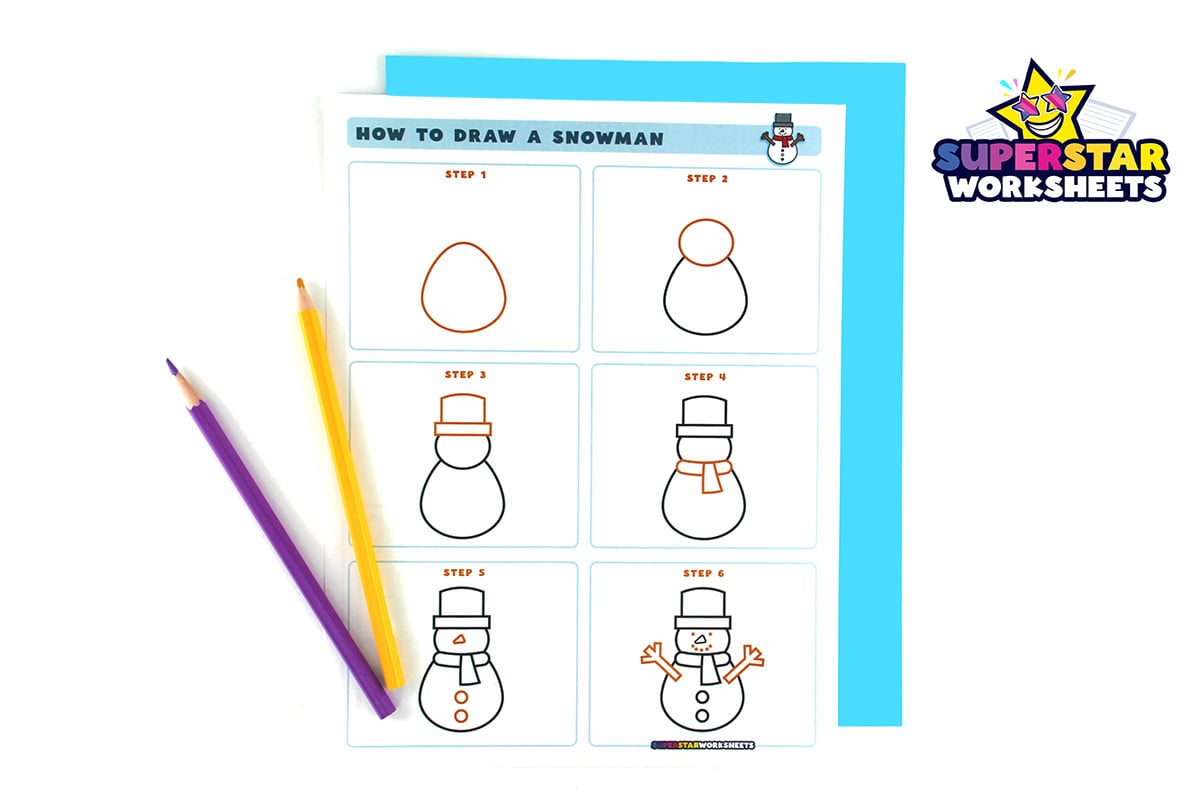
How to draw a simple and easy snowman for kids. This step-by-step snowman drawing tutorial will help your students create their adorable snowman in 6 easy steps! Featuring simple black outline drawings and illustrations, our snowman drawing guide is quick and easy for beginners. Download our printable directed drawing worksheet or follow the full drawing tutorial below. Add a little winter-themed drawing fun to your classroom with our awesome Directed Drawing Bundle, which you can download and print today!

Snowman Step-by-Step Directed Drawing

How to Draw a Snowman Step 1
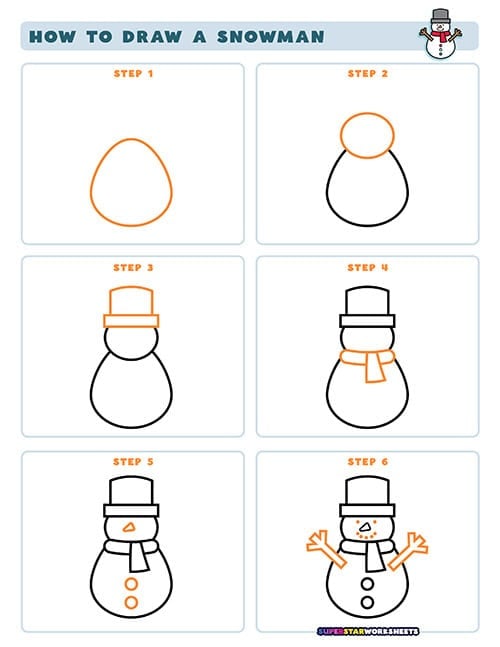
Grab your pencil and begin by drawing a large, slightly irregular oval shape. This will form the main body or bottom portion of your snowman. Make sure to leave enough space above it for the head and hat.

How to Draw a Snowman Step 2
Now, add a smaller circular shape on top of the first oval, positioned in the center. This smaller circle will become the snowman’s head. Connect the two shapes with a gentle curved line on each side to create a natural-looking snowman form.
How to Draw a Snowman Step 3
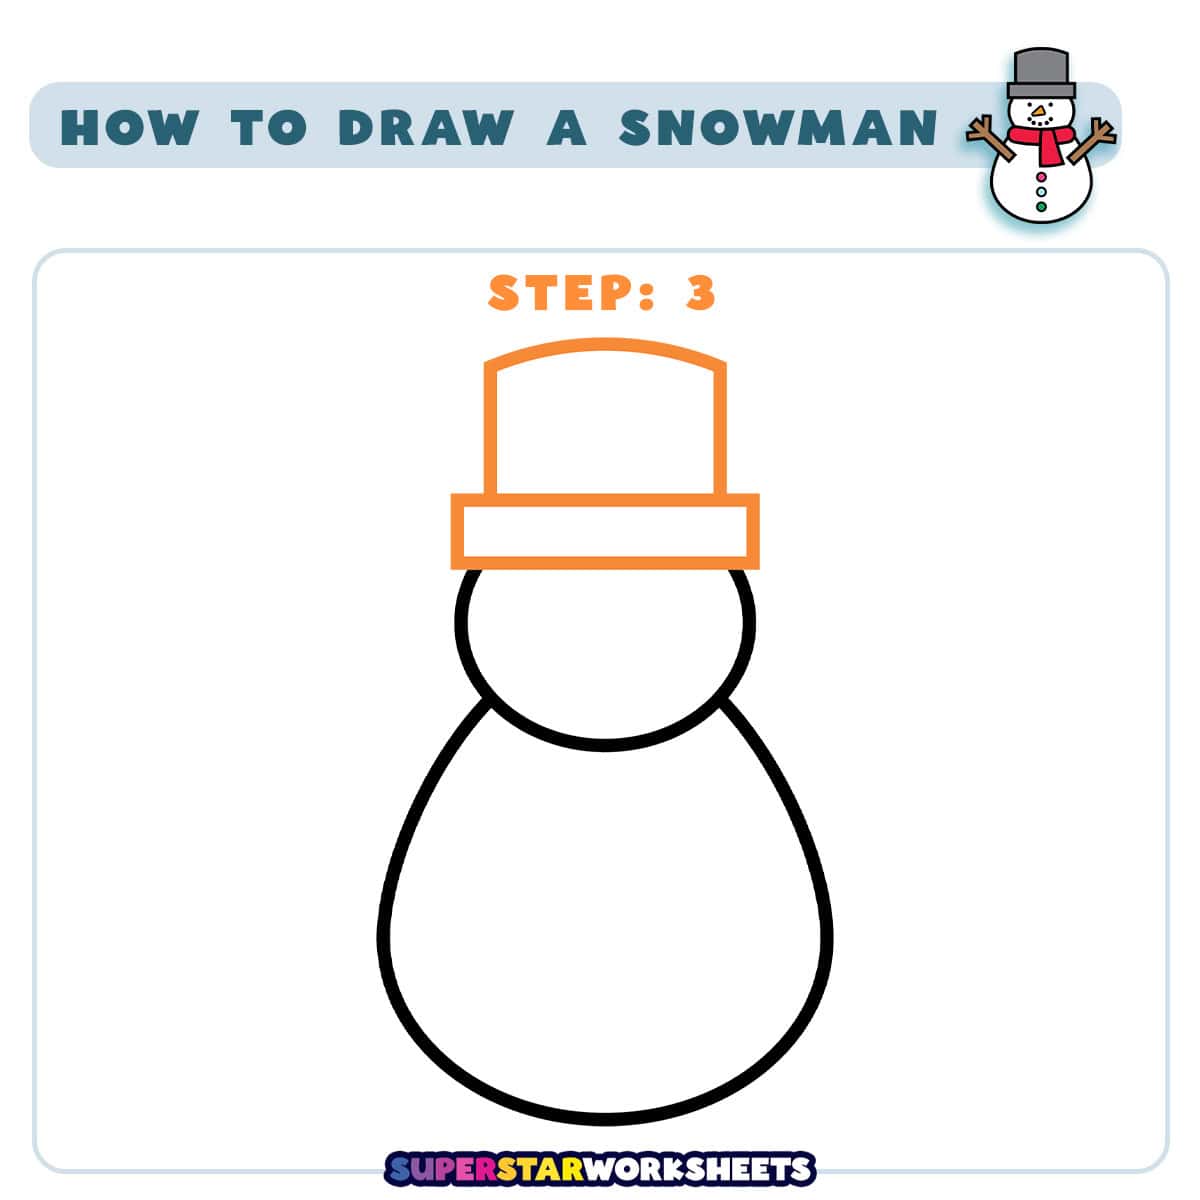
Create the snowman’s top hat by drawing a rectangle on top of the head, adding a wider brim at the bottom. The hat could sit at a slight angle on the head to give your snowman more character. Make sure the proportions of the hat complement the head size.
Fun Fact: Olaf from “Frozen” isn’t the first famous snowman in movies. In 1950, a snowman starred in a short film called “The Snowman” – he came to life and tried to warm himself by a fire (which wasn’t a very good idea for a snowman)!
Fun Fact: In Japan, people make snow rabbits instead of snowmen! They call them “yuki usagi” and give them long ears made of snow instead of arms.
Fun Fact: The world’s tallest snowman was actually a snow woman! Built in Maine in 2008, she was 122 feet tall – that’s taller than a 10-story building. Her eyelashes were made from skis!
How to Draw a Snowman Step 4
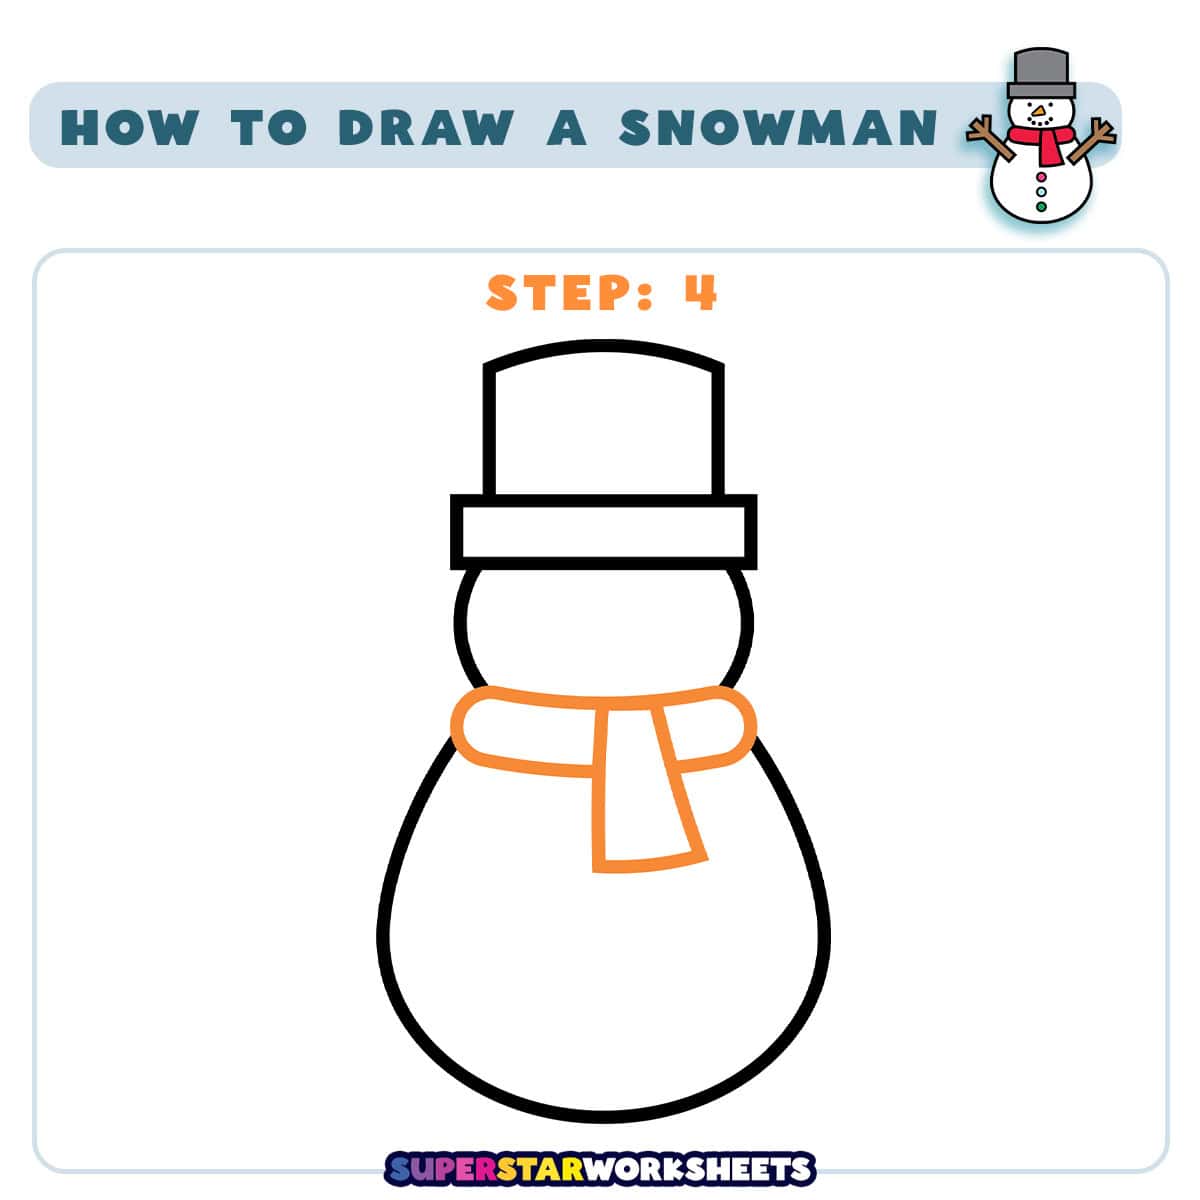
Add a cozy scarf around the snowman’s neck area, where the head meets the body. Draw the scarf with a few simple lines wrapping around the neck, with one end hanging down slightly. This gives your snowman a warm, winter feeling.
How to Draw a Snowman Step 5
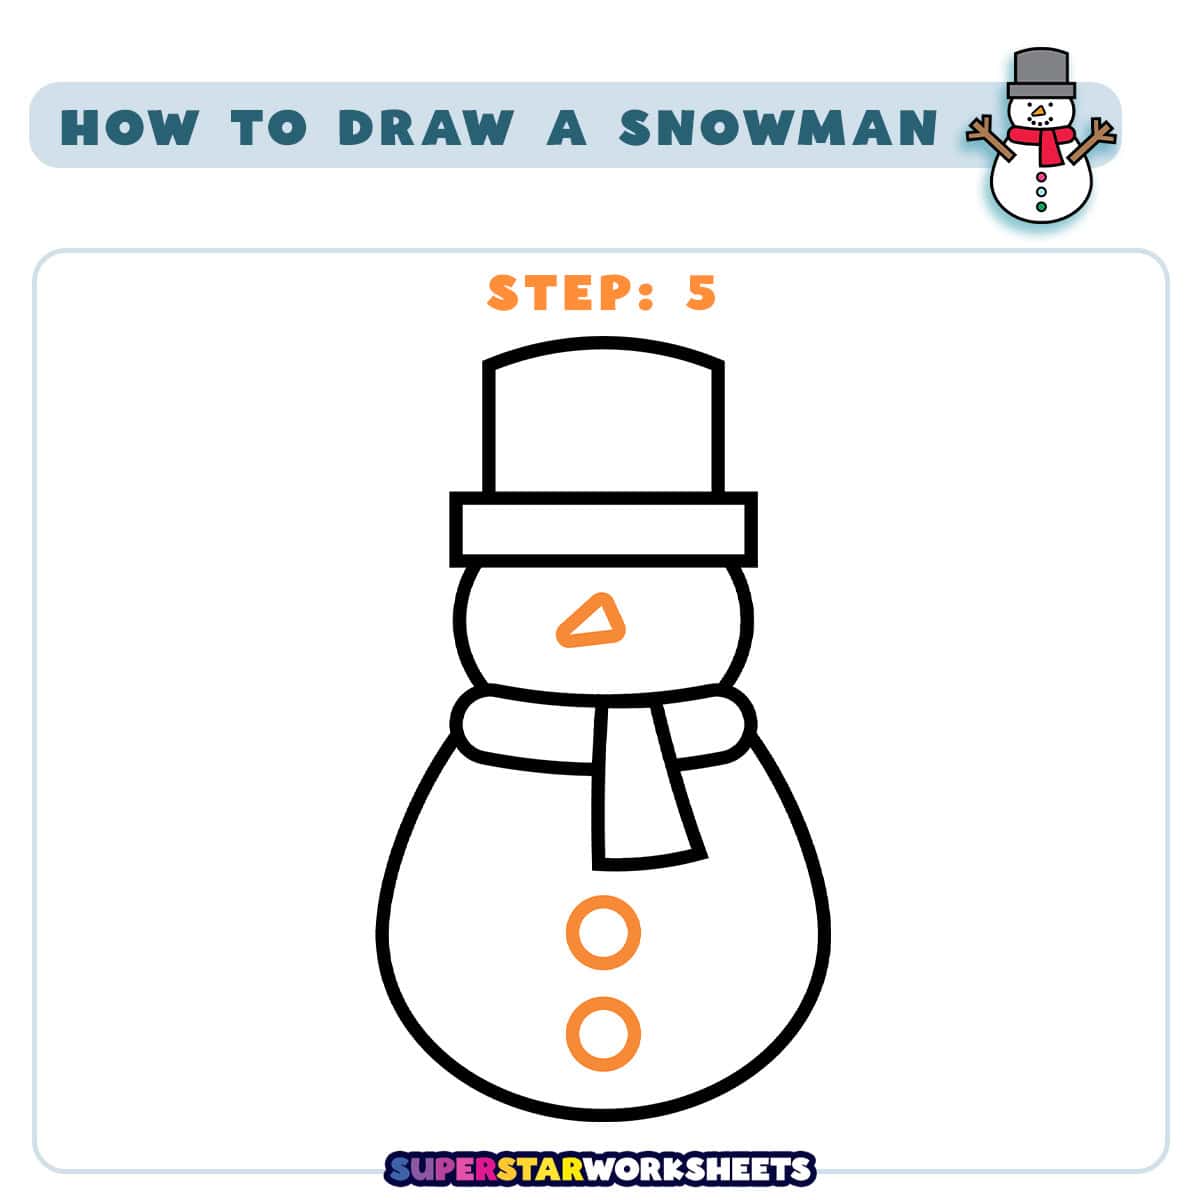
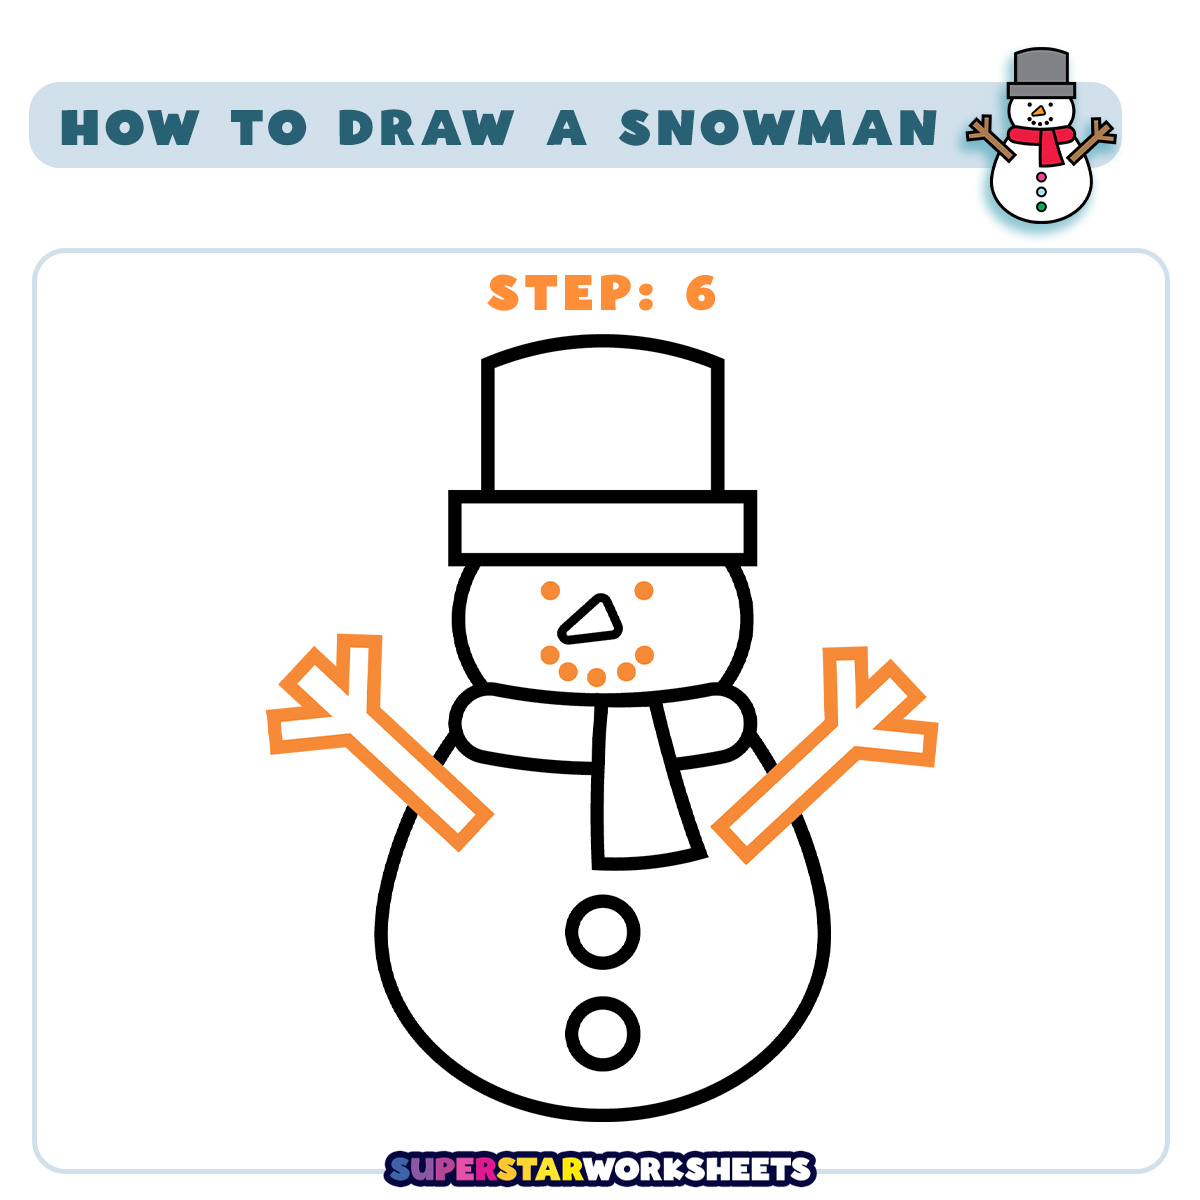
Now, it’s time to draw a carrot-shaped nose. A small triangle to the left (or right) will make the carrot shape. Then, add two buttons down the front of the body, evenly spaced, to complete the classic snowman look.
How to Draw a Snowman Step 6
Now, it’s time to bring your snowman to life by adding facial features. Draw two eyes a simple dot smile. Complete your snowman by adding stick arms on both sides, extending outward and upward. Create small stick fingers at the end of each arm, making them look like they’re reaching out with joy. These final details give your snowman personality and movement.
Fun Fact: The ideal temperature for building a snowman is around 32°F (0°C) – when snow is at its melting point, it’s wet enough to pack together but cold enough to hold its shape
Fun Fact: Building snowmen became especially popular in Europe during the medieval period, when “snowman makers” were actually a recognized profession for winter festivals
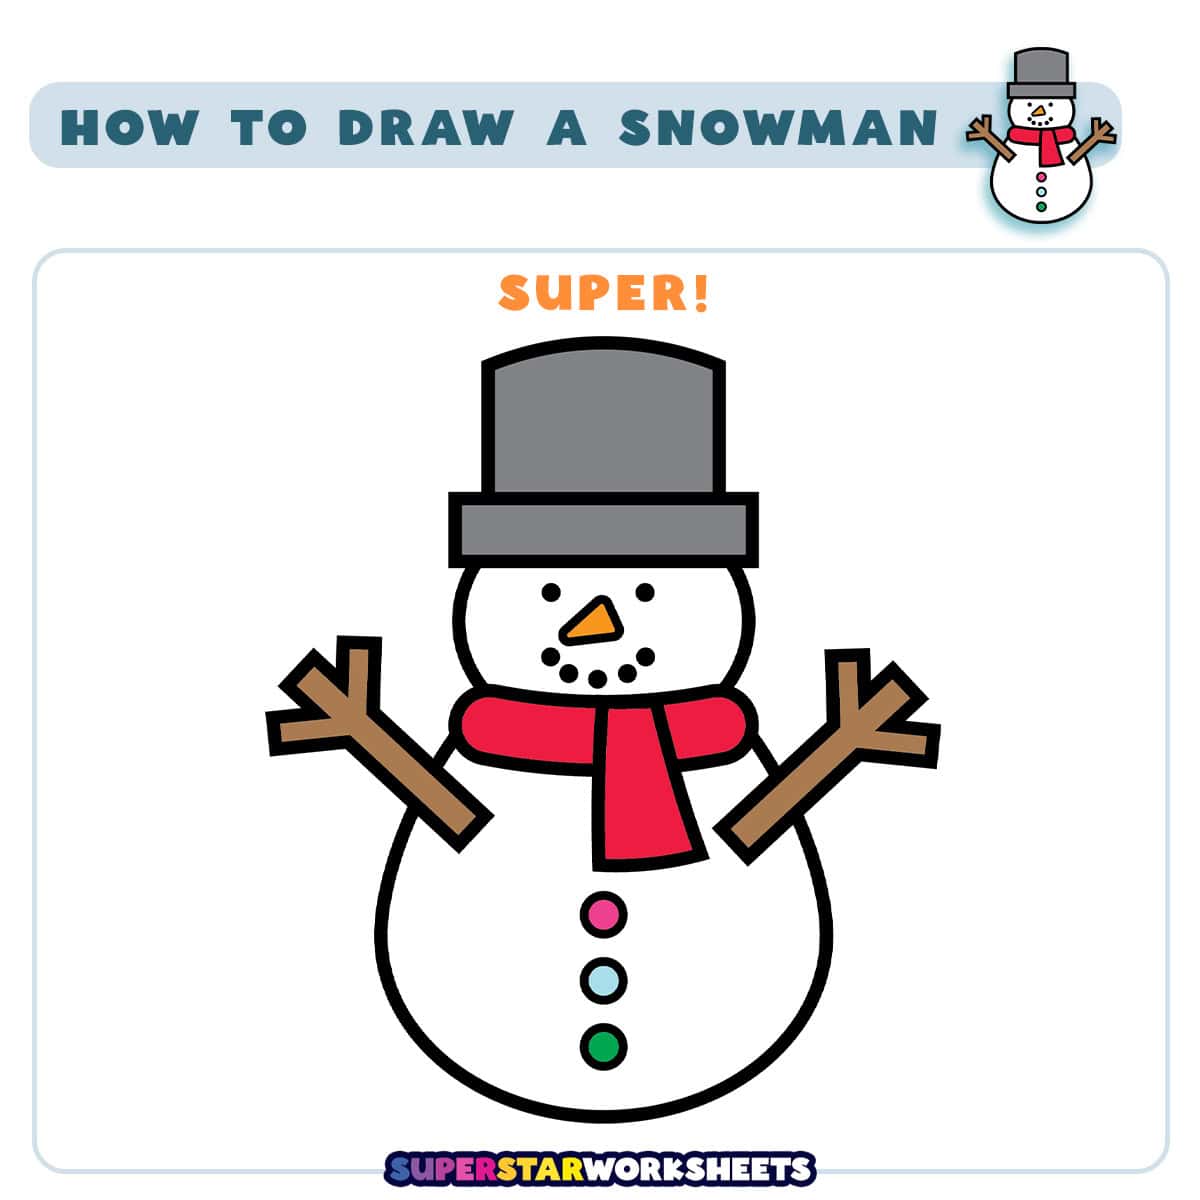
You Drew a Snowman!
Your simple and adorable snowman is finished! Now, you can practice drawing snowmen of all sizes! You could even make a whole snowman family! Teachers! If you are wanting more FREE drawing printables take a look at our Finish the Drawing Printables.
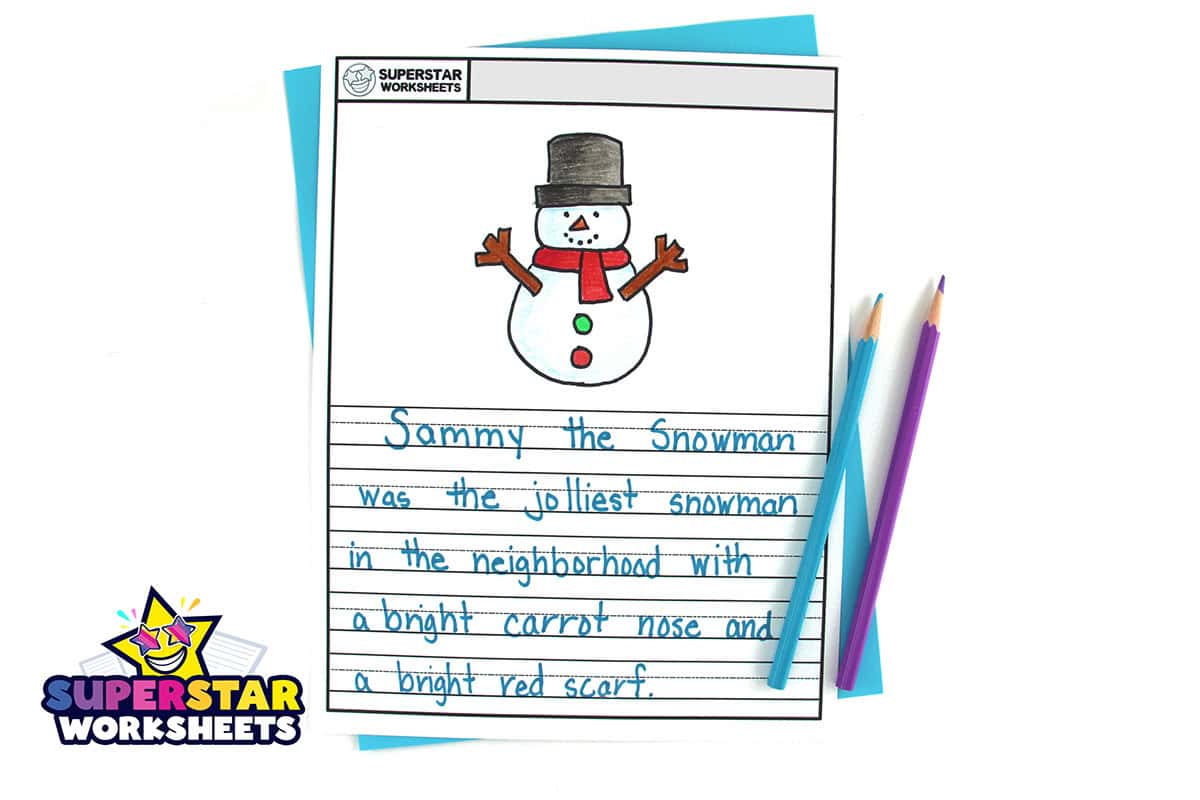
Pair them with our Winter Hat and Mitten Templates for even more fun! Try our Draw and Write Paper too! Download and print Snowman Templates and find fun Torn Paper Crafts here.

Leave a Reply