
Free Printable Tree Worksheets for elementary students. Download and print PDF activities covering parts of a tree, tree life cycles, tree science experiments, and fun facts about trees. This collection includes full-color reference charts, hands-on cut-and-paste activities, reusable learning mats, vocabulary cards, and science experiment recording sheets. Whether you’re teaching deciduous vs. evergreen trees, the interior layers of a tree trunk, or the life cycle of an oak or pine tree, these printables support science centers, small group lessons, and homeschool plant science units for kids in grades K–5.
Parts of a Deciduous Tree Printables
Parts of a Deciduous Tree Chart
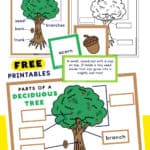
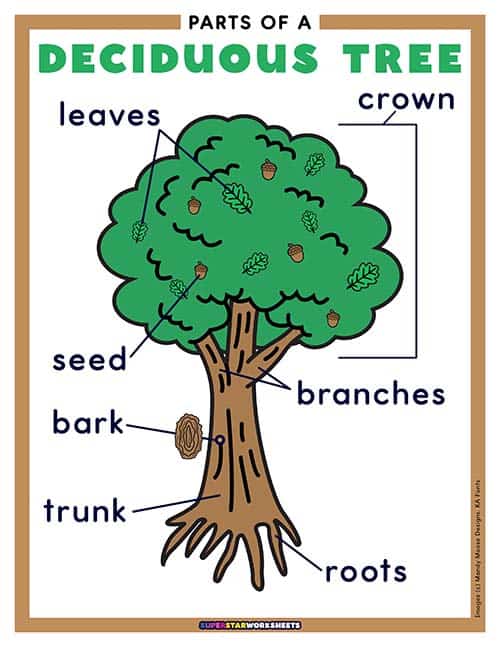
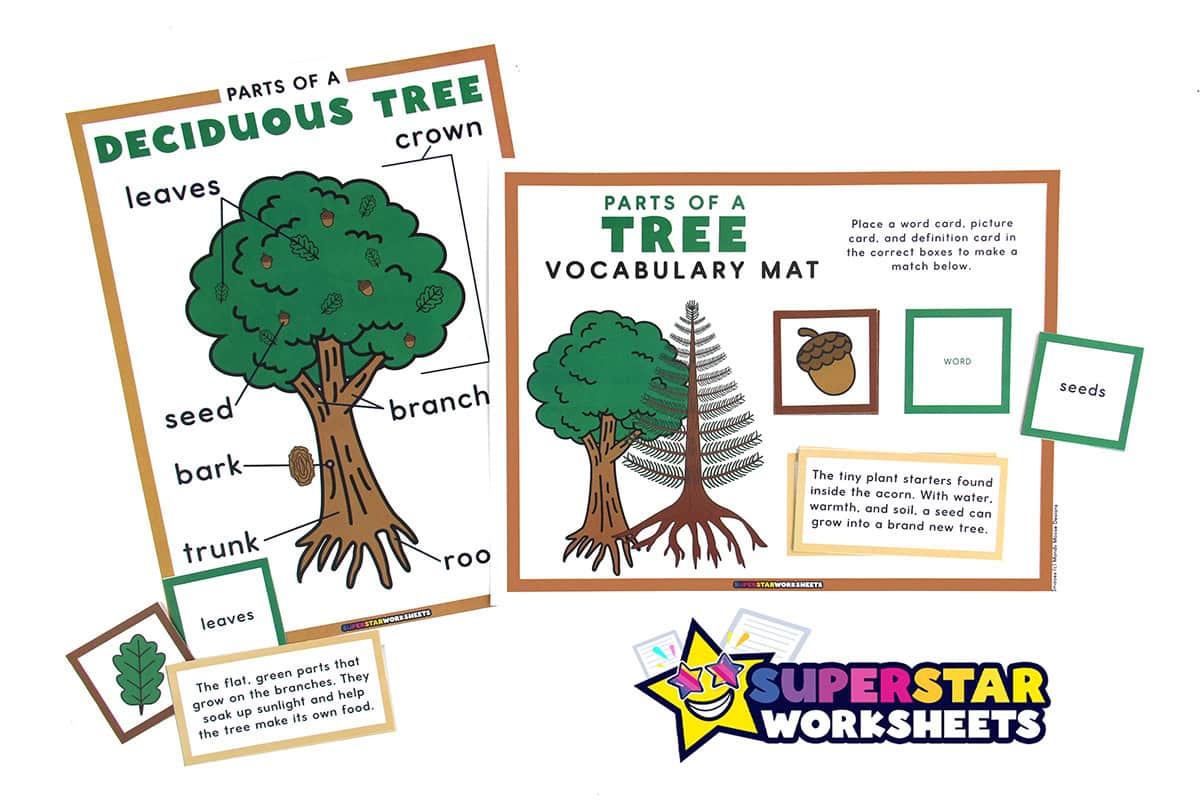
This full-color reference chart introduces the external parts of an oak tree with clearly labeled callout arrows. Roots, trunk, bark, branches, crown, leaves, and flowers are each identified, making it an ideal anchor chart for introducing tree anatomy to young scientists. Print and laminate for repeated classroom use.
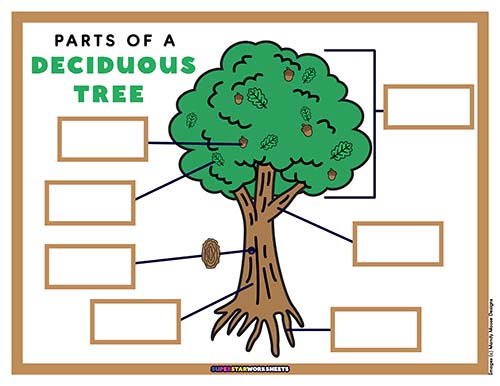
This reusable learning mat pairs with label cards so students can practice placing and identifying each part of a deciduous tree. The blank oak tree diagram prompts students to recall part names independently or with a partner, making it a strong option for science centers and small group review.
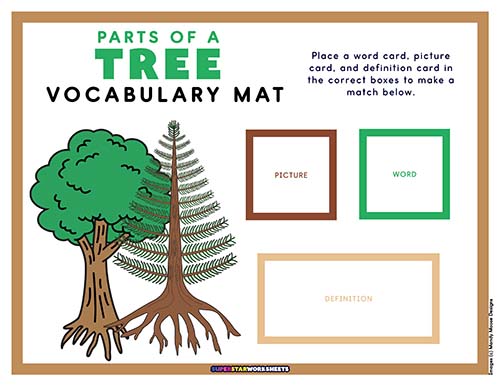
Parts of a Tree Vocabulary Mat
Students build science vocabulary by matching picture, word, and definition cards on this reusable vocabulary mat. The mat displays both deciduous and evergreen tree features side by side, helping students recognize shared structures as well as the differences between leaf and needle-bearing trees.
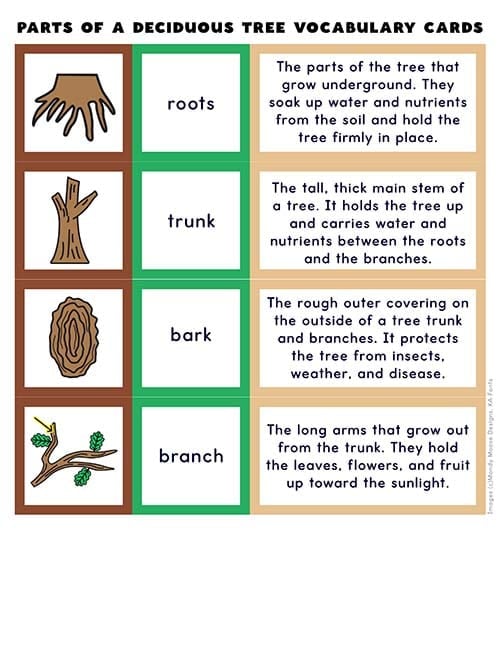
Parts of a Deciduous Tree Vocabulary Cards
These three-part vocabulary cards connect pictures, words, and definitions for eight key deciduous tree parts. Use alongside the vocabulary mat for a complete matching center, or spread them out for an independent sorting activity. Each card set reinforces scientific terminology in a hands-on, low-prep format.
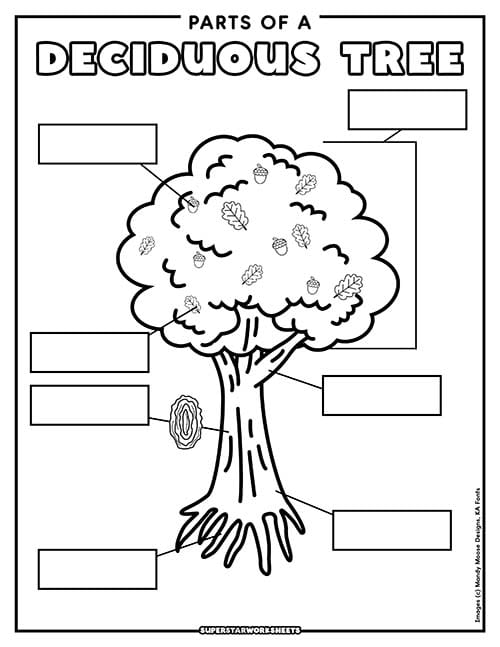
Parts of a Deciduous Tree Cut and Paste Worksheet
Students cut out labeled arrows and paste them onto the correct parts of an unlabeled oak tree diagram in this hands-on practice worksheet. This black-and-white consumable is a great formative check after introducing the parts of a tree chart, and works well for independent practice or homework.
Parts of an Evergreen Tree Printables
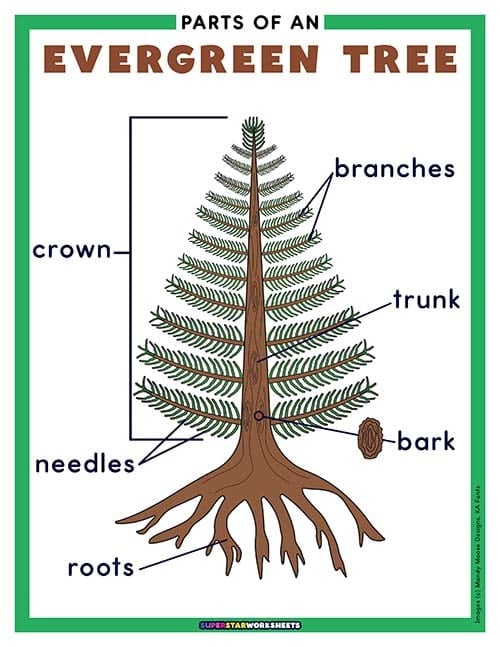
Parts of an Evergreen Tree Chart
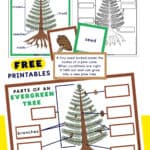
This full-color reference chart introduces the external parts of a pine tree with labeled callout arrows identifying roots, trunk, bark, branches, needles, cones, seeds, and crown. Display alongside the deciduous tree chart to help students compare and contrast the two tree types during a tree unit.
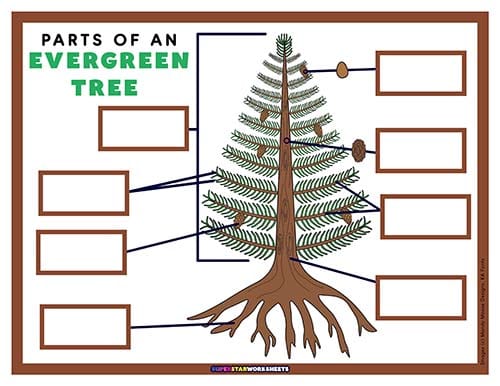
Parts of an Evergreen Tree Mat
This reusable learning mat features a blank pine tree diagram with callout arrow lines for students to complete with label cards. Pair with the evergreen vocabulary cards for a full matching center activity. Students can work independently, with a partner, or in a small teacher-led group.
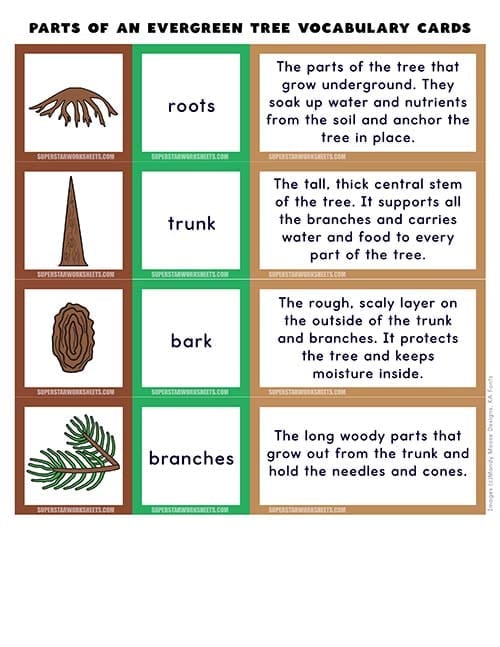
Parts of an Evergreen Tree Vocabulary Cards
Three-part vocabulary cards covering the eight external parts of a pine tree: roots, trunk, bark, branches, needles, cones, seeds, and crown. Use alongside the Parts of a Tree Vocabulary Mat to create a combined center activity covering both deciduous and evergreen tree structures. For more FREE printables check out our Apple Worksheets today!
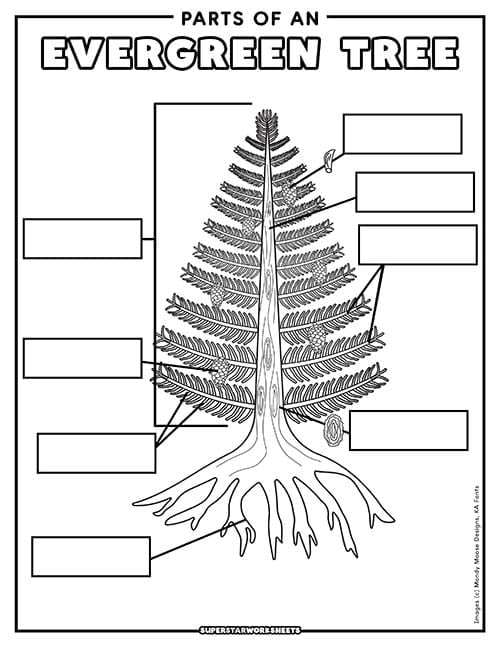
Parts of an Evergreen Tree Cut and Paste Worksheet
Students practice identifying pine tree parts by cutting out labels and pasting them onto the correct locations on an unlabeled diagram. This consumable black-and-white worksheet is a natural follow-up to the evergreen tree chart and can be used as an exit ticket or independent review activity
Interior Parts of a Tree Printables
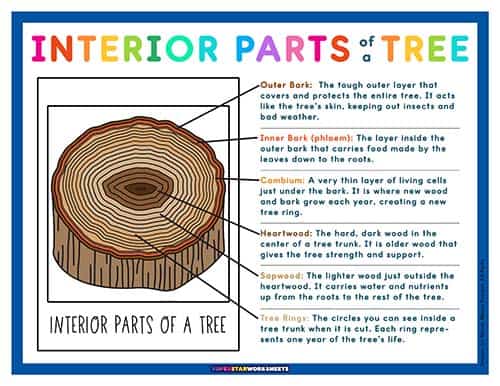
Interior Parts of a Tree Diagram
This full-color cross-section diagram takes students inside a tree trunk, labeling the outer bark, inner bark, cambium, sapwood, heartwood, and tree rings. It serves as a strong visual model for upper elementary students exploring how trees grow and what each interior layer does to support the tree’s survival. For more free science coloring pages, check out our Plant Worksheets!
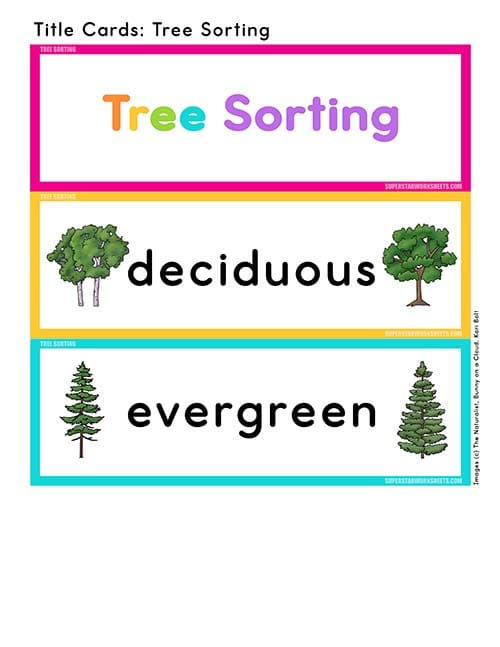
Deciduous and Evergreen Tree Sorting Cards
Students sort twelve illustrated tree and leaf cards into deciduous and evergreen categories using these full-color playing cards. Cards feature a variety of real tree species, from Red Maple and Flowering Dogwood to Balsam Fir and White Pine, helping students apply classification skills to real-world examples.
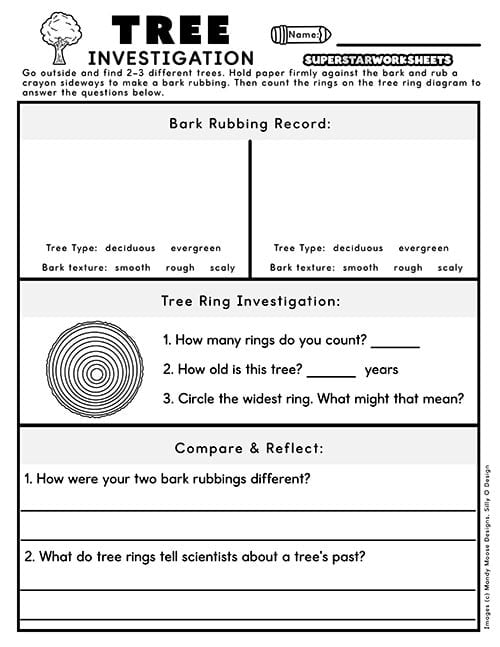
Tree Rings and Bark Rubbing Investigation
This hands-on science investigation takes learning outside as students make bark rubbings from real trees, then analyze a tree ring diagram to determine a tree’s age. Three recording sections guide students through observing, comparing, and reflecting on what bark texture and growth rings tell us about a tree’s history.
Teaching Parts of a Tree
Trees come in two main types: deciduous trees, which shed their leaves each fall and grow new ones in spring, and evergreen trees, which keep their leaves or needles year-round. Despite these differences, all trees share the same basic external structures. The roots anchor the tree underground and absorb water and nutrients from the soil. The trunk is the tall central stem that supports the tree’s weight and carries water and nutrients between the roots and branches. The bark is the rough outer covering that protects the tree from insects, disease, and harsh weather. Branches extend from the trunk and support the leaves, flowers, or cones above. The crown is the collective name for the top portion of a tree, all the branches, twigs, and leaves together.
The biggest difference between the two tree types lies in their leaves. Deciduous trees like oak trees grow broad flat leaves that change color and fall off in autumn. Evergreen trees like pine trees grow needles. Thin, pointed, waxy leaves that stay on the tree through winter. Evergreen trees also produce cones instead of fruit. Cones are the hard, woody structures that protect the tree’s seeds until they are ready to be released.
Inside a tree’s trunk, there are several distinct layers. The outermost layer is the outer bark, which acts as the tree’s protective skin. Just inside is the inner bark, also called phloem, which carries food produced by the leaves down to the roots. Next is the cambium, a very thin layer of living cells where new wood and bark grow each year. Inside the cambium is the sapwood, the lighter wood that transports water up from the roots. At the very center is the heartwood, the dense older wood that gives the tree its structural strength. If you could look at a cross-section of a tree trunk, you would also see tree rings. One new ring forms every year, and scientists can read them like a timeline of the tree’s life.
Oak Tree Life Cycle Printables
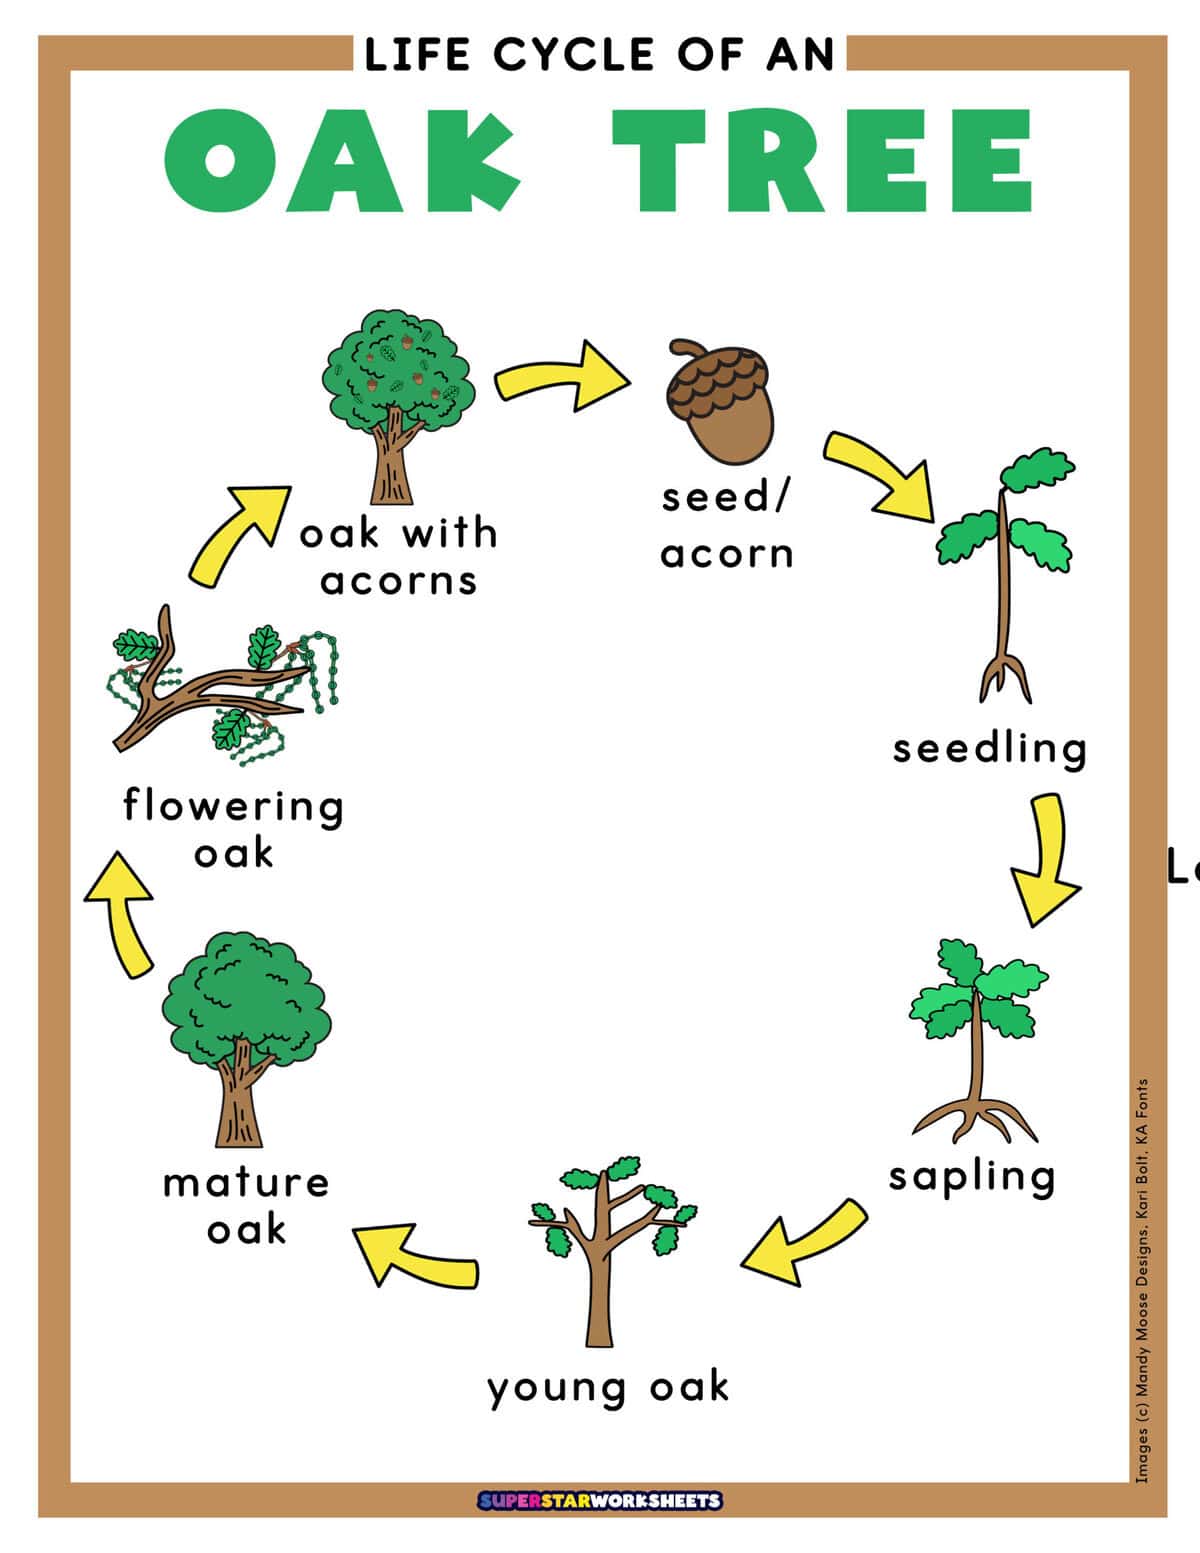
Life Cycle of an Oak Tree Chart
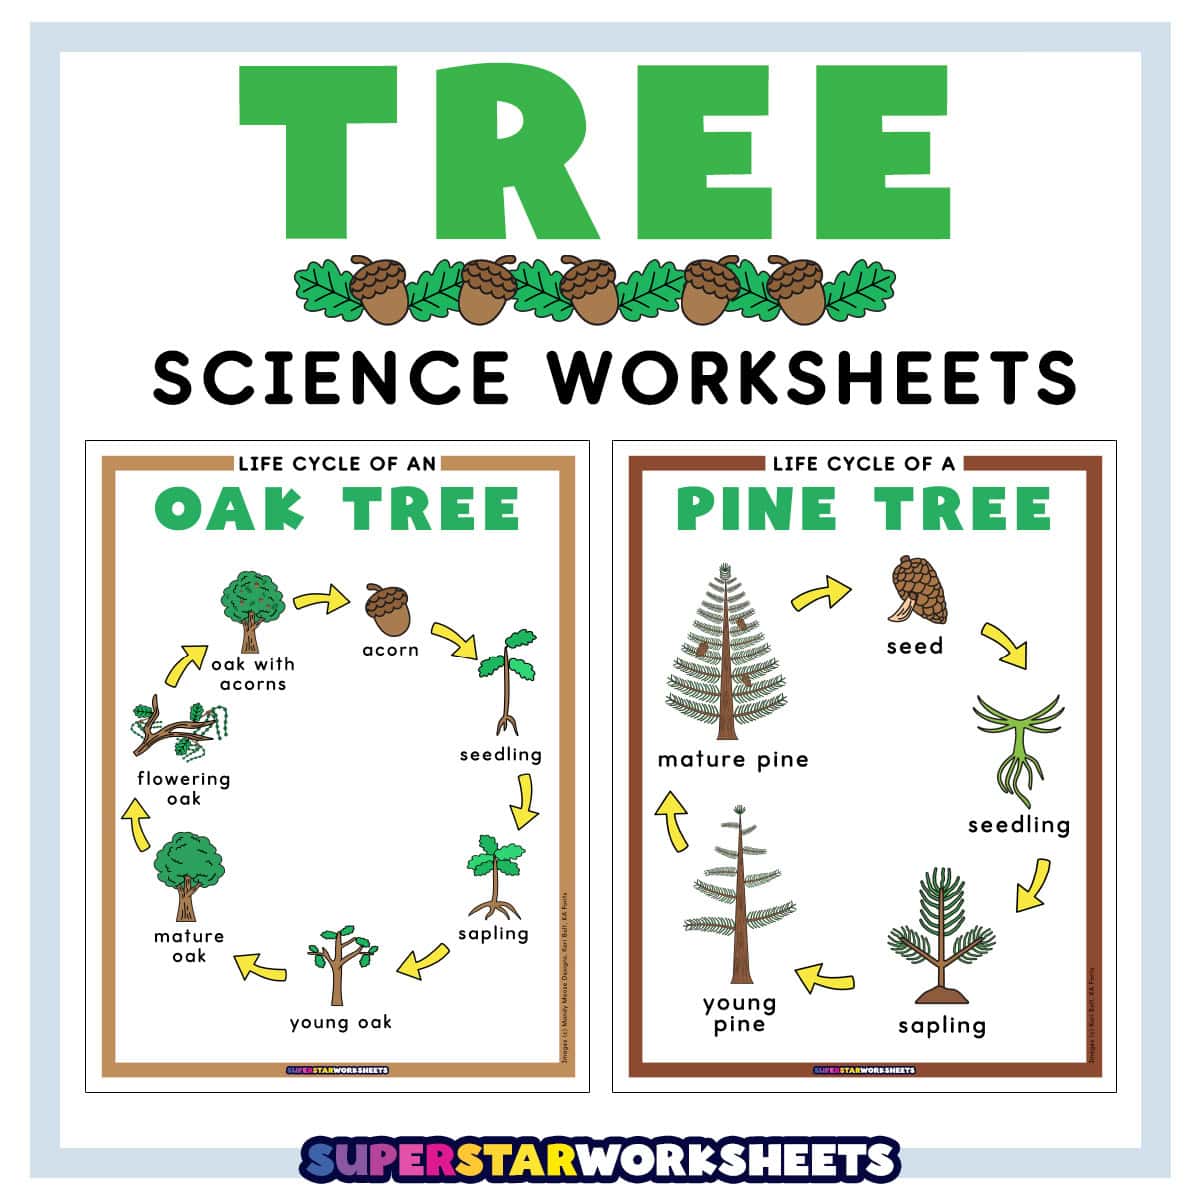
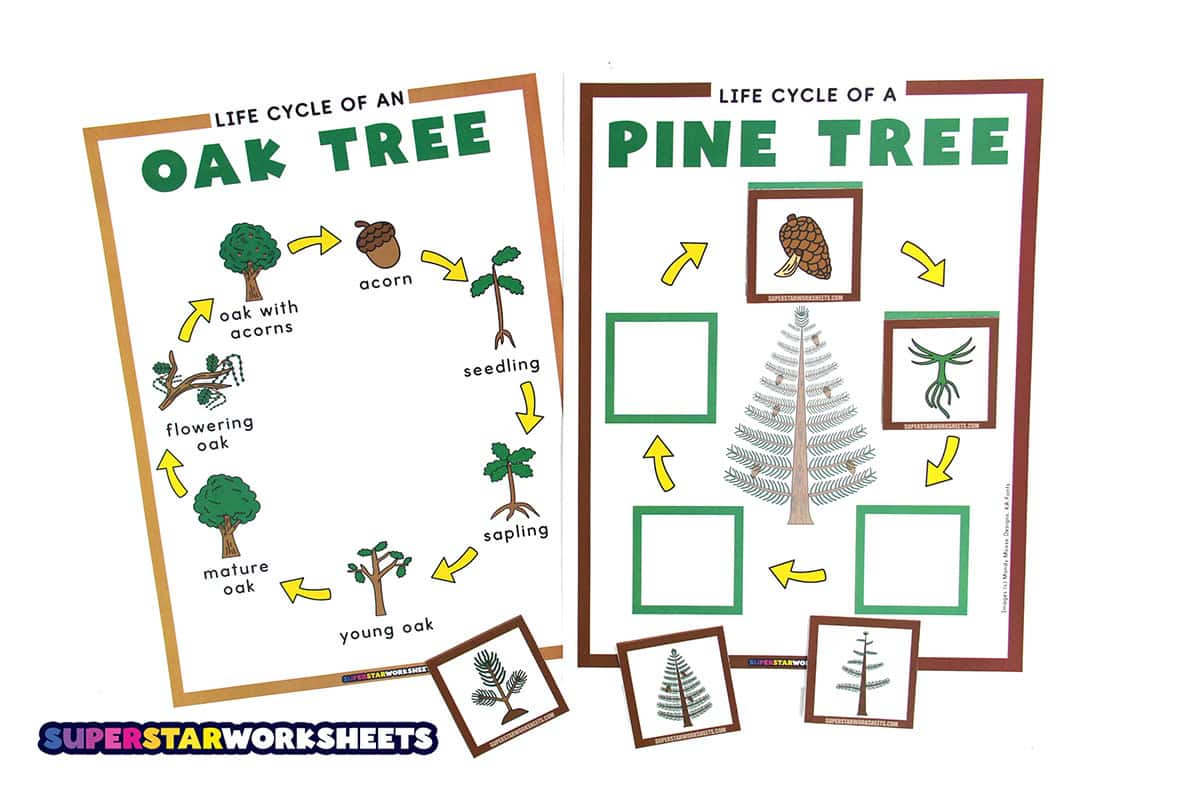
This full-color circular diagram walks students through all seven stages of the oak tree life cycle, from a single acorn to a mature oak heavy with acorns of its own. Clear arrows connect each stage in sequence, and cohesive clipart makes it easy for students to follow the cycle from start to finish.
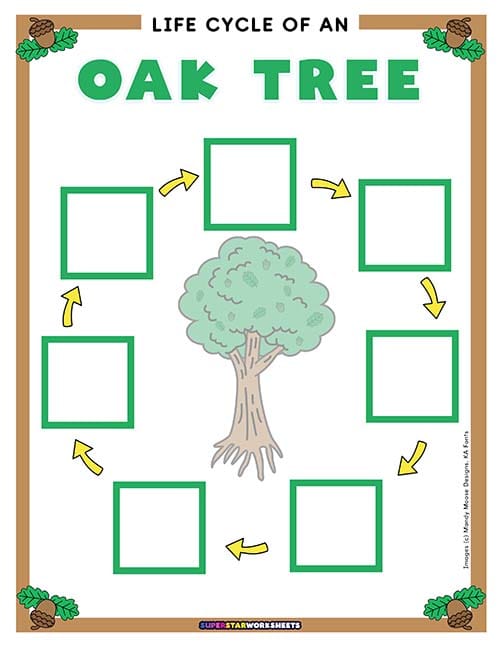
Life Cycle of an Oak Tree Learning Mat and Vocabulary Cards
Students sequence all seven stages of the oak tree life cycle on this reusable circular mat using picture and word vocabulary cards. The included two-page card set covers every stage from acorn to oak with acorns, making this a complete center activity for reviewing or introducing the oak life cycle.
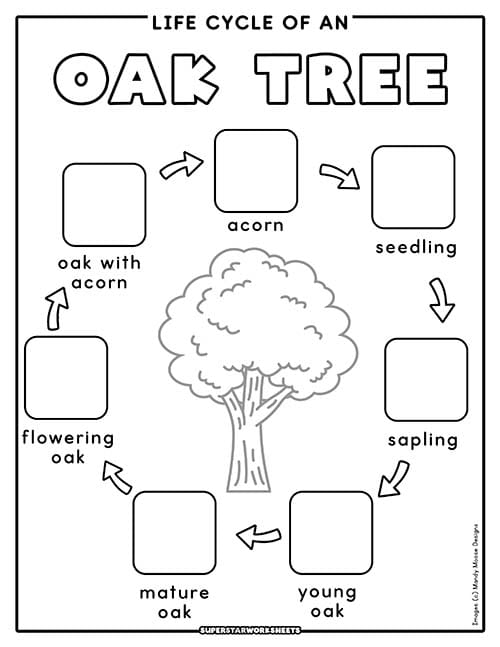
Life Cycle of an Oak Tree Cut and Paste Worksheet
This two-page cut-and-paste worksheet gives students hands-on practice sequencing the seven stages of the oak tree life cycle. Students cut out clipart images of each stage and paste them into the correct positions on a blank circular diagram, reinforcing the order of the cycle through active engagement.
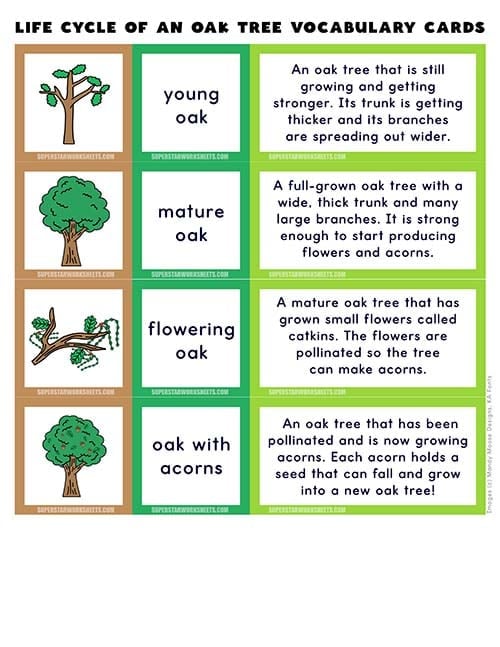
Parts of an Oak Tree Vocabulary Cards
This set of Oak themed vocabulary cards come in a set of four. Each vocabulary card shows either a description, an image of the Oak, or its stage of life.
Teaching the Life Cycle of an Oak Tree
The life cycle of an oak tree is a remarkable journey that can span hundreds of years. It begins with an acorn, the small round fruit of an oak tree that holds a single seed inside. When an acorn falls to the ground and finds the right conditions of moisture, warmth, and soil, it begins to germinate.
The first stage of growth is the seedling, a tiny young tree that has just pushed up through the soil with a small stem and its first set of leaves. As the seedling continues to grow, it becomes a sapling, a young tree that is taller and more established but still thin and flexible. Over time, the sapling develops into a young oak with a thickening trunk and spreading branches, and eventually into a mature oak with a wide canopy and deep root system.
A mature oak tree eventually reaches the reproductive stages of its life cycle. It becomes a flowering oak when it produces small flowers called catkins. After pollination, those flowers give way to the final stage: the oak with acorns. Each acorn the tree produces holds the potential to start the cycle all over again dropping to the ground and, with the right conditions, growing into a brand new oak tree.
Pine Tree Life Cycle Printables
Life Cycle of a Pine Tree Chart
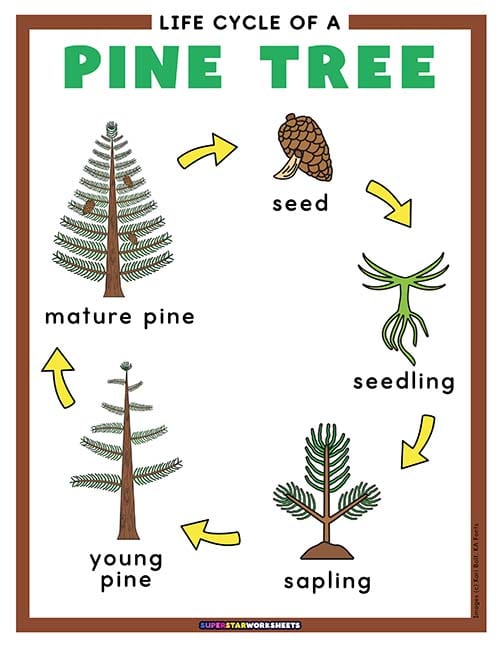
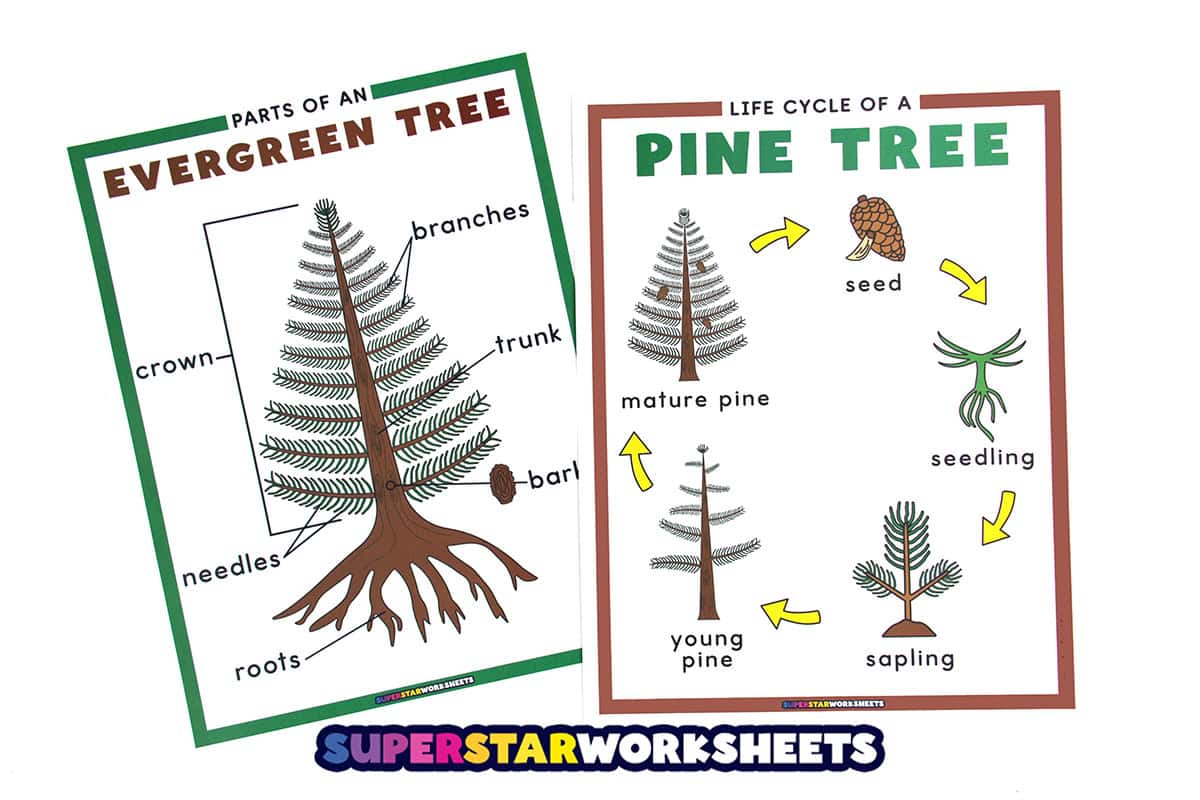
This full-color circular diagram introduces students to the five stages of the pine tree life cycle, from a seed tucked inside a cone to a mature pine standing tall with cones of its own. The cohesive clipart set makes the progression clear and visually engaging for elementary science students.
Life Cycle of a Pine Tree Learning Mat and Vocabulary Cards
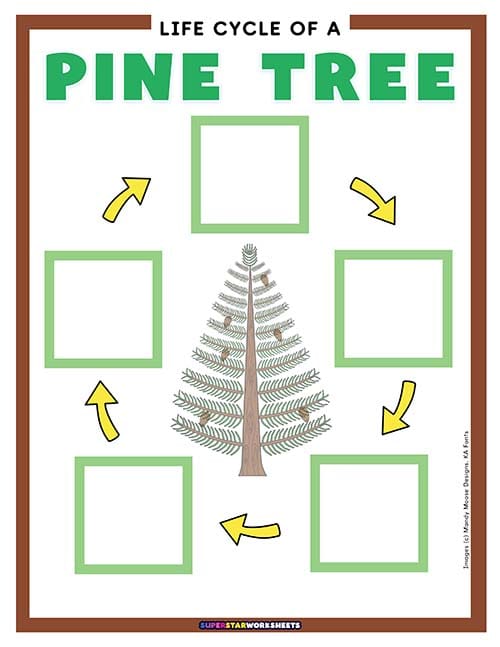
Students sequence the five stages of the pine tree life cycle using picture and word vocabulary cards on this reusable circular mat. Use alongside the oak tree learning mat to help students compare the life cycles of a deciduous and an evergreen tree side by side. For more FREE science printables check out our Pumpkin Worksheets!
Life Cycle of a Pine Tree Cut and Paste Worksheet
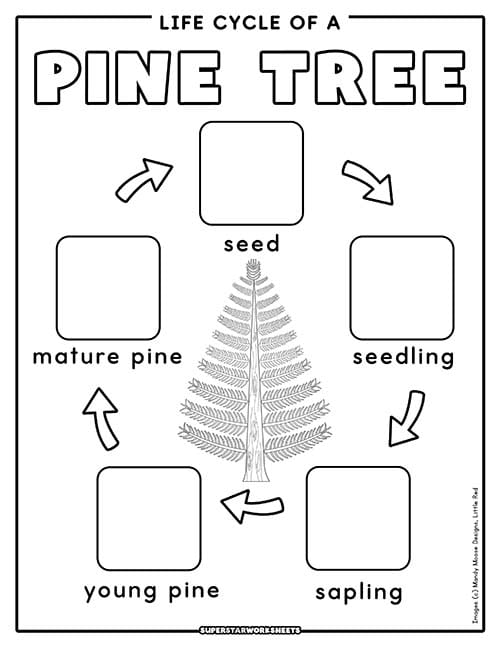
This two-page cut-and-paste activity gives students practice sequencing the five stages of the pine tree life cycle. Students cut out clipart images and arrange them in the correct order on a blank circular diagram, reinforcing the progression from seed to mature pine through hands-on work.
Teaching the Life Cycle of a Pine Tree
The pine tree life cycle begins with a seed inside a cone. Pine trees do not produce flowers or fruit like deciduous trees. Instead, their seeds develop inside the protective scales of a cone. When conditions are right and the cone opens, seeds are released and carried by the wind to find a new place to grow.
A released seed that lands in suitable soil may germinate and become a seedling, a tiny young pine with a small stem and the beginnings of soft needles. As the seedling continues to grow and strengthen, it becomes a sapling, a young pine tree with more needles and small developing branches. The sapling gradually grows into a young pine with a thickening trunk and denser, longer branches, and eventually into a mature pine, a fully grown tree standing tall with dense needle-covered branches and cones that will carry the next generation of seeds.
One interesting feature of pine cones is that they respond to humidity. Cones open in dry conditions to release their seeds and close tight when it is wet a natural adaptation that helps seeds disperse under the best conditions for germination. This behavior is the basis for the pine cone science experiment included at the end of this collection.
Tree Science Facts for Kids
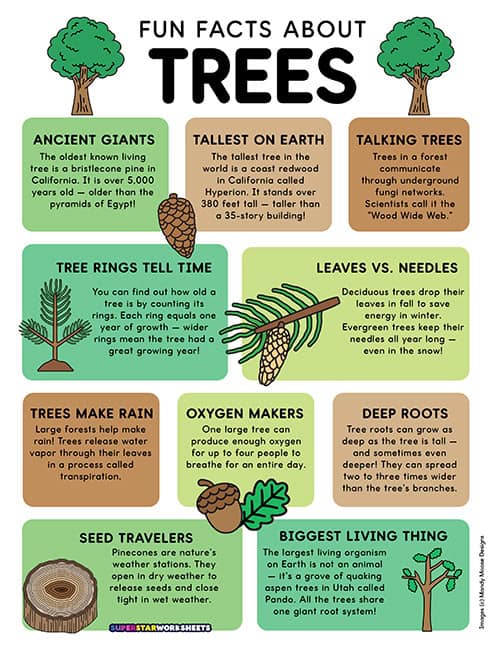
This colorful infographic-style poster features ten engaging tree facts, from the world’s oldest bristlecone pine to the underground “Wood Wide Web” that connects trees in a forest. Display as a classroom reference or use during a read-aloud to spark curiosity and discussion before starting research activities.
Two Truths and a Lie: Trees Game Cards
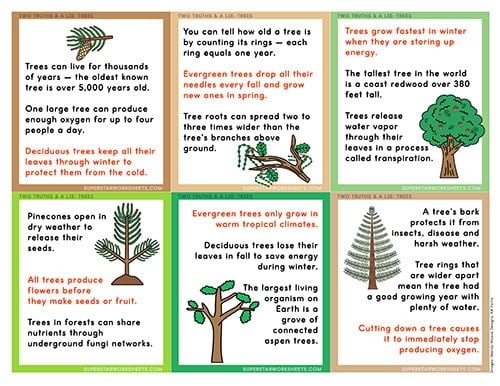
Teachers read outloud three statements about trees and students identify which one is the lie in this engaging critical thinking activity. Six card sets cover a variety of tree science topics drawn directly from the fun facts poster, making this a great follow-up activity that challenges students to evaluate what they’ve learned.
Trees Fun Fact Finder Worksheet
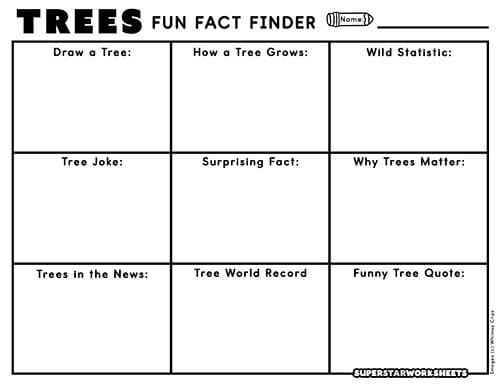
This nine-cell research grid invites students to explore trees independently, responding to prompts like “Wild Statistic,” “Why Trees Matter,” and “Tree World Record.” It pairs well with classroom books, nonfiction articles, or web research and makes a strong small group or homework extension activity.
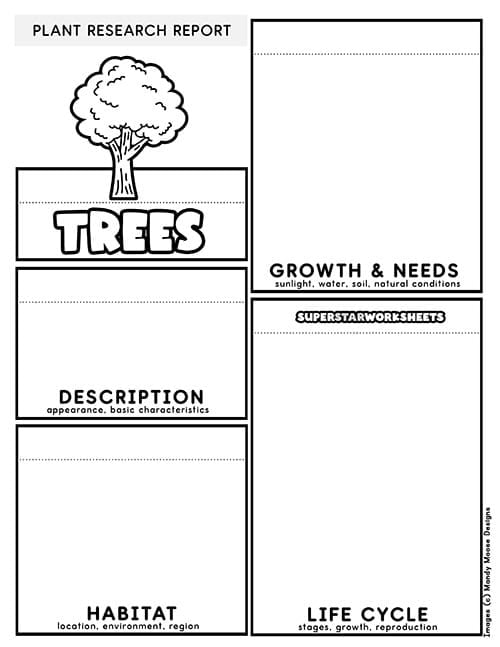
Students organize their tree research into four sections. Description, Habitat, Growth & Needs, and Life Cycle. The layered book format guides students through recording key facts in their own words, making it ideal for a culminating unit project or science notebook entry.
Pine Cone Science Experiment for Kids
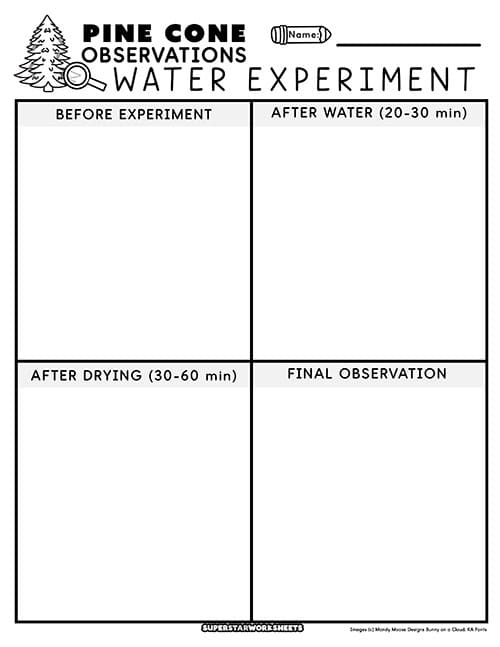
Pine Cone Water Experiment and Observational Journal
Students investigate whether pine cones open and close in response to water in this simple hands-on science experiment. The pine cone experiment sheet is for observations, while the companion observational journal tracks changes across four time periods for both a wet and a dry cone.
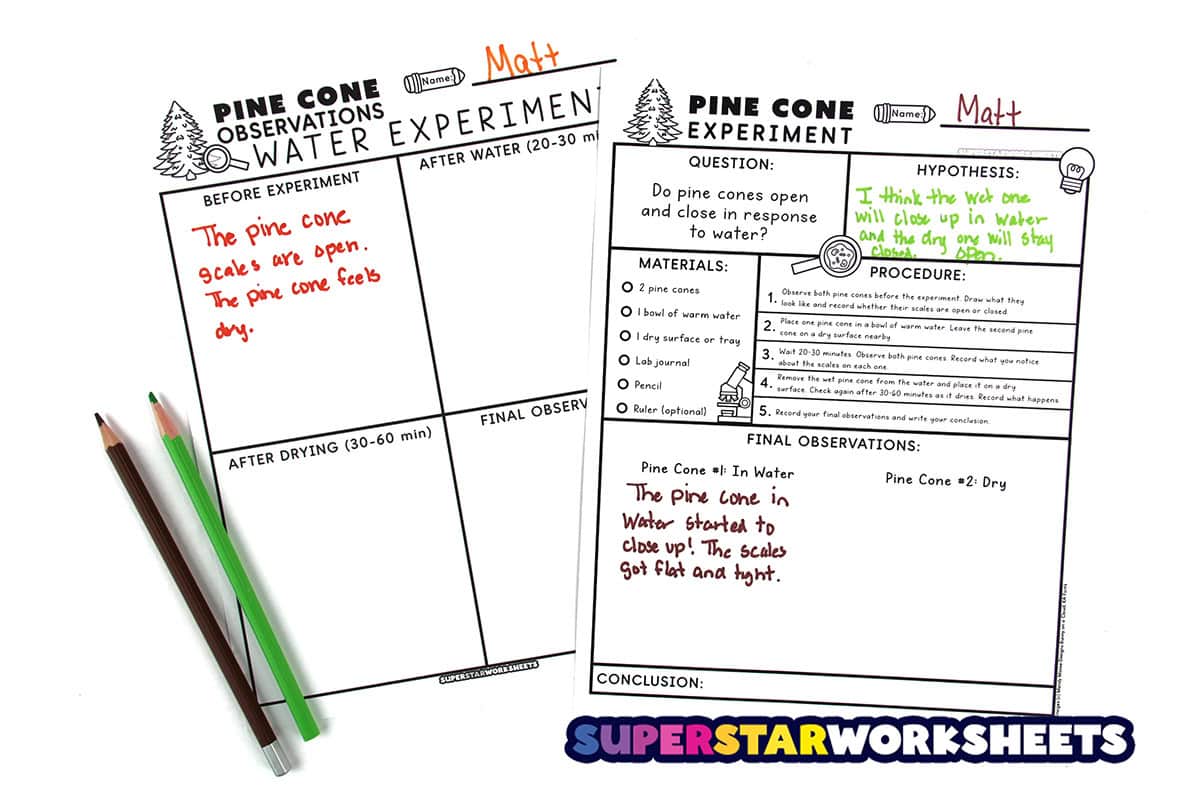
Pine Cone Science Experiment
Pine cones are one of nature’s most fascinating little tools. If you’ve ever noticed a pine cone sitting outside and wondered why its scales are sometimes open and sometimes tightly closed, you’ve already spotted the science behind this experiment. Pine cones open their scales in dry conditions to release seeds and close them in wet conditions to protect the seeds. This a natural response built into the cone’s structure. This experiment gives students a chance to observe that behavior up close by controlling the variable themselves.
Question: Do pine cones open and close in response to water?
Hypothesis: Before starting, ask students to predict whether a pine cone placed in water will open or close, and explain their reasoning in writing.
Materials:
• 2 pine cones
• 1 bowl of warm water
• 1 dry surface or tray
• Lab journal or observation sheet
• Pencil
• Ruler (optional)
Procedure:
1. Observe both pine cones before the experiment begins. Draw what they look like and record whether their scales are open or closed.
2. Place one pine cone in a bowl of warm water. Leave the second pine cone on a dry surface nearby.
3. Wait 20–30 minutes. Observe both pine cones and record what you notice about the scales on each one.
4. Remove the wet pine cone from the water and place it on a dry surface. Check again after 30–60 minutes as it dries. Record what happens.
5. Record your final observations and write your conclusion. Did the pine cone behave the way you predicted
Leave a Reply