
How to draw a pumpkin for kids! This step-by-step pumpkin drawing tutorial will help your students create their own cute pumpkins in 6 easy steps! Featuring simple black outline drawings and illustrations, our pumpkin drawing guide is quick and easy for beginners.
Pumpkin Step-by-Step Directed Drawing
How to Draw a Pumpkin
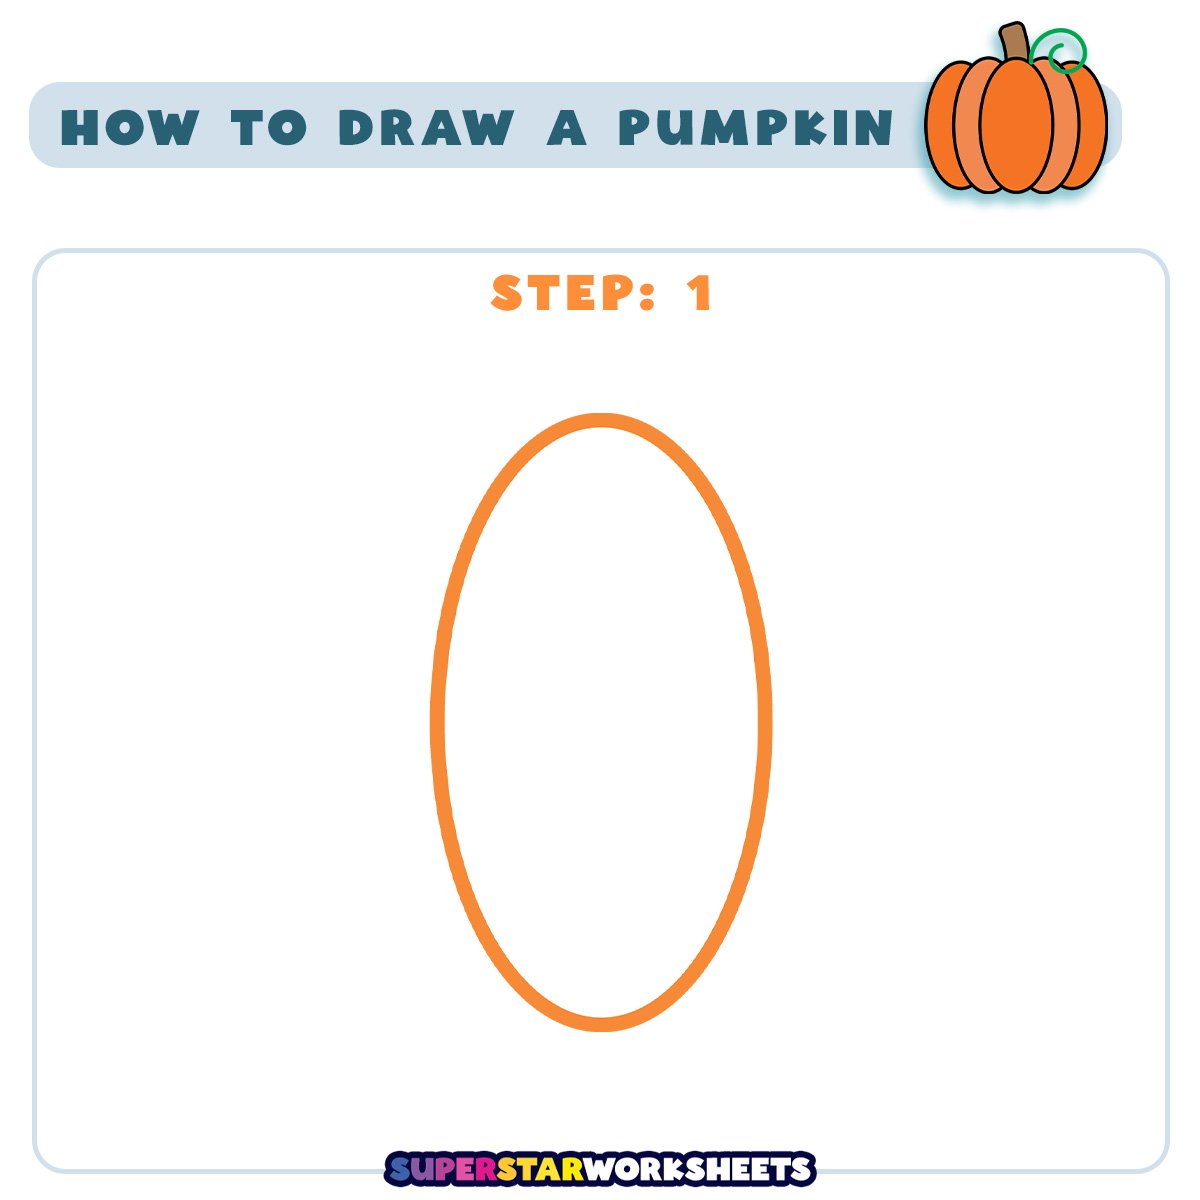
Step 1
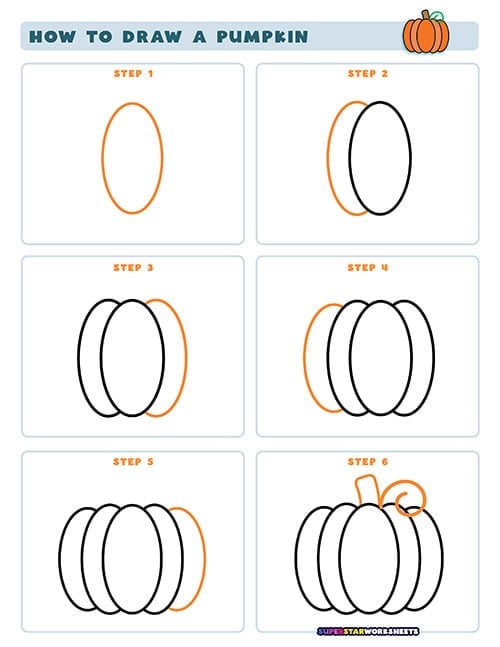
Using a pencil (so you can erase), let’s start by drawing a big oval shape. This will be the main body of our pumpkin. Make it nice and round, almost like an egg standing up. Don’t worry if it’s not perfect – pumpkins come in all shapes and sizes! Try to make it large enough to fill most of your paper, leaving some room at the top for the stem later.
How to Draw a Pumpkin
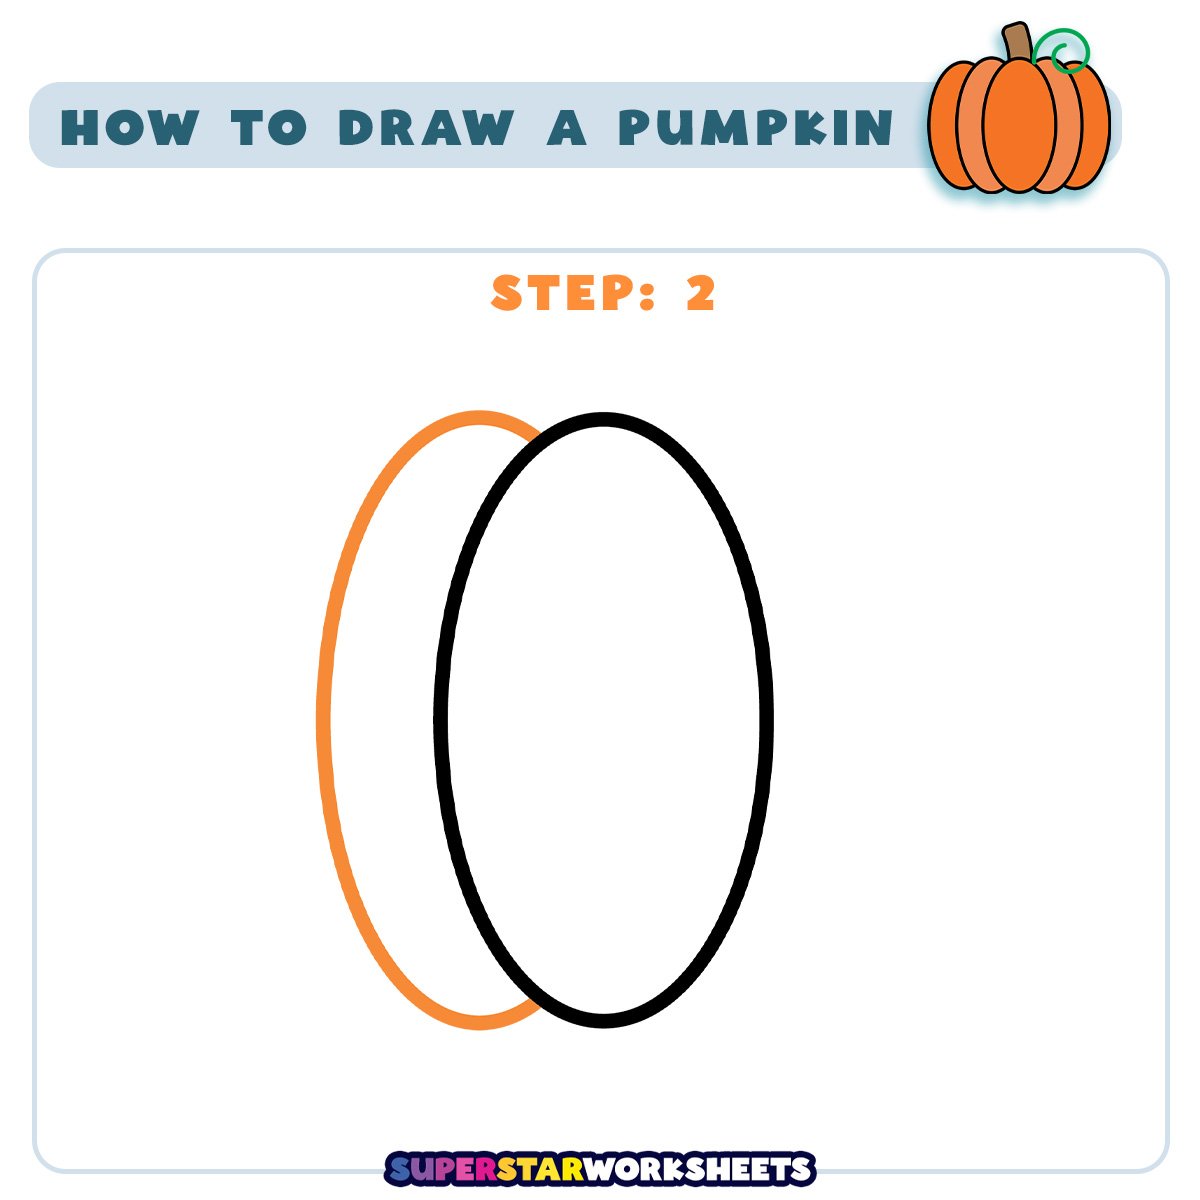
Step 2
Now, draw a slightly curved line down on the left of your oval. This line represents one of the grooves in the pumpkin’s skin. It helps give the pumpkin its distinctive shape. Make sure your line curves gently from top to bottom, following the contour of the oval. This line is important as it will guide where you place the other lines in the next steps.
How to Draw a Pumpkin
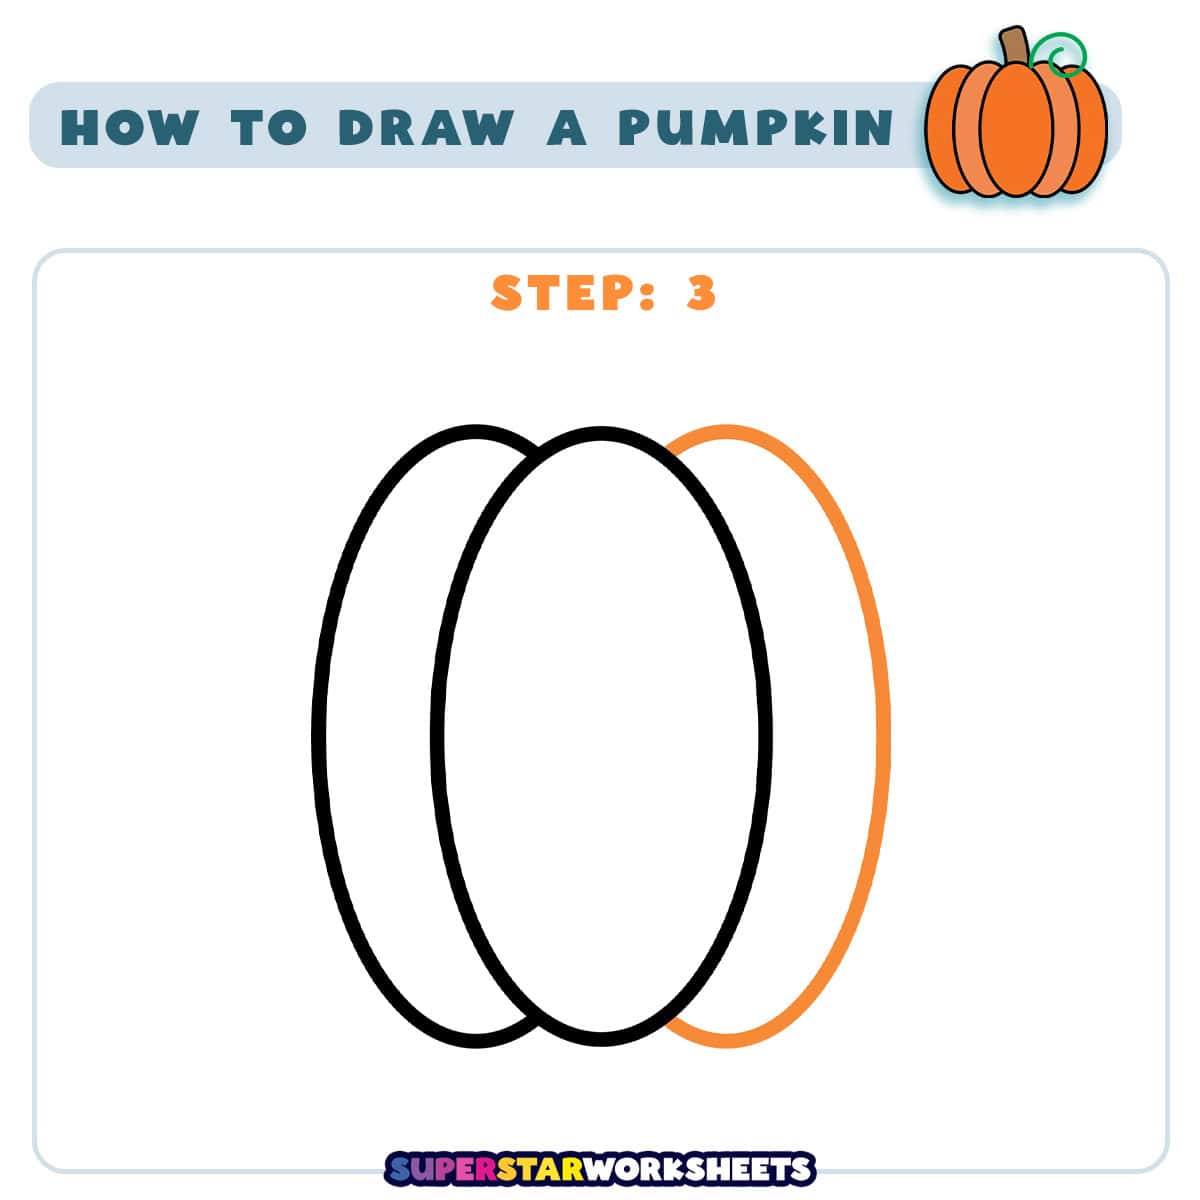
Step 3
Add another curved line on the right side of the first oval. These additional lines create more grooves, making your pumpkin look more realistic. Try to space them evenly. Remember, these lines should also curve to match the shape of your pumpkin. They don’t need to be perfectly symmetrical – slight variations will make your pumpkin look more natural.
Fun Fact: Did you know that pumpkins are actually a fruit, not a vegetable?
Fun Fact: Fun Fact: The largest pumpkin ever grown weighed 2,702 pounds (1,226 kg)! That’s as heavy as a small car!
Fun Fact: Pumpkin seeds are very nutritious! They’re packed with vitamins, minerals, and antioxidants, making them a healthy snack.
How to Draw a Pumpkin
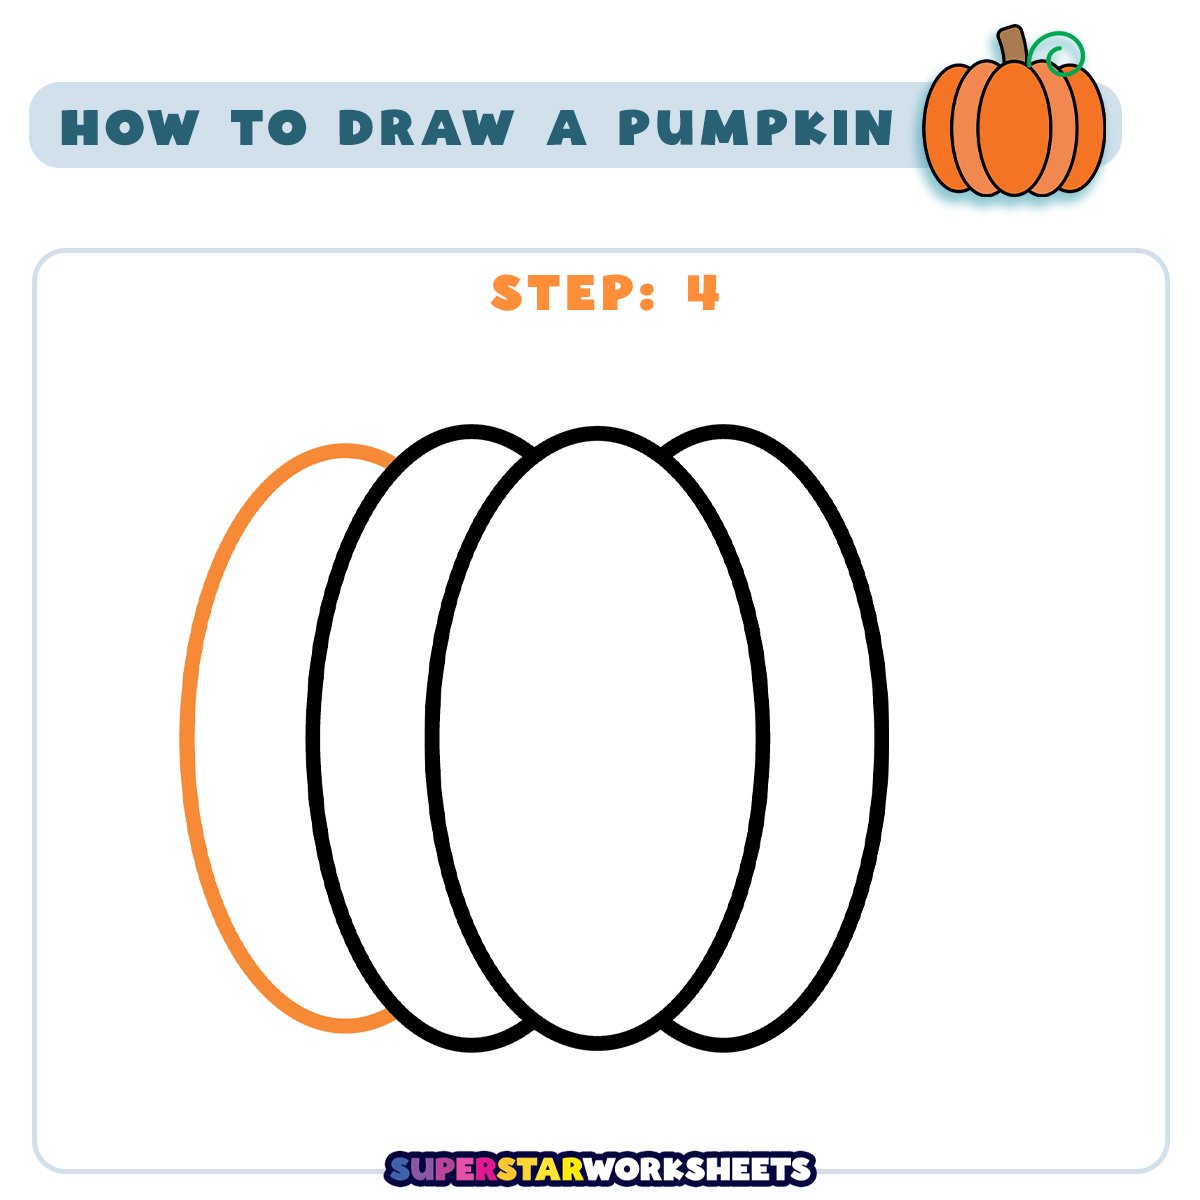
Step 4
Draw another curved line on the left side of your pumpkin. Now you have a total of four pumpkin sections. Your pumpkin is really taking shape! These outer lines might curve a bit more dramatically than the inner ones, as they’re wrapping around the sides of the pumpkin. This helps create the illusion of a three-dimensional shape on your flat paper.
How to Draw a Pumpkin
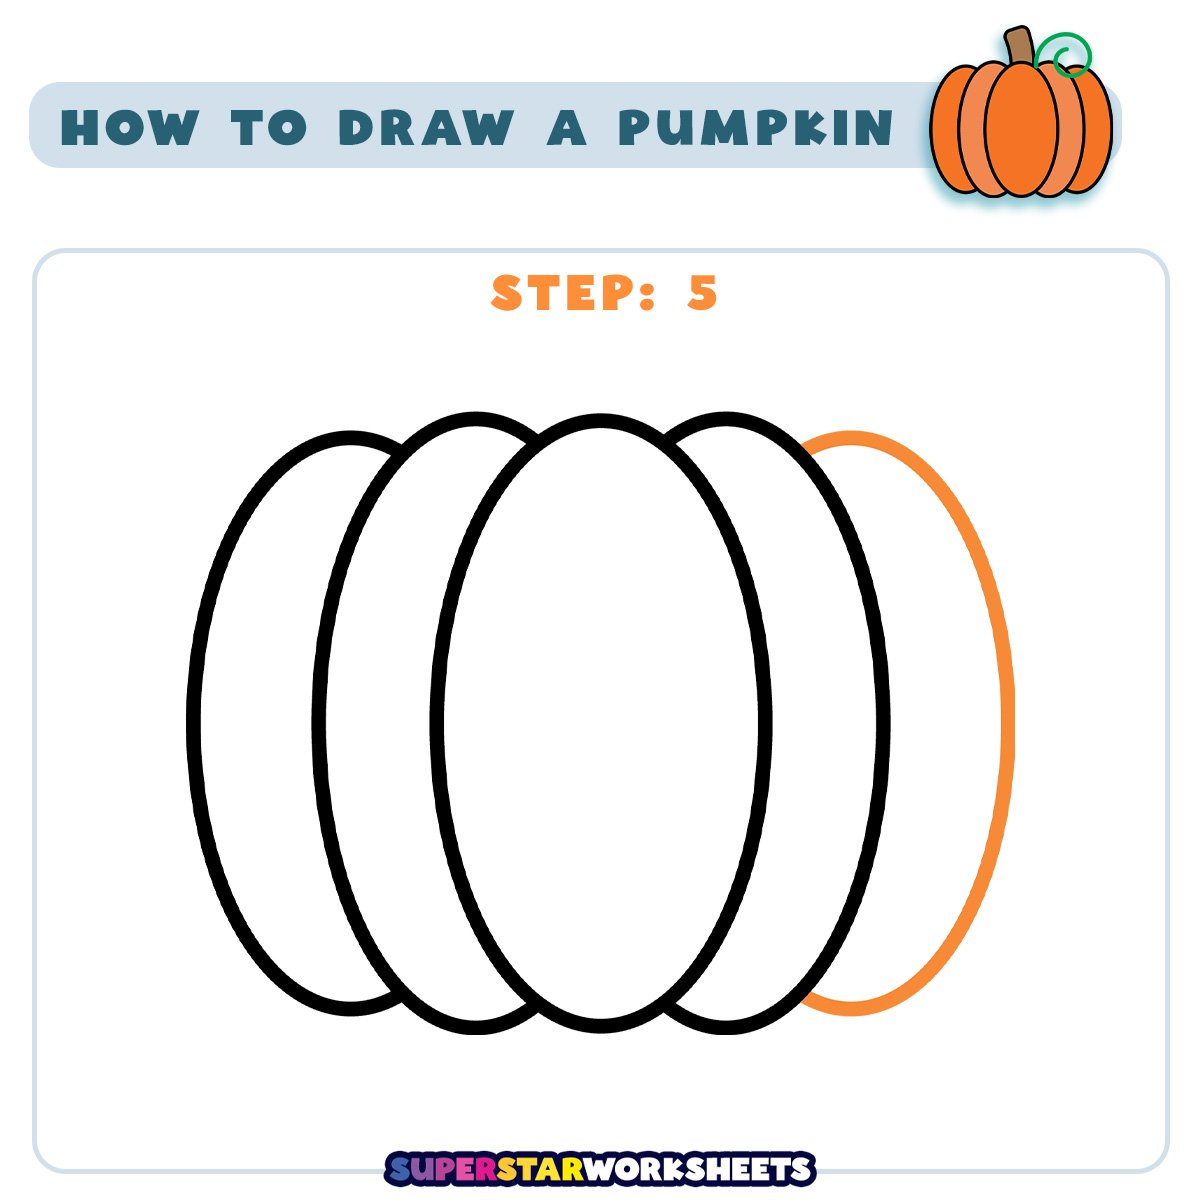
Step 5
Now, let’s make the pumpkin look even more three-dimensional and symmetrical. Add a curved line on the right side of the pumpkin. This creates the illusion of the pumpkin’s round shape.
How to Draw a Pumpkin
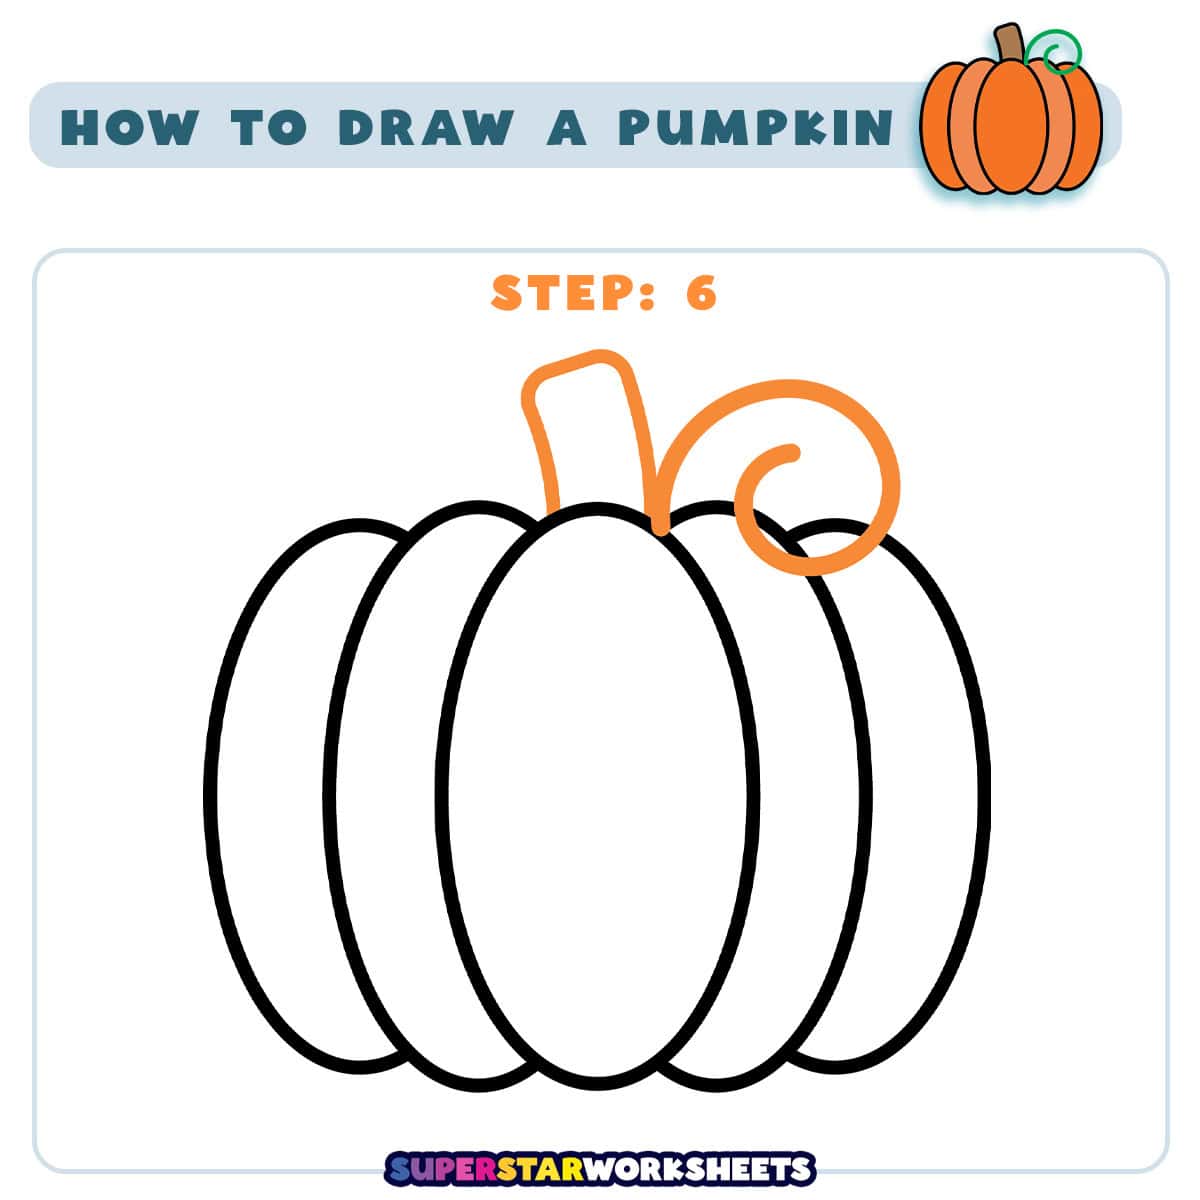
Step 6
Finally, let’s add the stem and a vine. Draw a small rectangle at the top for the stem and a curvy line shape next to it for a vine. These finishing touches make your pumpkin complete! You can make the stem a bit uneven or add some small lines to give it texture.
Fun Fact: A pumpkin’s orange color comes from beta-carotene, the same nutrient found in carrots. Your body converts beta-carotene into vitamin A, which helps keep your eyes and immune system healthy!
Fun Fact: Pumpkins are 90% water! Despite their solid appearance, they’re mostly made of water, which is why they’re so heavy to carry and why they can grow to such enormous sizes.
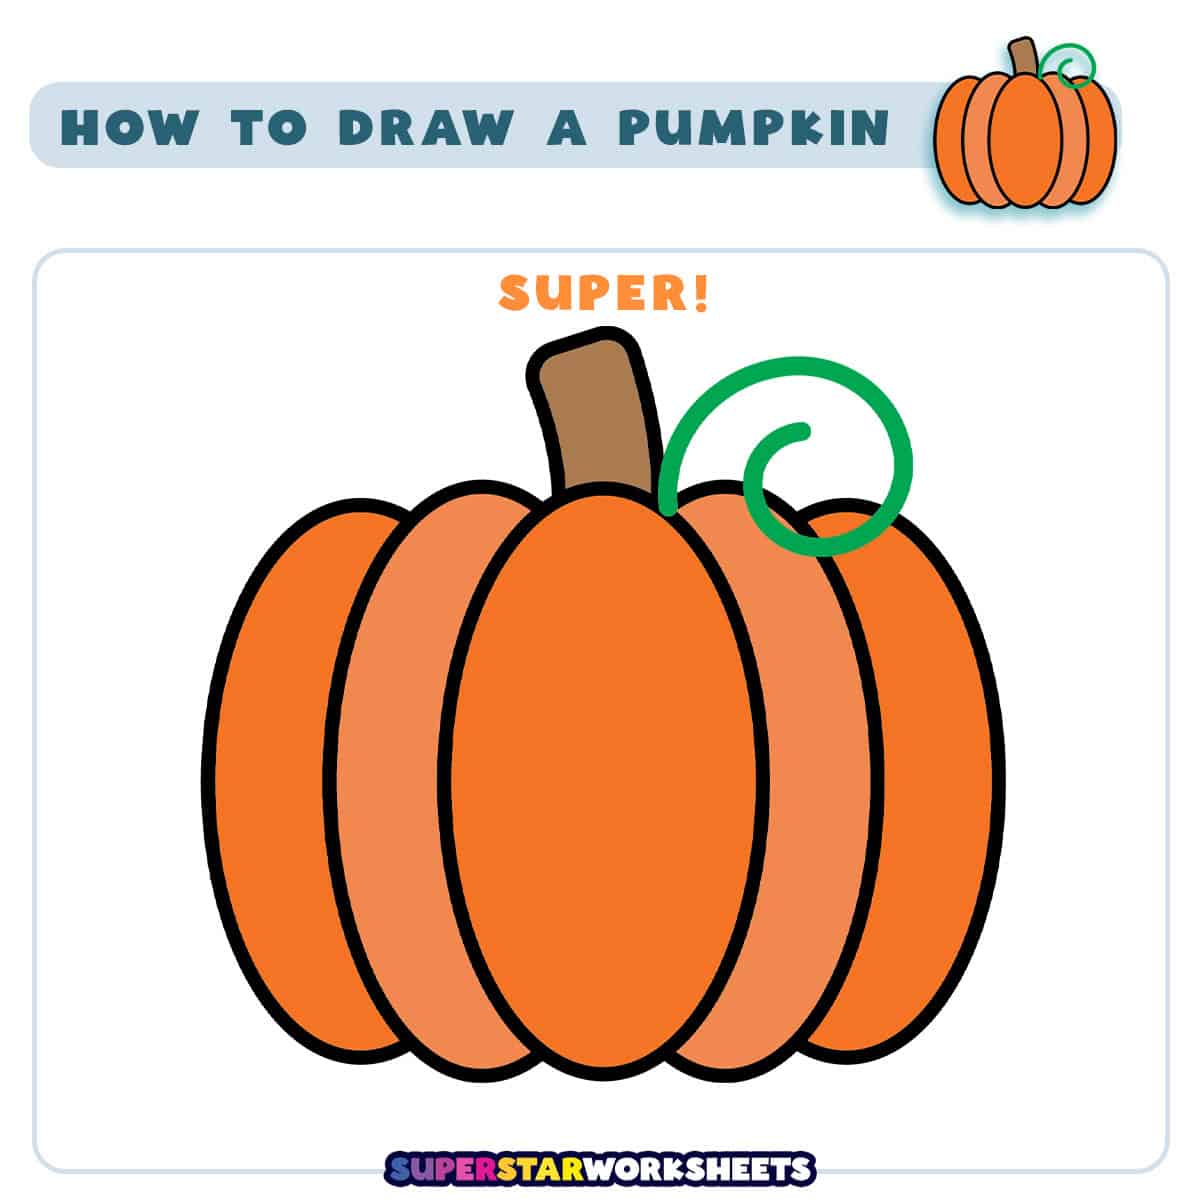
You Drew a Pumpkin!
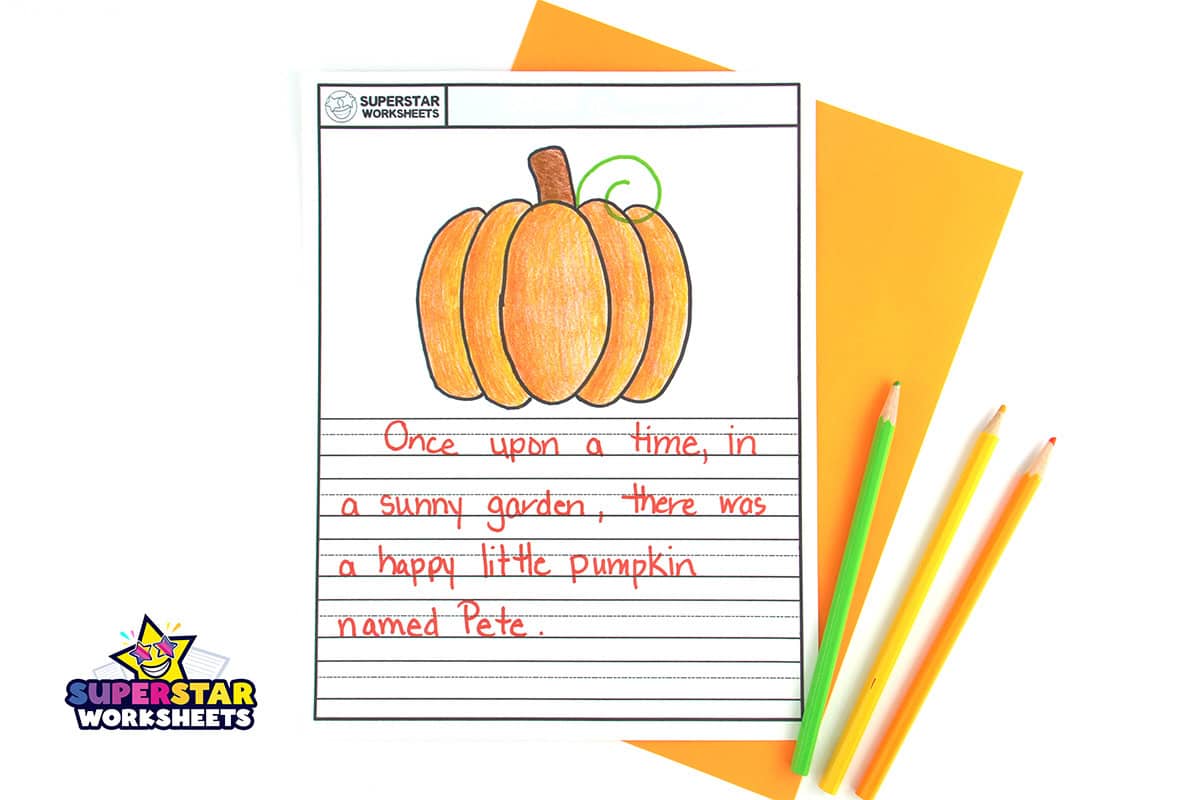
Your simple and cute pumpkin is finished! Now you can practice drawing pumpkins of all sizes! You could even make a whole garden of pumpkins! Add a little Halloween or autumn-themed drawing fun to your classroom with our Huge Directed Drawing Bundle, which you can download and print today!
If you are wanting more FREE drawing printables take a look at our Finish the Drawing Printables. Try our Pumpkin Templates and Pumpkin Worksheets for even more fun! Find more Pumpkin Coloring Pages here.
Leave a Reply