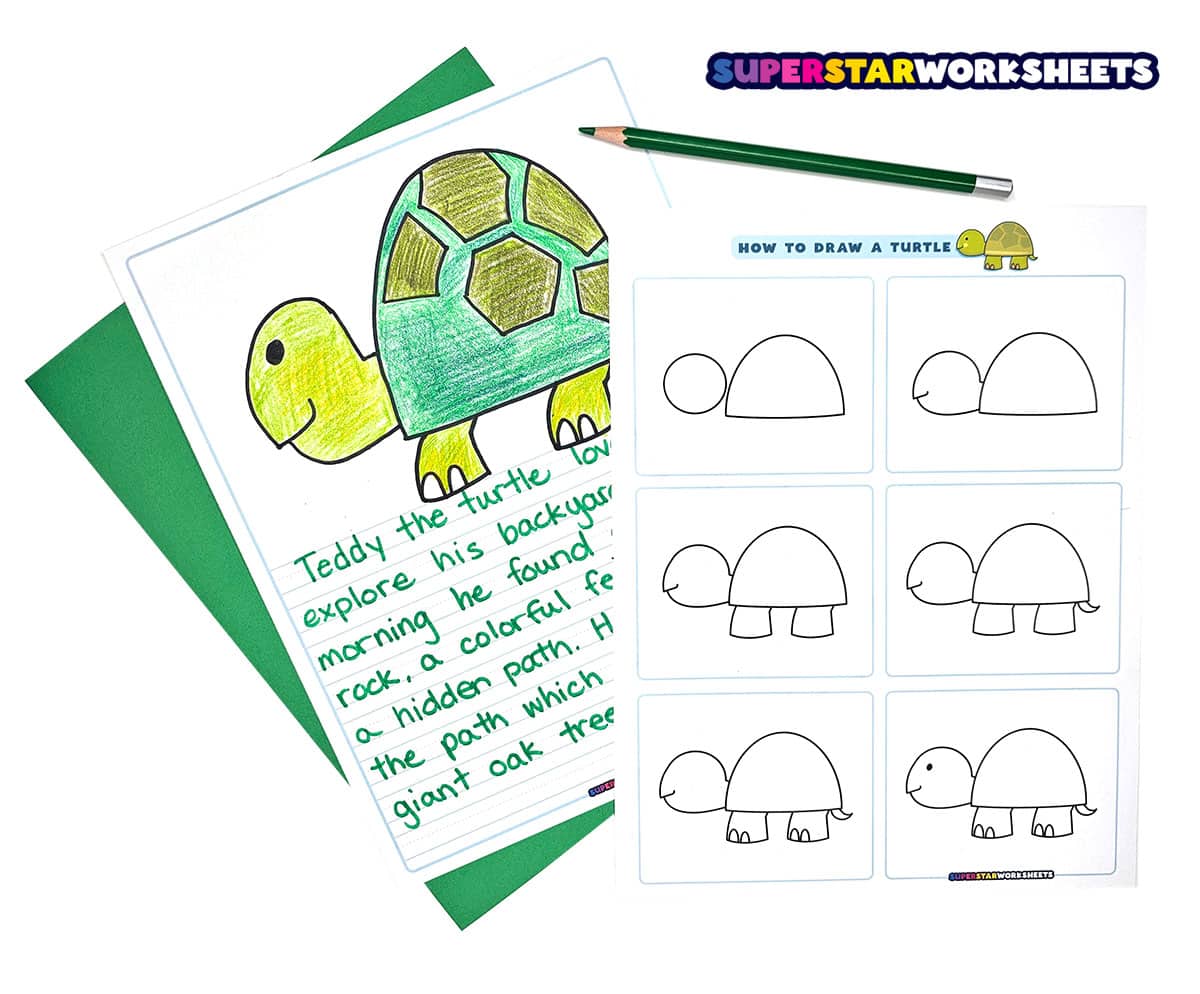
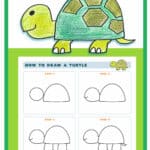
How to draw a simple and easy turtle for kids. This step-by-step turtle drawing tutorial will help your students create their own cute, cartoon turtle in 6 easy steps! Featuring simple black outline drawings and illustrations, our turtle drawing guide is quick and easy for beginners. Download our printable directed drawing worksheet or follow the full drawing tutorial below.

Turtle Step-by-Step Directed Drawing
How to Draw a Turtle
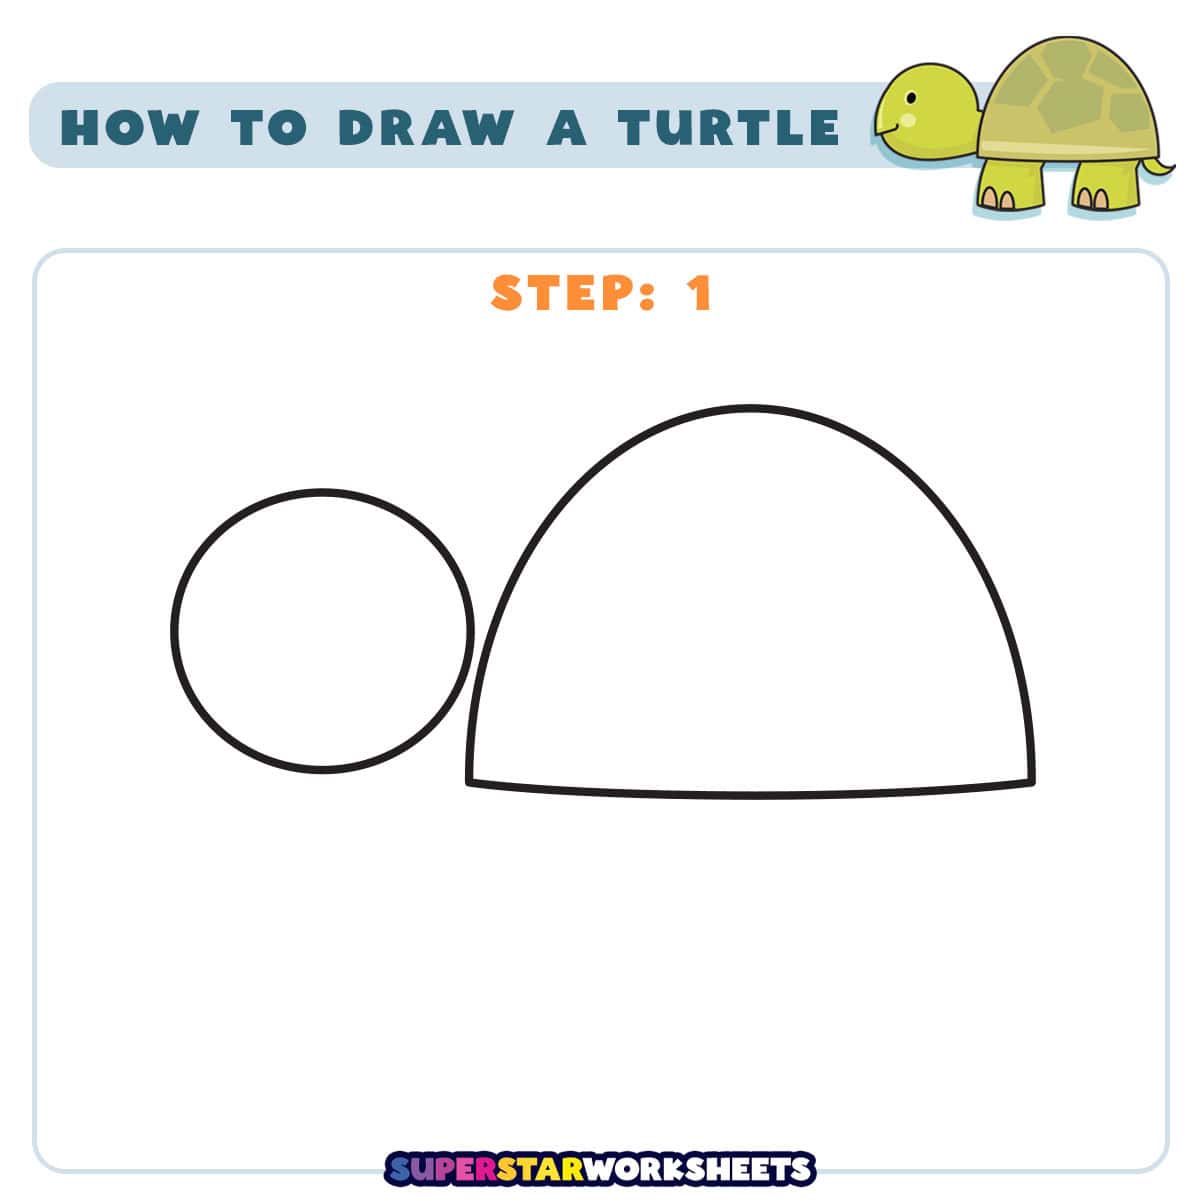
Step 1
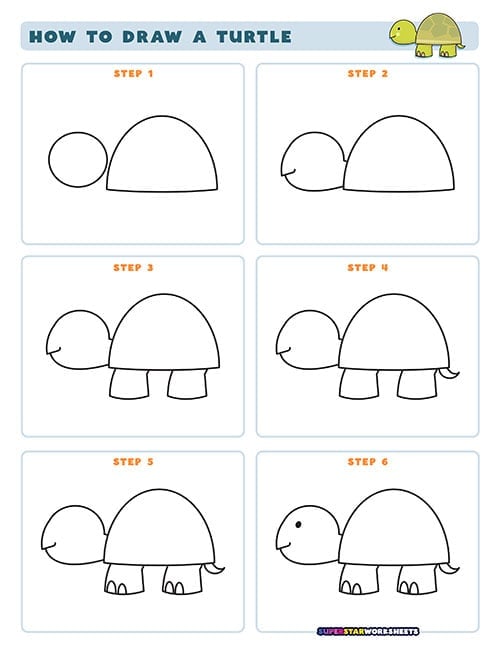
Using a pencil (so you can erase) start by drawing two simple shapes. Make a small circle for the turtle’s head on the left side. Next to it, draw a larger half-circle or dome shape for the turtle’s shell. These two shapes will form the basic structure of your turtle.
How to Draw a Turtle
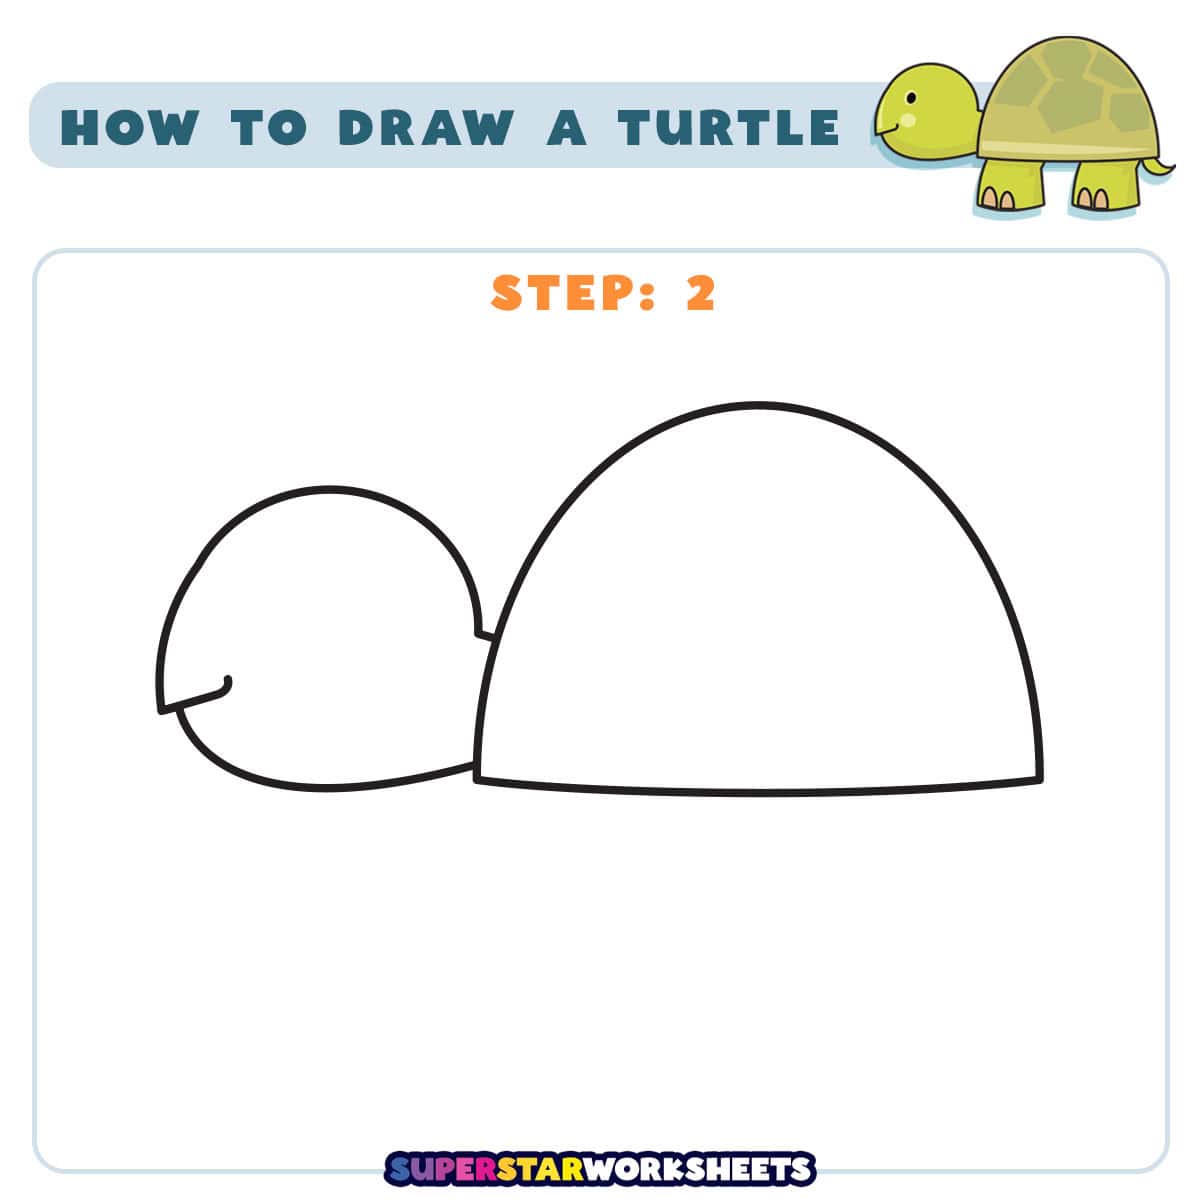
Step 2
Now, let’s give your turtle a face. Add a small curved line on the left side of the head circle to create the turtle’s mouth or beak. This little detail will bring your turtle to life and gives it some personality. Draw two lines to connect your turtle head to the shell, and erase the portion of the circle where it’s connected.
How to Draw a Turtle
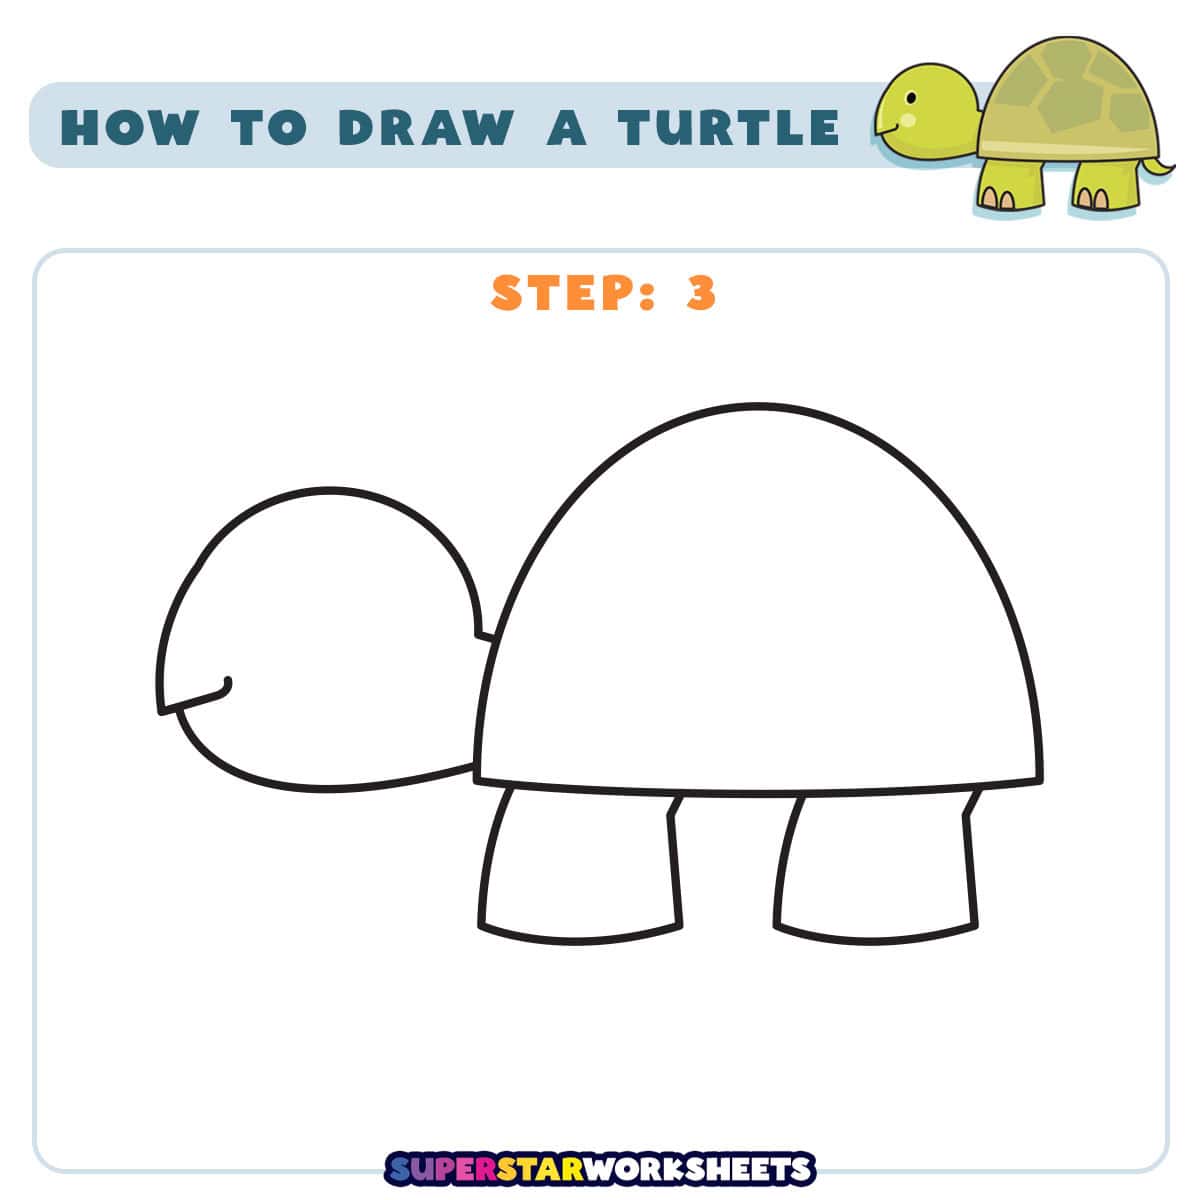
Step 3
It’s time to add legs to your turtle. Draw two short, slightly curved, stubby rectangles coming down from the bottom of the shell. These will be the turtle’s front and back legs on the side facing you.
Fun fact: Did you know that turtles don’t have teeth? Instead, they have strong, sharp beaks that they use to catch and chew their food.
Fun Fact: A turtle’s shell isn’t like a hermit crab’s borrowed home – it’s fused to their spine and ribcage. Those beautiful patterns you see on top are actually modified ribs and vertebrae covered by plates called scutes.
Fun Fact: For many turtle species, the temperature of the sand where eggs incubate determines whether babies will be male or female.
How to Draw a Turtle
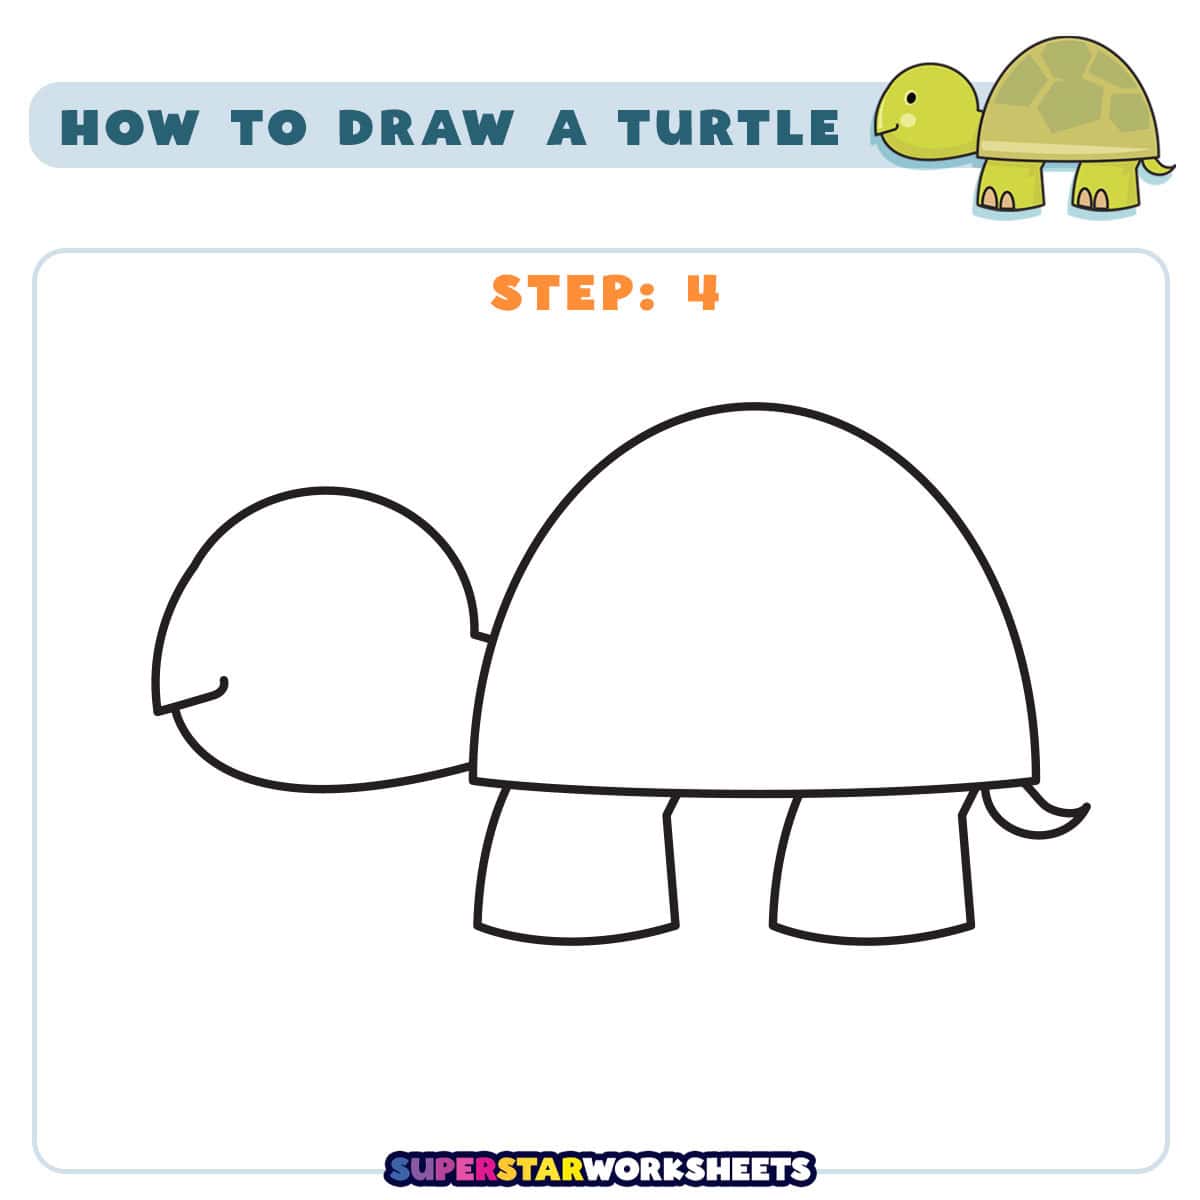
Step 4
Let’s make the turtle’s tail. Add a small, curved triangle shape coming out from the right side of the shell, near the bottom. This little tail adds more character to your turtle and makes it look more complete.
How to Draw a Turtle
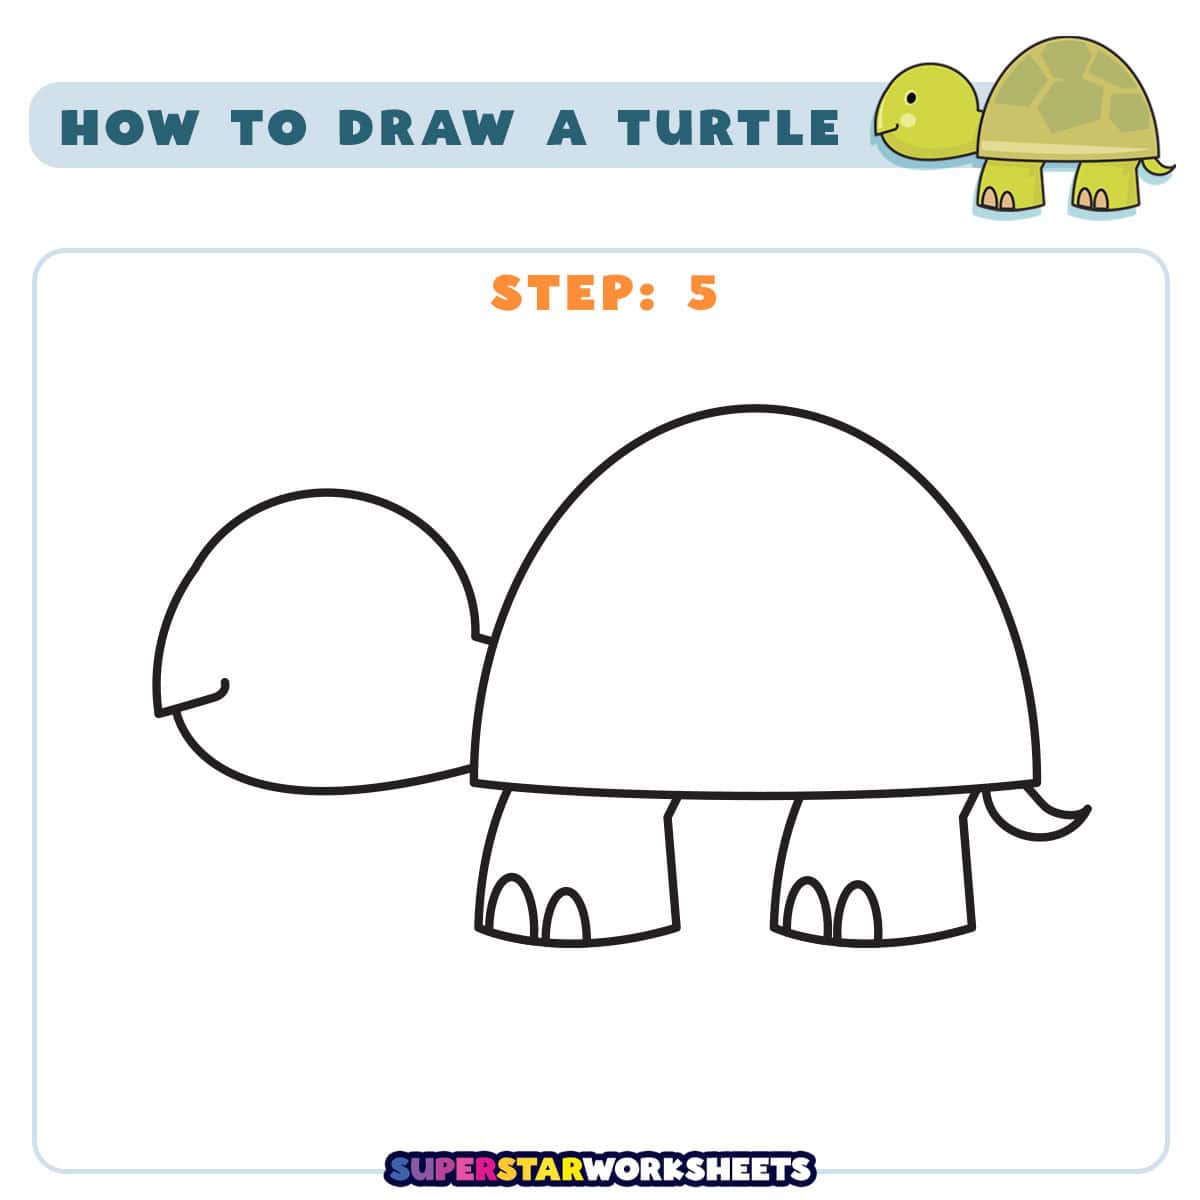
Step 5
Now, add some toes to make the feet look more realistic. Draw two rainbow-shaped small semi-circles at the bottom of each leg. These represent the turtle’s claws and help to make the drawing more detailed and turtle-like. Claws are very important for turtles! They use them for digging! (If you’re drawing a sea turtle, skip the claws!)
How to Draw a Turtle
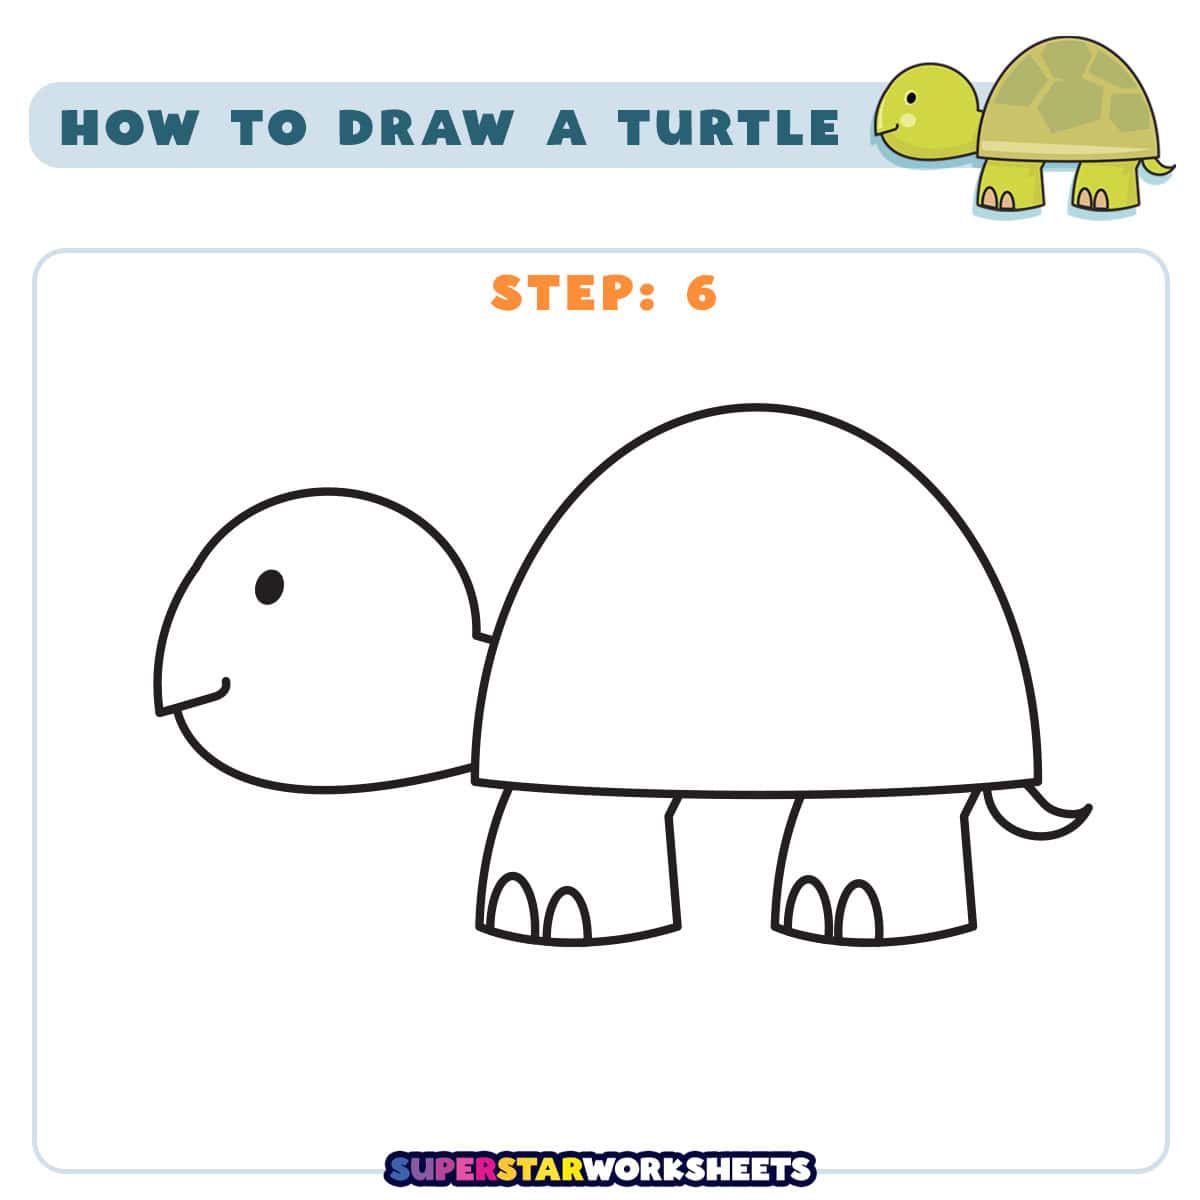
Step 6
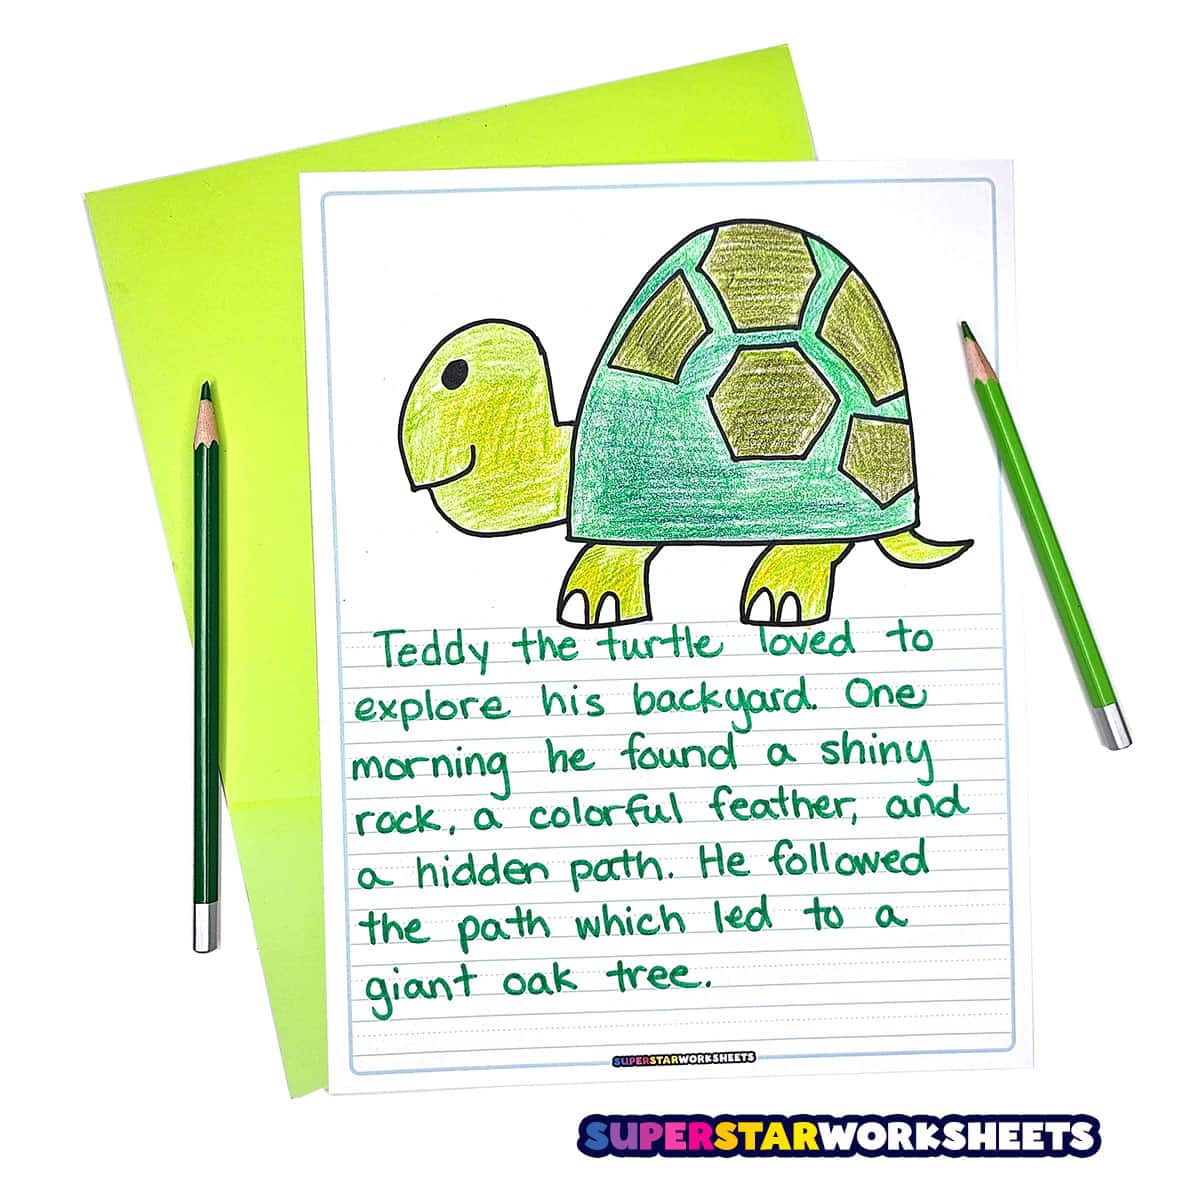
For the finishing touch, give your turtle an eye. Add a small dot on the head, near the top of the circle. If you like, you can add some hexagon shapes to the turtle’s shell. Congratulations! You’ve now drawn an adorable turtle. Break out your favorite colored pencils or markers, and add some color to your drawing!
Fun Fact: Some turtles, like sea turtles, have flippers instead of legs to help them swim gracefully through water! If you want to learn how to draw sea turtle, make stretched out triangular shaped legs instead. (Like a long skinny shark’s fin).
Fun Fact: A turtle’s tail isn’t just for show – male turtles often have longer tails than females, which helps scientists tell them apart!
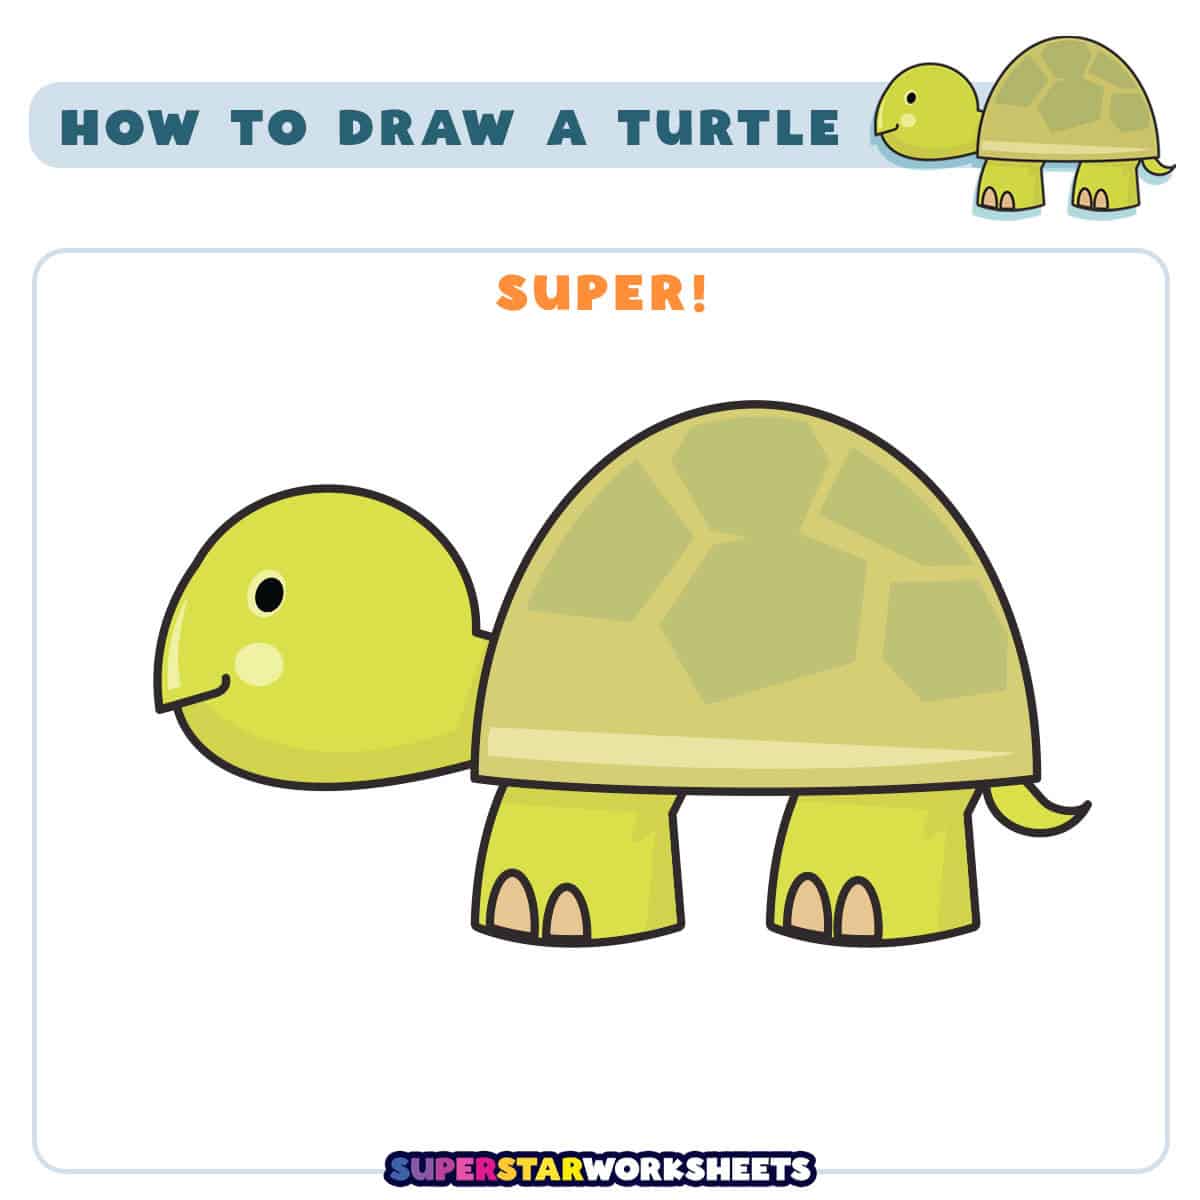
You Drew a Turtle!
Your simple and adorable turtle is finished! If you’re working on this project together as a class, copy and print the written instructions to read aloud. Students can use pencils to sketch the outline their drawing, then a marker to finalize their lines when they are happy with them. Add a little drawing fun to your classroom with our huge Directed Drawing Bundle, you can download and print today!
Teachers! If you are wanting more FREE drawing printables take a look at our Finish the Drawing Printables. Download our printable Draw and Write Paper for fun journal writing activities. and find more How to Draw for Kids here.

Leave a Reply