
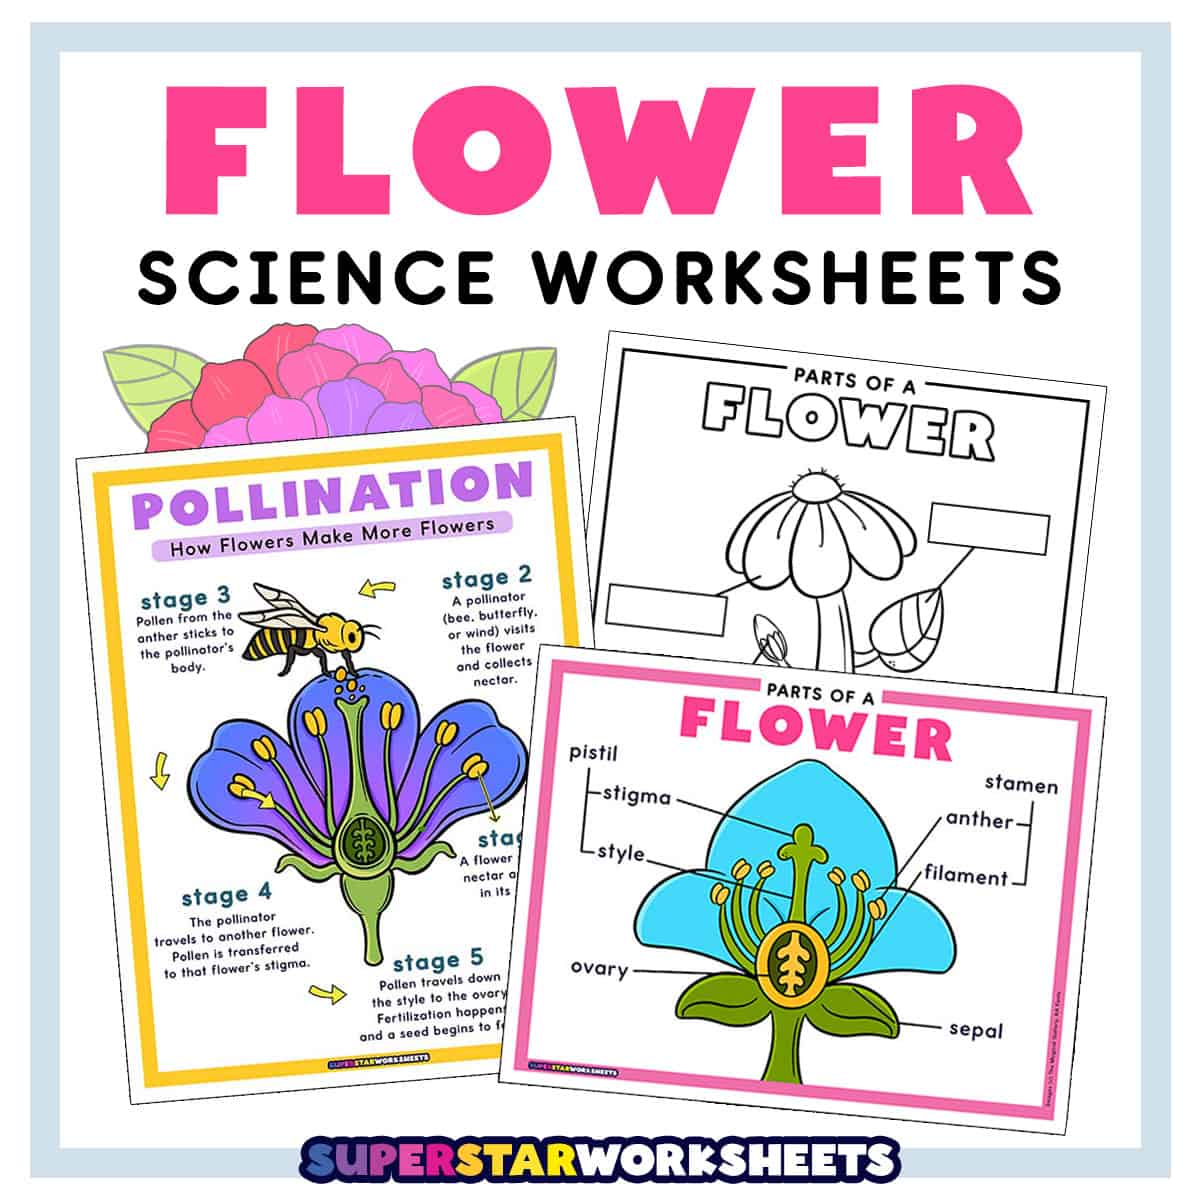
Free Printable Flower Worksheets for elementary students, kindergarten, and homeschool learners. Download and print PDF parts of a flower diagrams, flower life cycle charts, pollination worksheets, fun facts posters, and science experiments all in one place. Our flower science worksheets cover essential plant science concepts, from identifying the petal, stem, and root to understanding how pollination works and what capillary action is. Perfect for classroom science centers, spring units, or homeschool plant science lessons for kids in preschool through fourth grade.
Parts of a Flower Printables
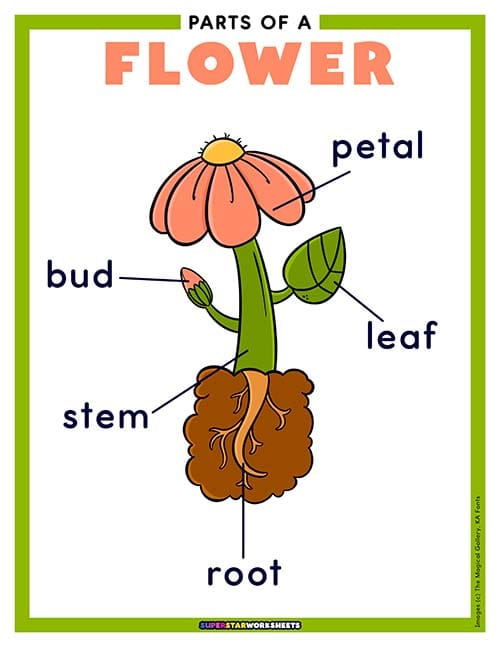
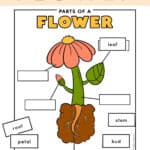
This colorful flower parts chart introduces five basic parts of a flower in a simple, easy-to-read diagram designed for early elementary students. Display it as a classroom anchor chart or send it home as a study reference.
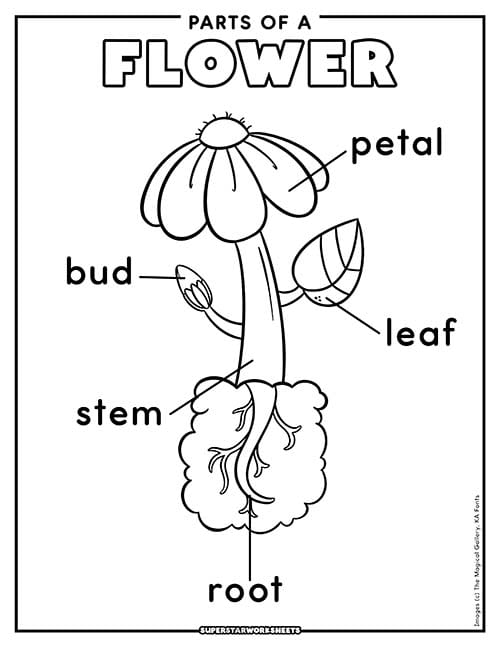
This black-and-white parts of a flower worksheet is perfect for early learners. The first page provides word labels for students to color, while the second page challenges them to place cut-and-paste labels onto the correct parts of the diagram.
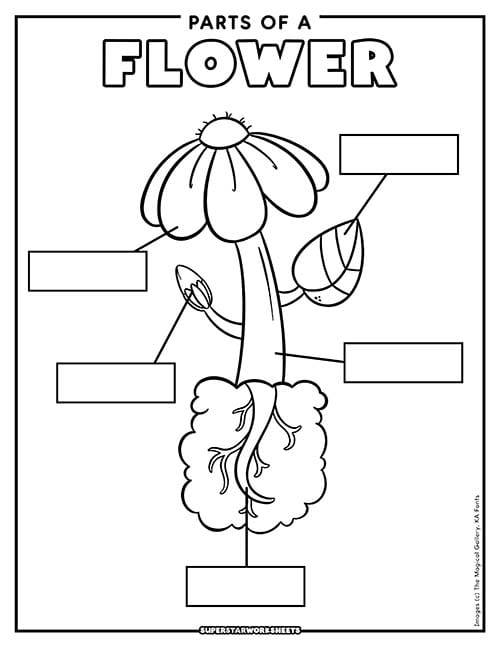
Label the Parts of a Flower Cut and Paste
Students practice identifying all the labeled parts of a flower by cutting out word labels and pasting them onto the correct pointer boxes on the diagram. This two-page set includes a basic version and a full-anatomy version to scaffold learning from beginner to advanced.
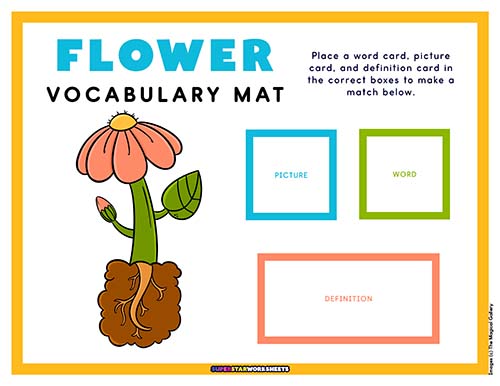
Flower Vocabulary Learning Mat
This reusable flower vocabulary mat pairs with our three-part vocabulary card sets for a hands-on matching activity. Students place picture, word, and definition cards in the correct columns. This is perfect for science centers, small group work, or independent practice.
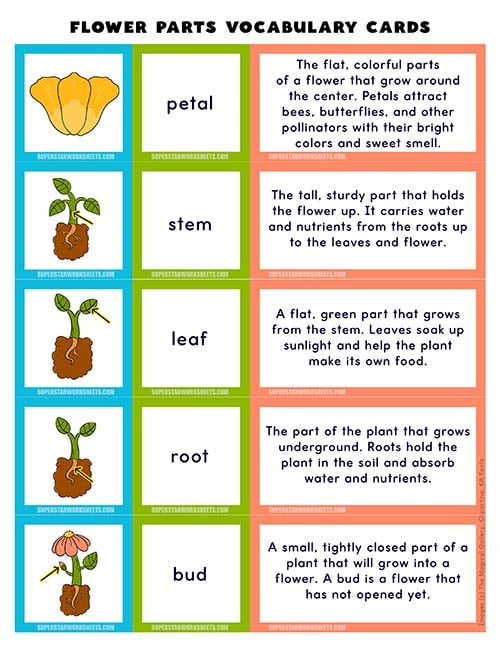
These three-part flower vocabulary cards cover all thirteen parts of a flower across three card sets. Students match the picture, word, and definition card for each term in a self-checking activity that builds botanical vocabulary.
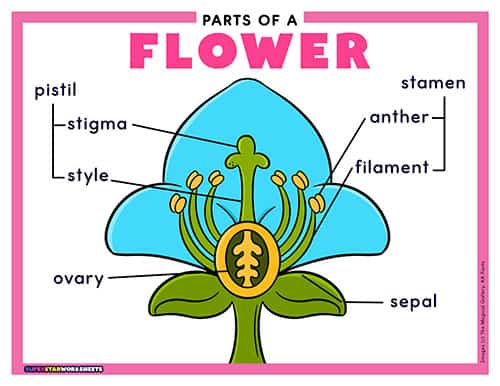
Parts of a Flower Chart Full Anatomy
This detailed flower anatomy chart shows detailed parts of a flower, including the stamen, pistil, anther, filament, stigma, style, and ovary alongside the basic exterior parts. Use this as a reference poster for upper elementary students exploring plant reproduction and structure.
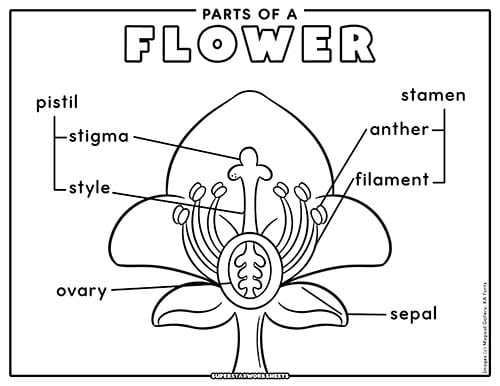
Here is a black and white version of the full flower anatomy chart, labeling the stigma, style, ovary, anther, filament, and sepal. Students can color it in and keep it as a reference while learning about plant structure and reproduction.
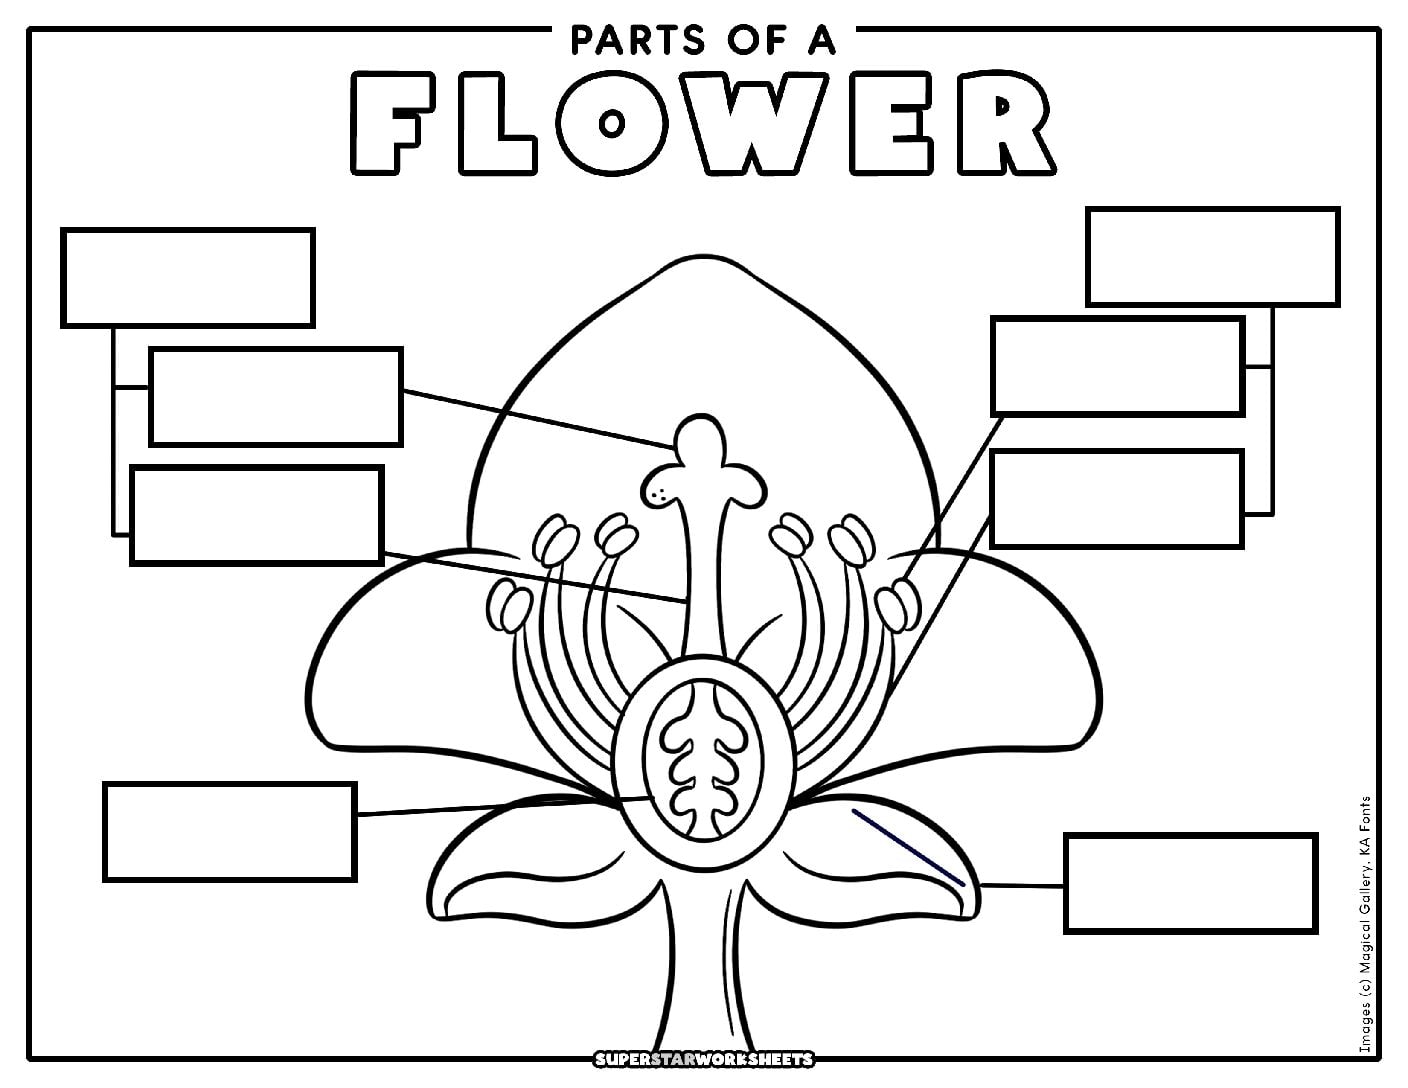
Flower Parts Full Cut Paste Worksheet
Put students’ flower knowledge to the test with this black and white cut and paste activity! They’ll snip out each label and match it to the right spot, from the pistil and stamen down to the sepal. It’s a fun way to check understanding after studying the full anatomy chart.
Teaching Parts of a Flower
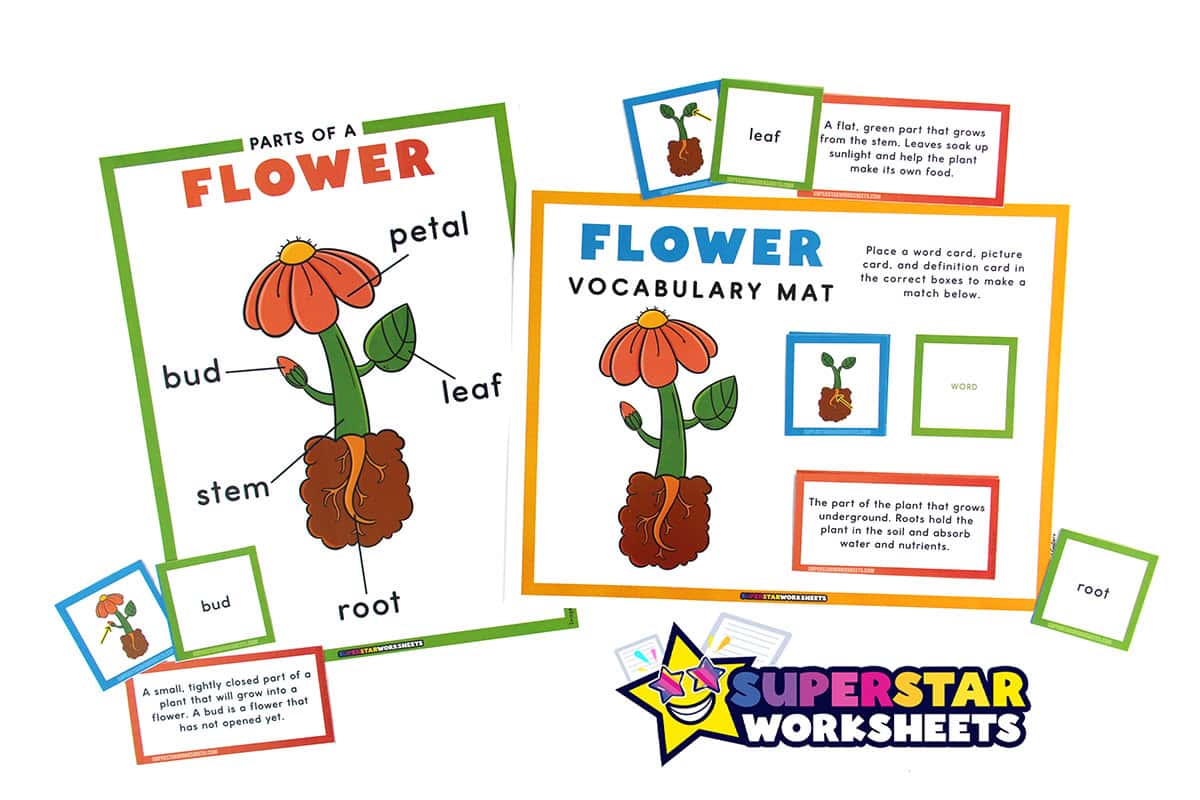
The best way to teach the parts of a flower is to explore a real one! Bring a variety of fresh flowers into the classroom and invite students to observe them closely before labeling any diagrams. Start with our basic parts chart to introduce the petal, stem, leaf, root, and bud. Once students are comfortable with those five terms, introduce the extended anatomy chart to explore the inner reproductive structures of a flower.
petal the flat, colorful parts of a flower that grow around the center. Petals attract bees, butterflies, and other pollinators with their bright colors and sweet smell.
stem the tall, sturdy part that holds the flower up. It carries water and nutrients from the roots up to the leaves and flower.
leaf a flat, green part that grows from the stem. Leaves soak up sunlight and help the plant make its own food.
root the part of the plant that grows underground. Roots hold the plant in the soil and absorb water and nutrients.
bud a small, tightly closed part of a plant that will grow into a flower. A bud is a flower that has not opened yet.
sepal the small, green, leaf-like parts that wrap around the base of a flower. Sepals protect the bud before it opens.
stamen the male part of a flower, made up of the anther and filament. Its job is to produce pollen.
pistil the female part of a flower, made up of the stigma, style, and ovary. Its job is to receive pollen and make seeds.
anther the part at the top of the stamen that produces and holds pollen grains.
stigma the sticky top part of the pistil that catches pollen brought in by pollinators.
Encourage students to use descriptive language as they explore each part — touch the soft petals, feel the sturdy stem, and look for tiny pollen grains on the anther. Use our vocabulary mat and vocabulary cards to reinforce terms in a hands-on way before moving on to the labeling worksheets.
Flower Life Cycle Printables
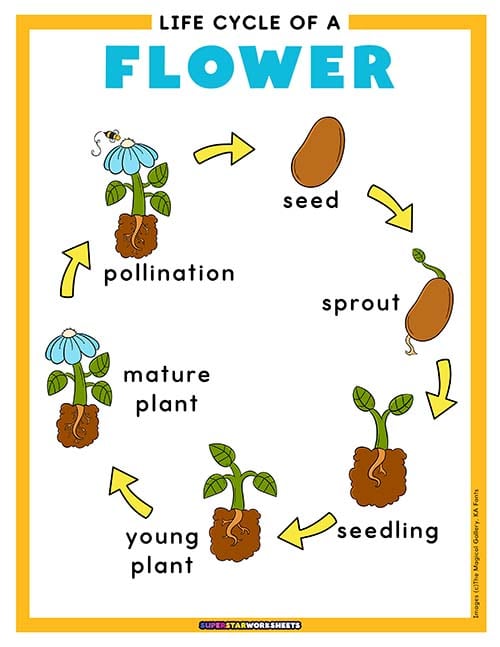
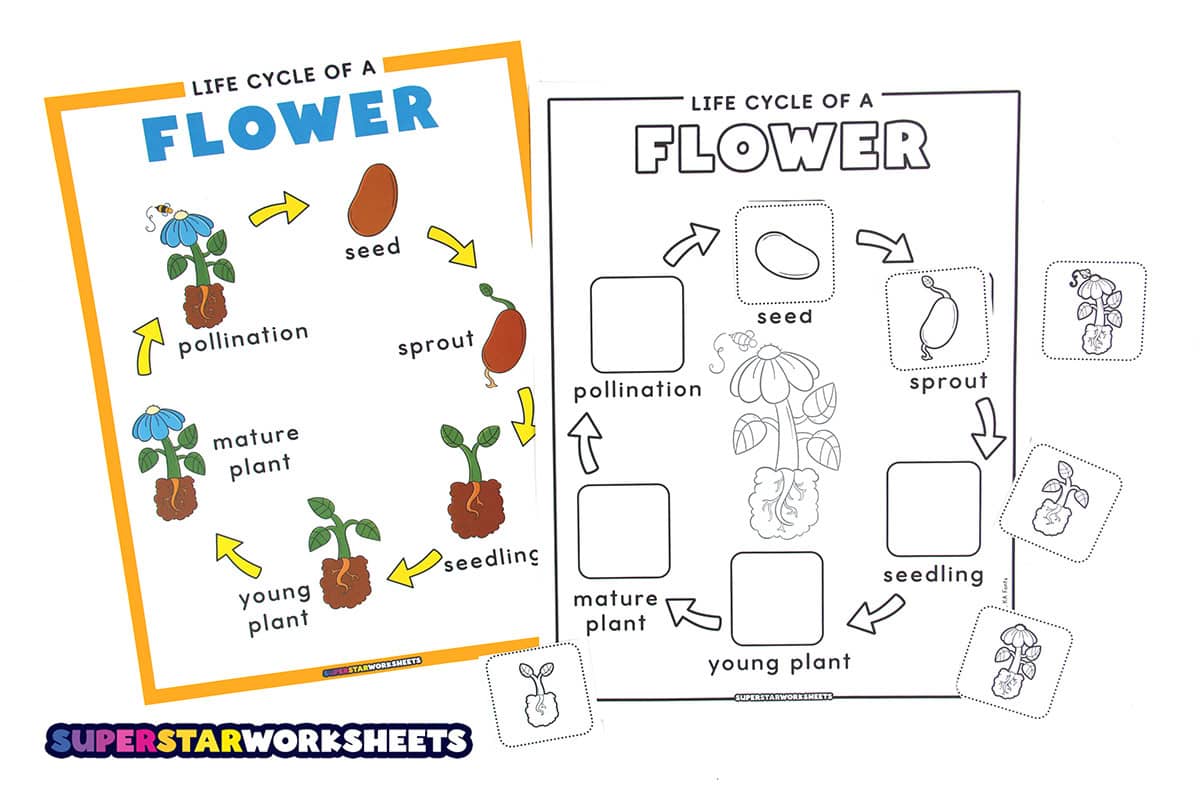
This colorful circular chart walks students through the six stages of a flower’s life cycle with vivid illustrations and lowercase labels. Post it on your science wall or use it as a reference during plant science lessons.
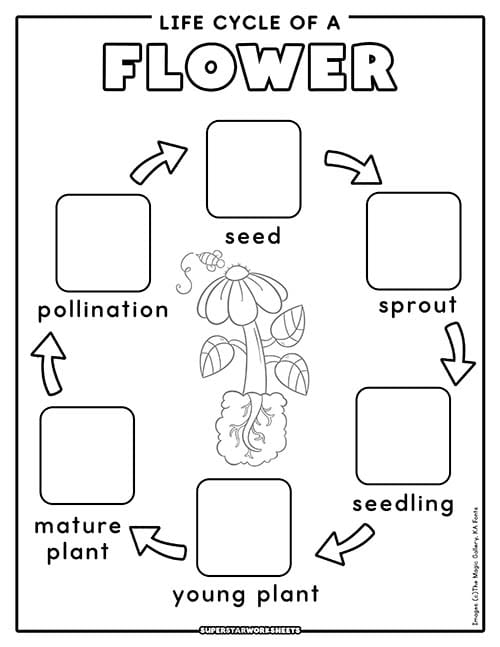
Flower Life Cycle Cut and Paste
Students cut out illustrated stage pictures and paste them in the correct order around a circular life cycle diagram. This picture-based sequencing activity is perfect for early learners and provides a fine motor component alongside the science concept.
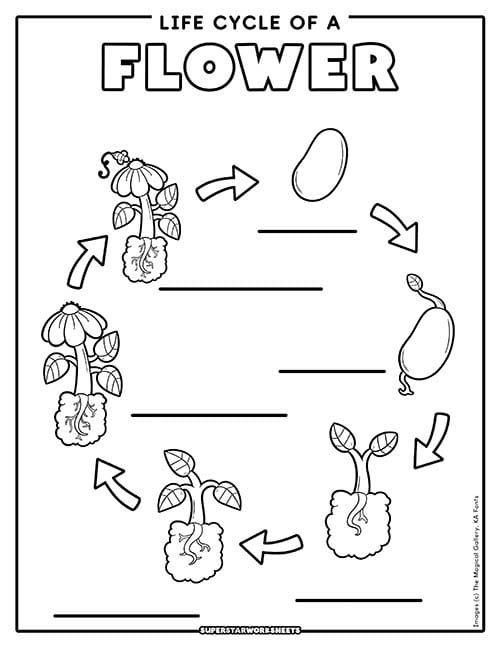
Flower Life Cycle Of A Flower Label Worksheet
Kids will use this life cycle of a flower worksheet as an opportunity to practice their memorization skills. Students will look at each picture of each life cycle stage and try and label with the correct term.
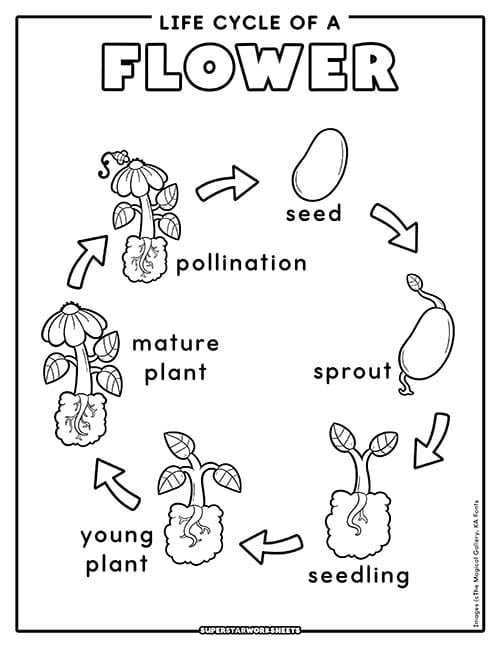
This dual-variation worksheet set gives students two ways to practice the flower life cycle. The first page provides stage labels for students to color, while the second page has blank lines for students to write in each stage from memory. Teachers! Check out these free Flower Coloring Pages!
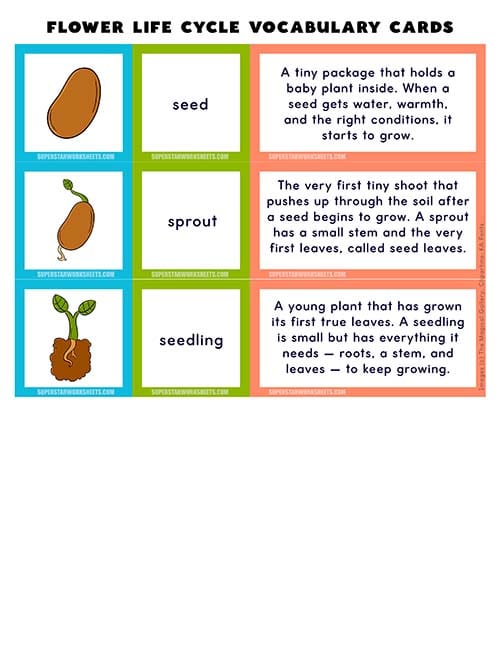
Flower Life Cycle Vocabulary Cards
These three-part vocabulary cards cover all six stages of the flower life cycle across two card sets. Students match the stage illustration, stage name, and definition for each step as a hands-on way to reinforce sequencing and vocabulary before moving on to labeling and cut-and-paste practice.
Teaching the Life Cycle of a Flower
The best way for students to learn about the flower life cycle is to grow one! Planting fast-growing seeds like marigolds in small classroom cups gives students a front-row view of each stage as it unfolds. Encourage students to observe their plant carefully and use descriptive language at each stage. Notice how the first tiny sprout differs from a seedling with true leaves, and how a mature plant looks very different from a young plant just weeks earlier.
seed a tiny package that holds a baby plant inside. When a seed gets water, warmth, and the right conditions, it starts to grow.
sprout the very first tiny shoot that pushes up through the soil after a seed begins to grow.
seedling a young plant that has grown its first true leaves.
young plant a plant that is growing bigger and stronger but has not yet produced a flower.
mature plant a fully grown plant that is ready to flower.
pollination the process where pollen is moved from one flower to another, allowing a flower to make seeds.
Use the life cycle chart as your anchor chart throughout the unit, and add vocabulary cards to your science center so students can practice ordering and matching the stages independently. The life cycle wheel makes a wonderful take-home project that reinforces each stage and gives families a chance to continue the conversation at home.
Flower Life Cycle Crafts & Activities for Kids
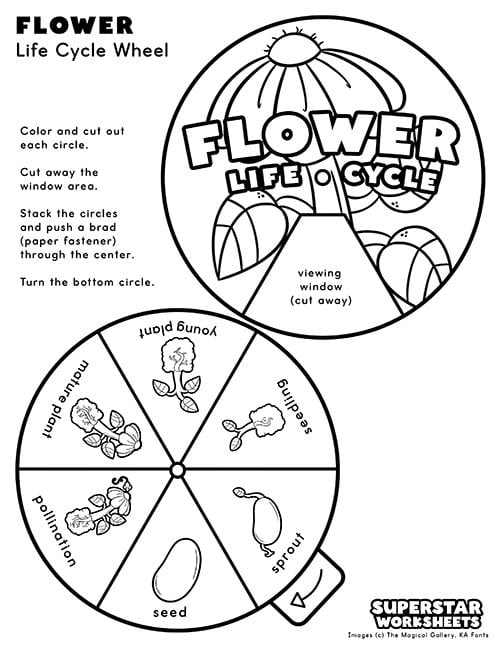
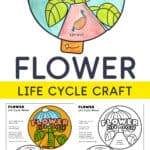
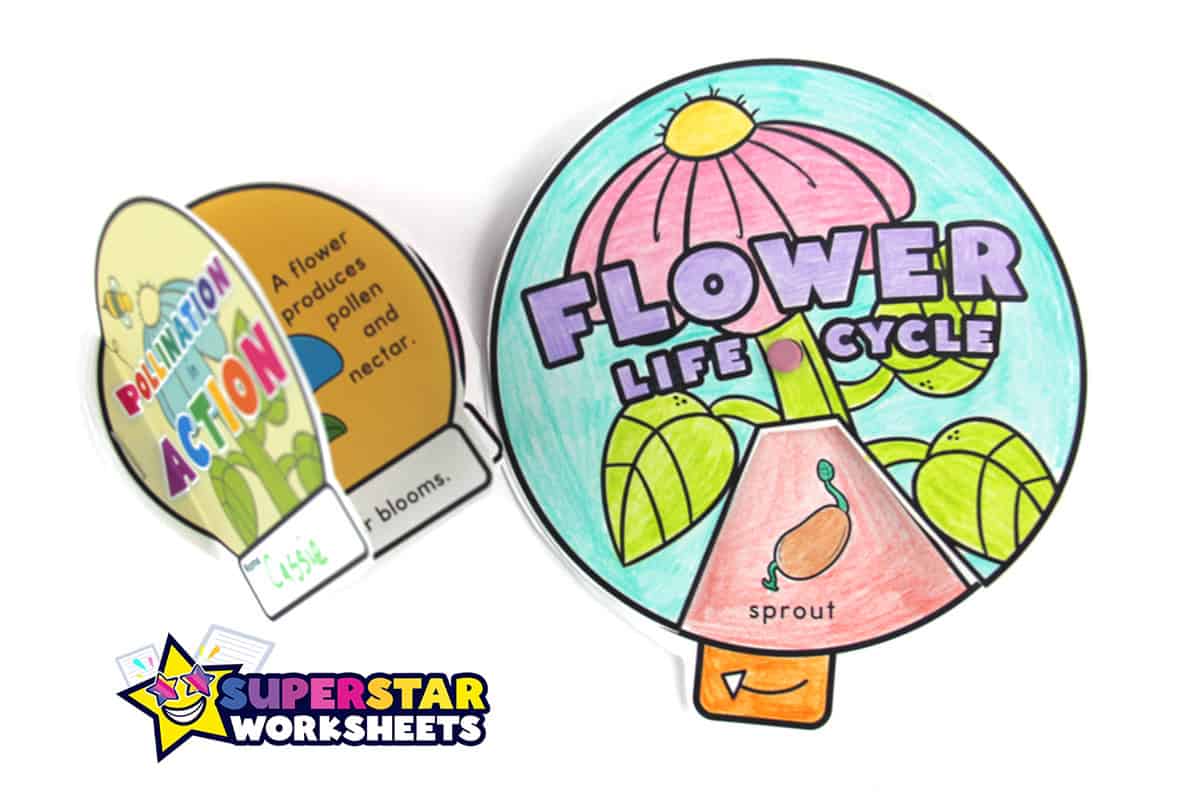
Students color, cut, and assemble this spin wheel to create their own interactive flower life cycle reference. The wheel spins to reveal each stage with its illustration and label. This is a wonderful take-home project and a great addition to any science notebook or spring bulletin board.
Flower Science Experiment for Kids
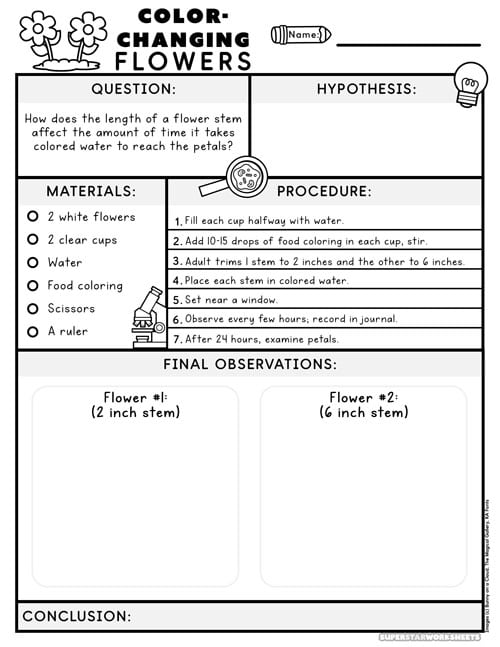
Color-Changing Flowers Capillary Action Experiment
In this hands-on science experiment, students investigate how stem length affects the speed of capillary action by placing two white flowers, one with a 2-inch stem and one with a 6-inch stem, into cups of colored water and observing which petals change color first. The companion observation journal guides students through four days of recording, drawing, and analyzing results.
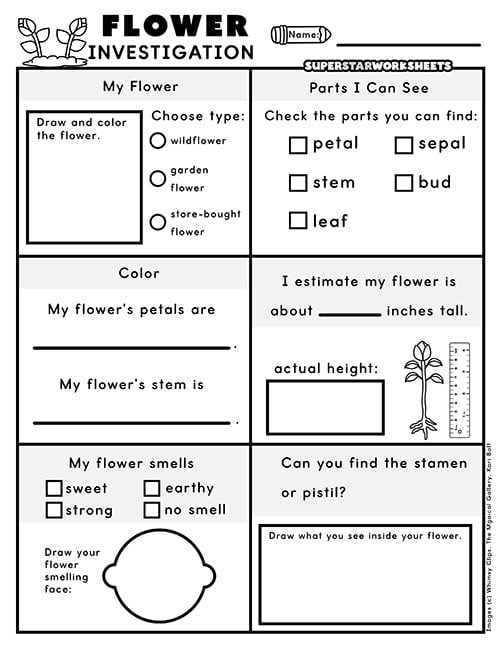
Take flower learning beyond the page with this hands-on investigation sheet. Students observe a real flower, record its color and size, check off the parts they can find, and sketch the inside of the flower to look for the stamen and pistil. For more free flower printables, take a look at our Flower Templates!
Flower Experiment Teacher Guide: Color-Changing Flowers
This color-changing flowers experiment is a simple and stunning way to demonstrate capillary action is the process by which water moves upward through tiny tubes inside a plant’s stem. By comparing two flowers with different stem lengths, students investigate an independent variable and make predictions about how stem length affects the rate of water absorption. The experiment is appropriate for elementary students and can be completed with minimal materials.
QUESTION: How does the length of a flower stem affect the amount of time it takes colored water to reach the petals?
MATERIALS:
Step 1: Fill each cup about halfway with water.
- 2 white flowers (carnations or daisies work best)
- 2 clear cups
- Water
- Food coloring (any color)
- Scissors (adult help required)
- A ruler
PROCEDURE:
Step 1: Fill each cup about halfway with water.
Step 2: Add 10–15 drops of food coloring to each cup. Stir gently.
Step 3: Have an adult trim one flower to a 2-inch stem and the other to a 6-inch stem, both cut at an angle.
Step 4: Place one flower in each cup of colored water.
Step 5: Set both cups near a window. Label each cup with the stem length.
Step 6: Observe every few hours and record in the Science Journal.
Step 7: After 24 hours, compare the color in both flowers’ petals. Which changed faster?
SCIENCE CONNECTION:
This experiment demonstrates capillary action is the ability of water to move upward through tiny tubes inside a plant’s stem against the pull of gravity. This is the same process that allows all flowering plants to absorb water from the soil up to their leaves, petals, and reproductive structures. The shorter-stemmed flower should show color change more quickly, since the water has less distance to travel. Use this as an opportunity to discuss variables, predictions, and evidence is key science practices at every grade level.
EXPECTED RESULTS: The short-stemmed flower (2 inches) will show color in its petals within a few hours. The longer-stemmed flower (6 inches) will take longer but will ultimately show a similar result. Both demonstrate capillary action.
Flower Science Facts for Kids
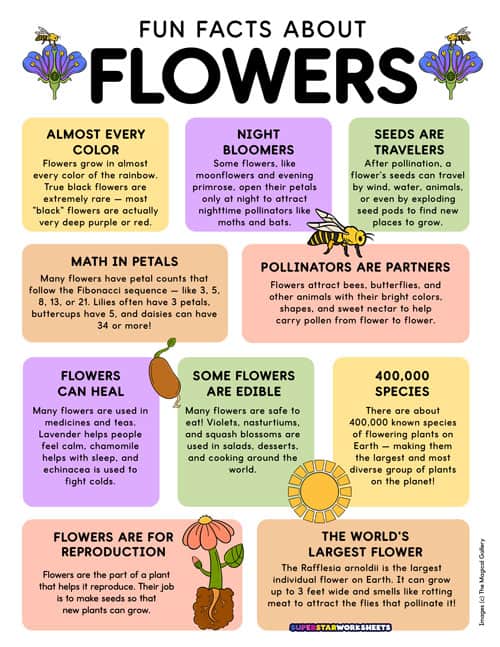
This vibrant infographic-style poster shares ten fascinating flower facts from the history of flowering plants and the record-breaking Rafflesia arnoldii to edible flowers, night bloomers, and the 400,000 species of flowering plants on Earth. A great way to spark curiosity before a research project.
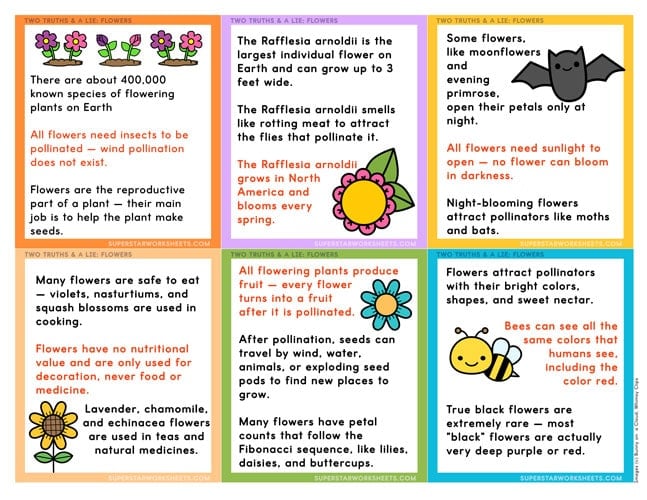
This classroom game features six cards, each with two true flower facts and one convincing lie printed in red for easy reveal. Read the cards aloud and challenge students to identify the lie. A perfect warm-up activity, brain break, or science center game for any flower or plant science unit.
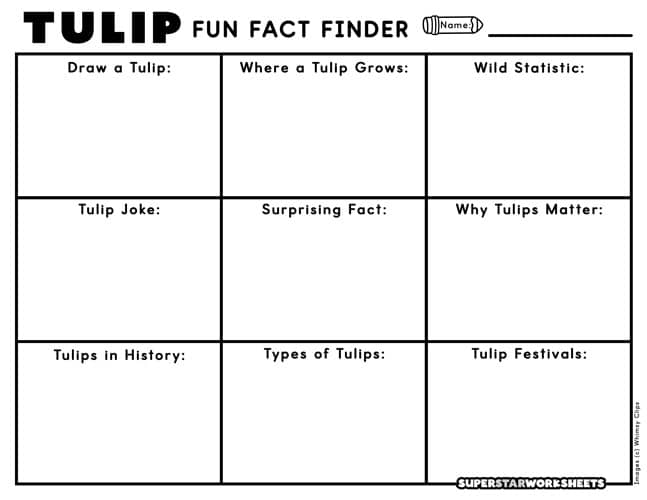
Students practice research skills by finding facts about tulips using nine guided prompts from where tulips grow and types of tulips to the wild history of Tulip Mania and a silly flower joke. A fun and engaging research activity that builds science literacy alongside content knowledge.
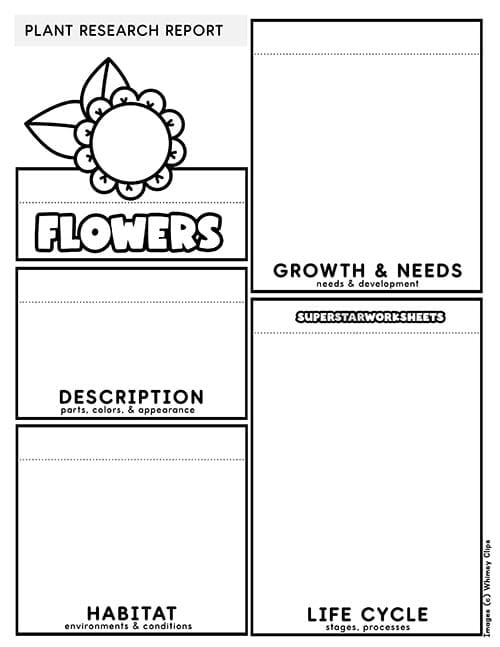
Students research and record key facts about flowers in this four-section layer book covering description, habitat, growth and needs, and life cycle. Students cut, layer, and staple the pages to build a small flip book that makes a perfect addition to a science notebook or portfolio.
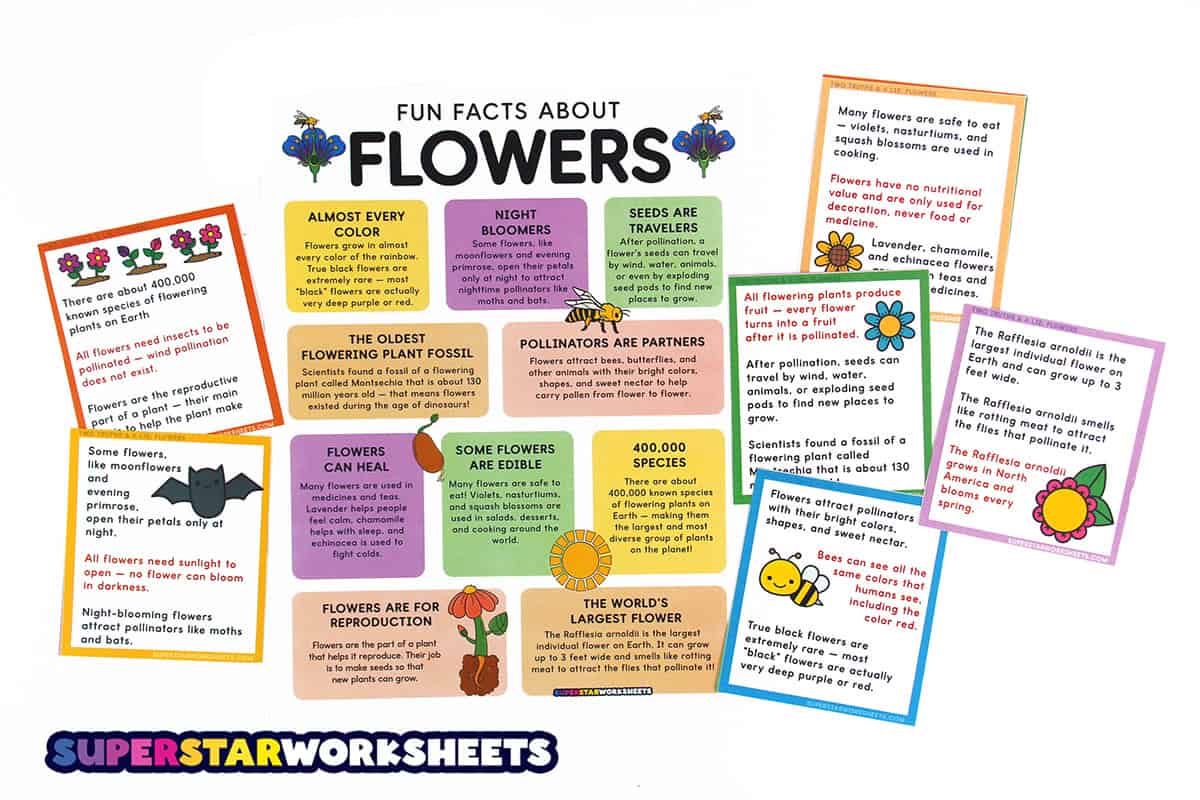
Amazing Flower Facts
Fruit Starters: Every fruit you eat, from apples to pumpkins to tomatoes, starts out as a flower!
Hummingbird Helpers: Many red, tube-shaped flowers are the perfect shape for hummingbirds, who sip their nectar and carry pollen from flower to flower.
So Many Flowers: There are more than 300,000 different kinds of flowering plants in the world.
Secret Patterns: Bees can see ultraviolet colors that people can’t, so many flowers have hidden patterns that guide bees right to the pollen.
Sun Followers: Young sunflowers turn their heads to follow the sun across the sky during the day.
A Flower Full of Flowers: The middle of a sunflower is actually made of hundreds of tiny flowers packed together!
Eat Your Flowers: Broccoli and cauliflower are actually bunches of flower buds that haven’t opened yet.
Tiny Bloomer: The world’s smallest flowering plant, called watermeal, is about the size of a sprinkle on a cupcake.
Night Bloomers: Moonflowers open their petals at night and close them during the day.
Precious Petals: The spice saffron comes from crocus flowers, and it takes about 150 flowers to make just one gram!
Pollination Worksheets for Kids
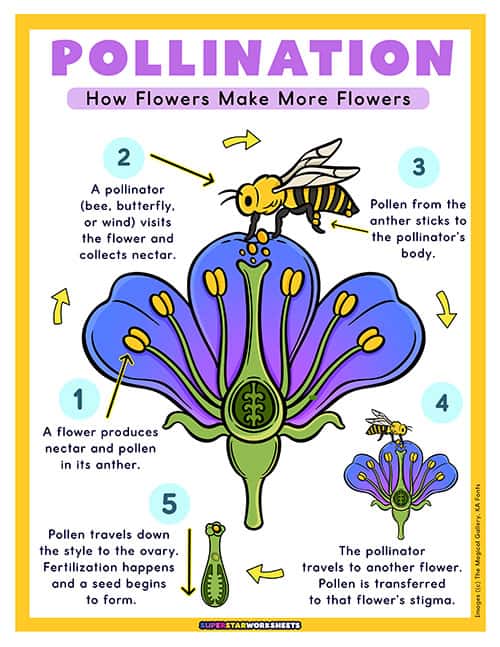
How Pollination Works Process Chart
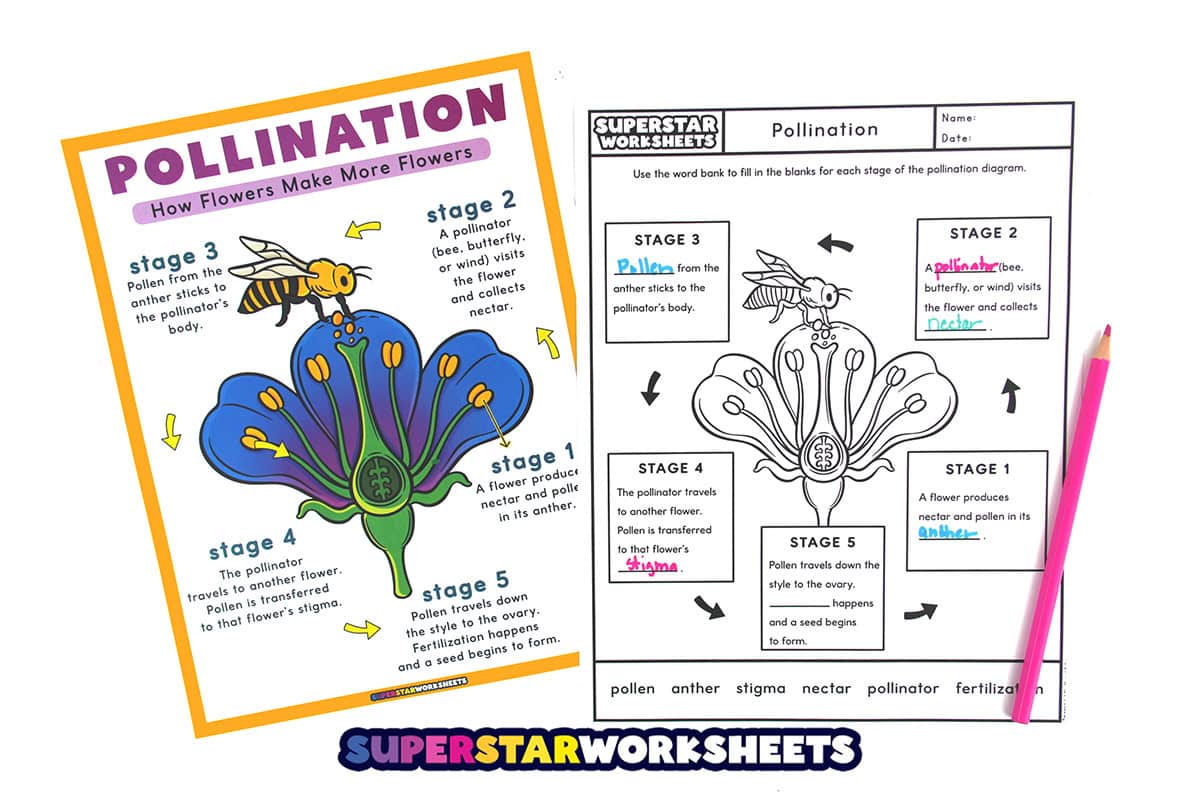
This clear, colorful process diagram walks students through the five stages of pollination from a flower producing nectar and pollen, to a pollinator visiting, to pollen being transferred to a new flower’s stigma, and finally to fertilization and seed formation. A must-have reference for any plant science unit. Check out our seed worksheets for more science based learning!
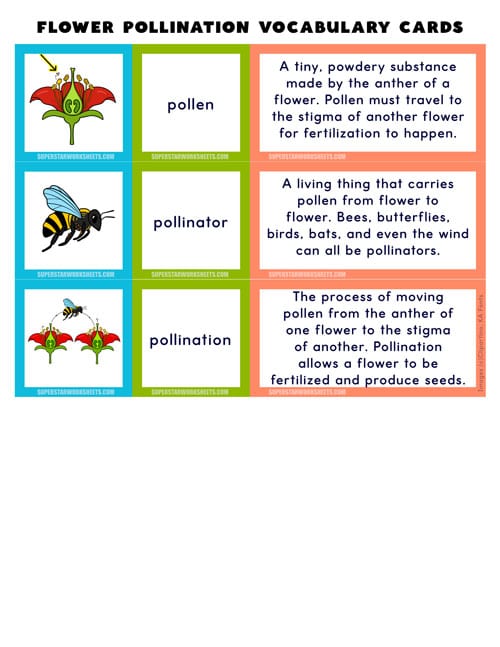
These three-part vocabulary cards cover seven key pollination terms across two card sets. Students match each term with its picture and definition card, building the vocabulary needed to understand and describe the pollination process.
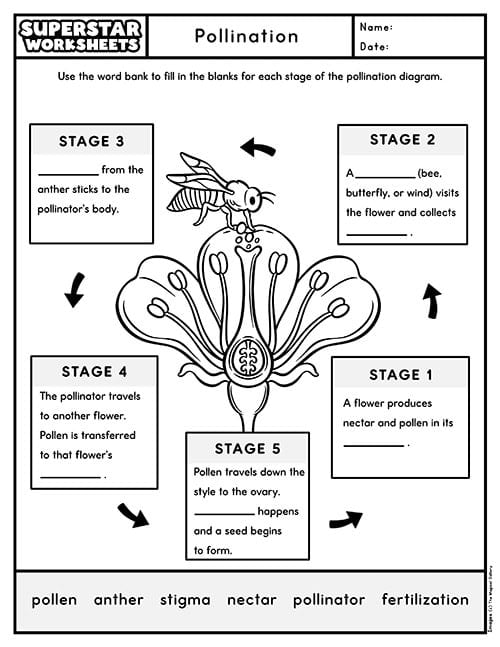
Students use a word bank to label six key elements on a blank pollination process diagram. This printable reinforces the process chart and makes a great formative assessment or independent practice worksheet.
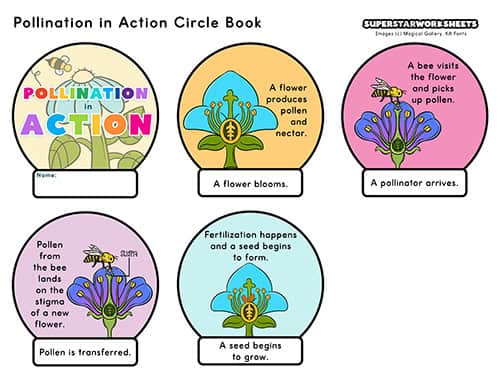
Here is a colorful set of pages describing and depicting how pollination happens! For more free science worksheets, check out our Plant Worksheets!
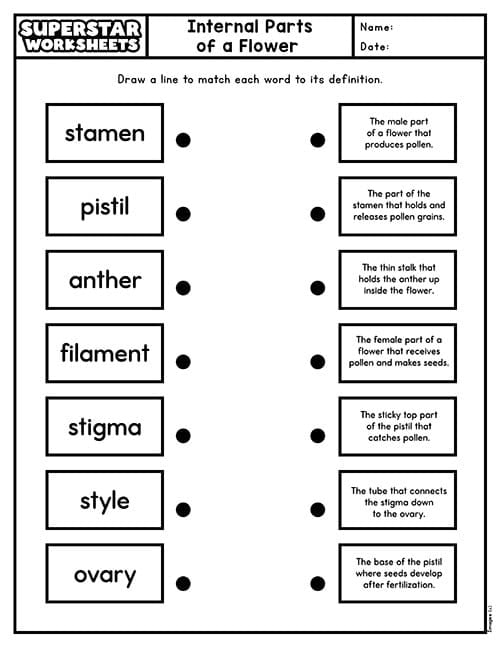
In this matching worksheet, students draw a line connecting each internal flower part to its definition, covering the stamen, pistil, anther, filament, stigma, style, and ovary. It’s a great way for upper elementary students to go beyond labeling and show they understand what each part actually does.
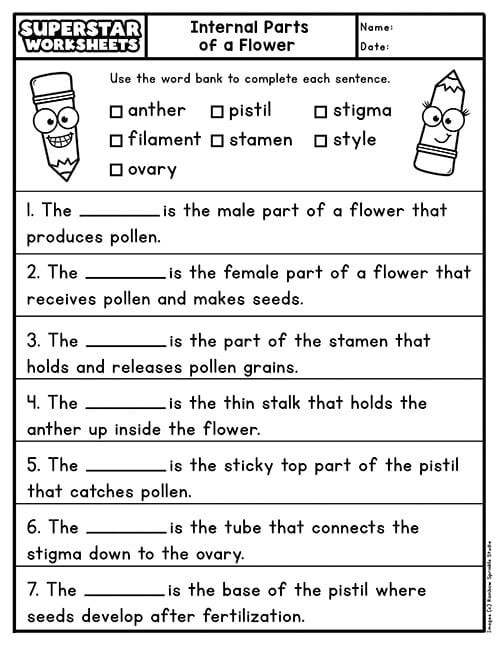
Students use the word bank to complete each sentence about the internal parts of a flower, from the pollen-producing anther to the ovary where seeds develop. This fill-in-the-blank worksheet makes a quick review or assessment for upper elementary students after learning flower anatomy.
Teaching Pollination
Pollination is one of the most exciting science concepts to teach because it connects the parts of a flower directly to a real-world process students can observe outside. Start by reviewing the parts of a flower. The anther, pollen, and stigma. Then introduce the idea that flowers need help moving pollen from one flower to another. Ask students: who do you think carries the pollen?
pollination the process of moving pollen from the anther of one flower to the stigma of another, allowing a flower to be fertilized and produce seeds.
pollinator a living thing that carries pollen from flower to flower. Bees, butterflies, birds, bats, and even the wind are all pollinators.
pollen a tiny, powdery substance made by the anther of a flower that must travel to the stigma of another flower for fertilization to happen.
nectar a sweet liquid produced inside a flower that attracts pollinators like bees and butterflies.
anther the part of the stamen that produces pollen. Pollen sticks to a pollinator’s body when it visits the flower.
stigma the sticky top part of the pistil that catches pollen brought in by a pollinator.
fertilization what happens after pollen reaches the stigma — the pollen travels to the ovary and joins with an egg to create a seed.
A fun hands-on way to demonstrate pollination is to have students act it out — one student is the flower with “pollen” (yellow powder or glitter on their fingertips), and another is the bee who visits and then carries the pollen to a second flower student. After the activity, use our pollination process chart to connect what they experienced to the scientific terms.
Comment (1)
I am having difficulty printing. I really like the worksheets for my group of students.