

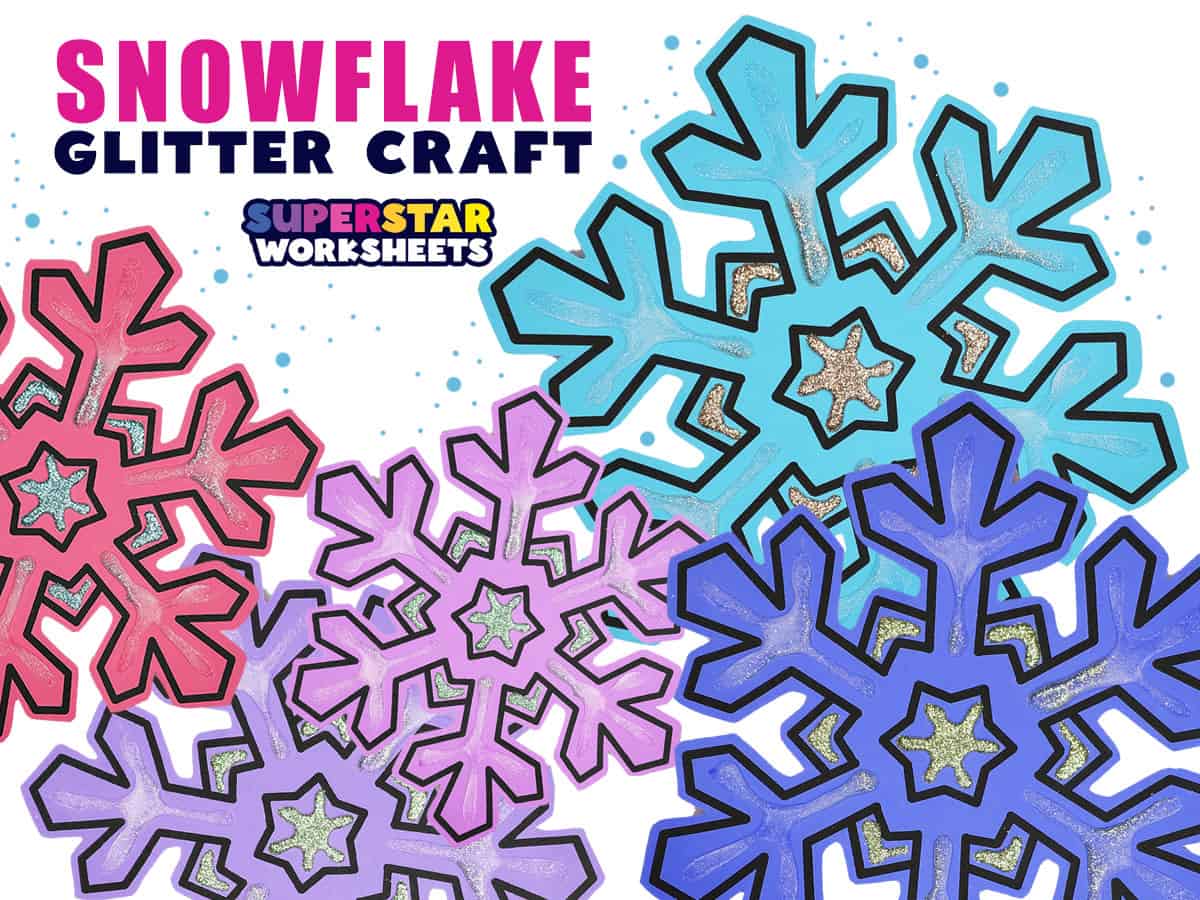
If you’re looking to add a little sparkle to your classroom this winter break, try these simple and quick glitter snowflake crafts. This project uses just the right amount of glitter and provides your students the opportunity to get creative with simple materials you already have on hand.
Snowflake Art Project
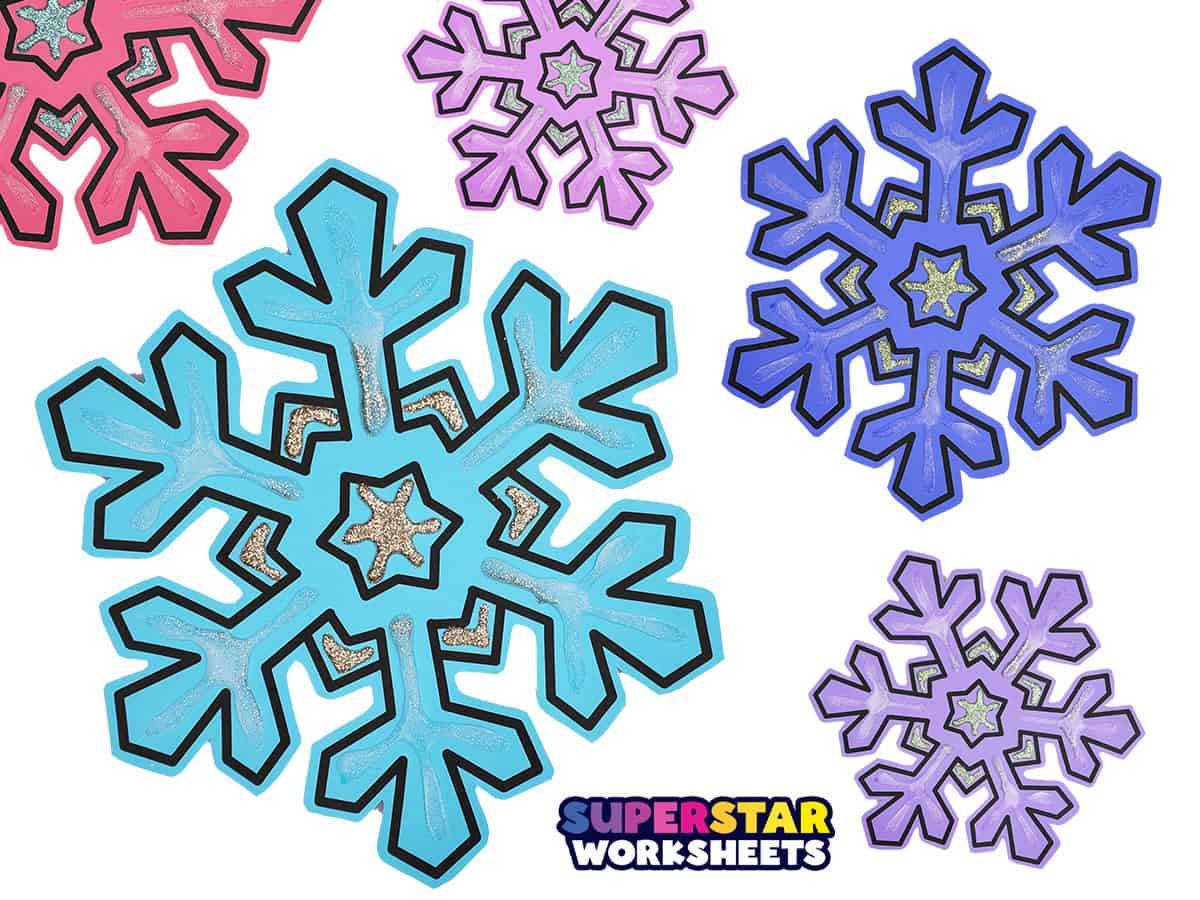
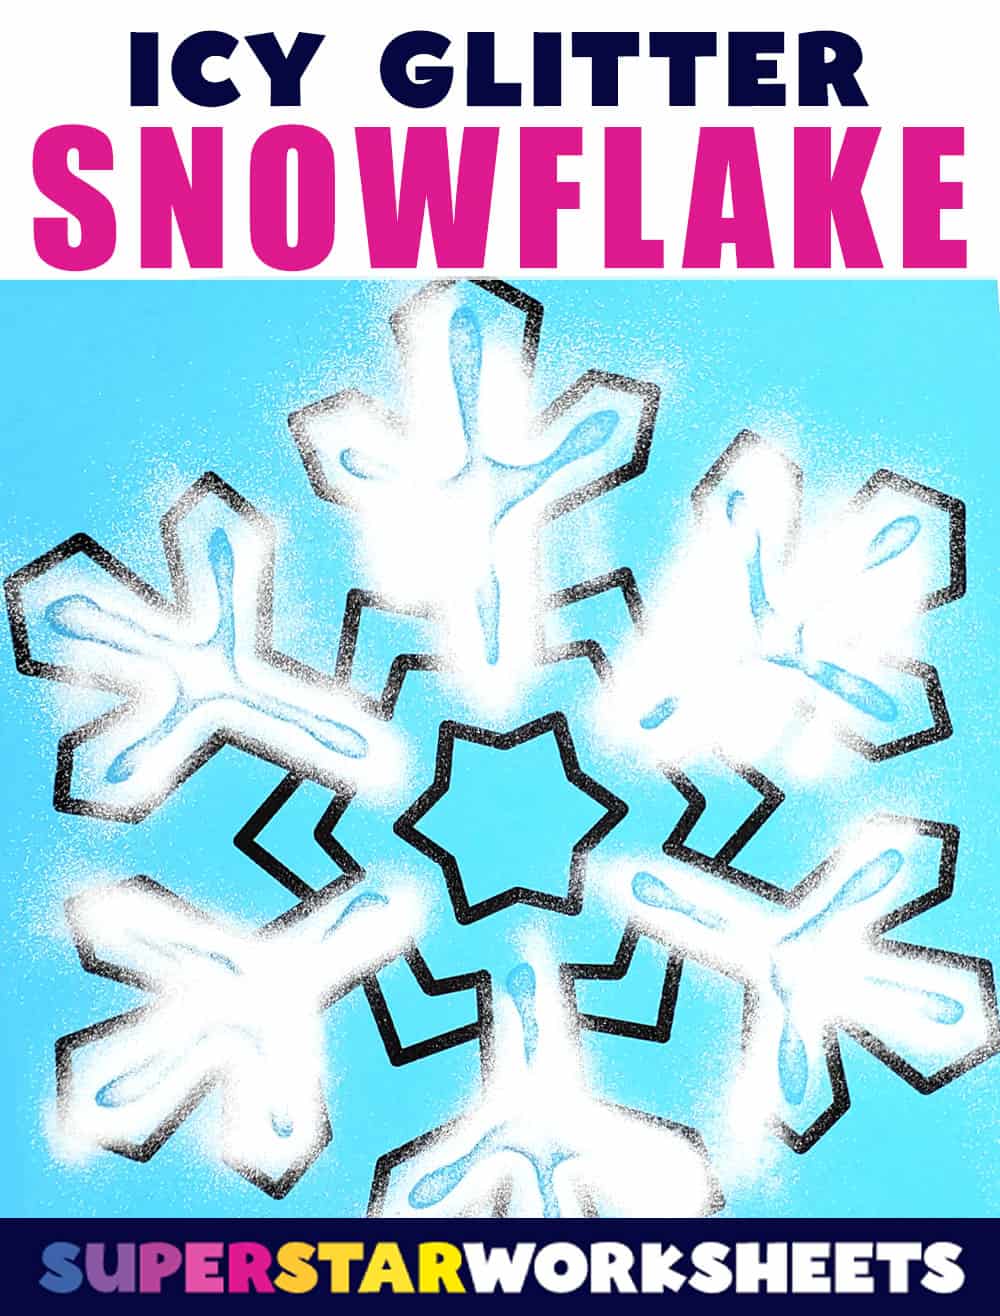
These stunning snowflakes are great for classroom decorations. Print a variety for your bulletin board, or your classroom door decorations. Once your students add their unique glitter designs, you can pin their colorful creations all over the room. Your students will love to see their hard work on display all season long.
Glitter Snowflake Craft Tutorial
You’ll love how easy this project is, and your students will love the results. Here are some concepts to keep in mind and to point out as you teach and instruct your students.
- Following a Pattern
- Symmetrical Design
- Building Grip Strength & Control
- Embossing
- Fine Motor Scissor Skills
Glitter Snowflake Craft Materials:
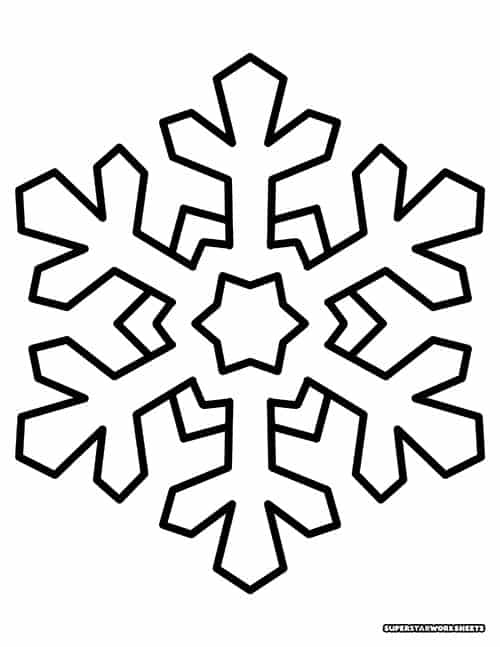
While this project can be done with any of our free printable snowflake templates, the specific one above has nice thick lines and roomy sections for students to practice small motor control. Additionally, you’ll want to have a variety of colorful papers to print each snowflake template.
Here is a list of materials you’ll want to have on hand for your students.
- Snowflake Template
- Glue Bottle
- White Glitter
- Gold Glitter
- Optional: Glitter Glue
How to Make your Own Glitter Glue
If you’d like to minimize the glitter in your classroom, you can use glitter glue. In fact, you can make your own glitter glue at home. In case you’re wondering how to make glitter glue at home the recipe is super simple! Just mix two parts glue and one part glitter…or more if you like.
Glitter Snowflake Craft Instructions:
- The first step to make these glitter snowflakes is to print out a snowflake template and cut it out. While you can apply the glitter first as seen in the photo above, it made it much more difficult to cut out once the heavy glitter was applied. If we had to do it over, we’d cut it out first.
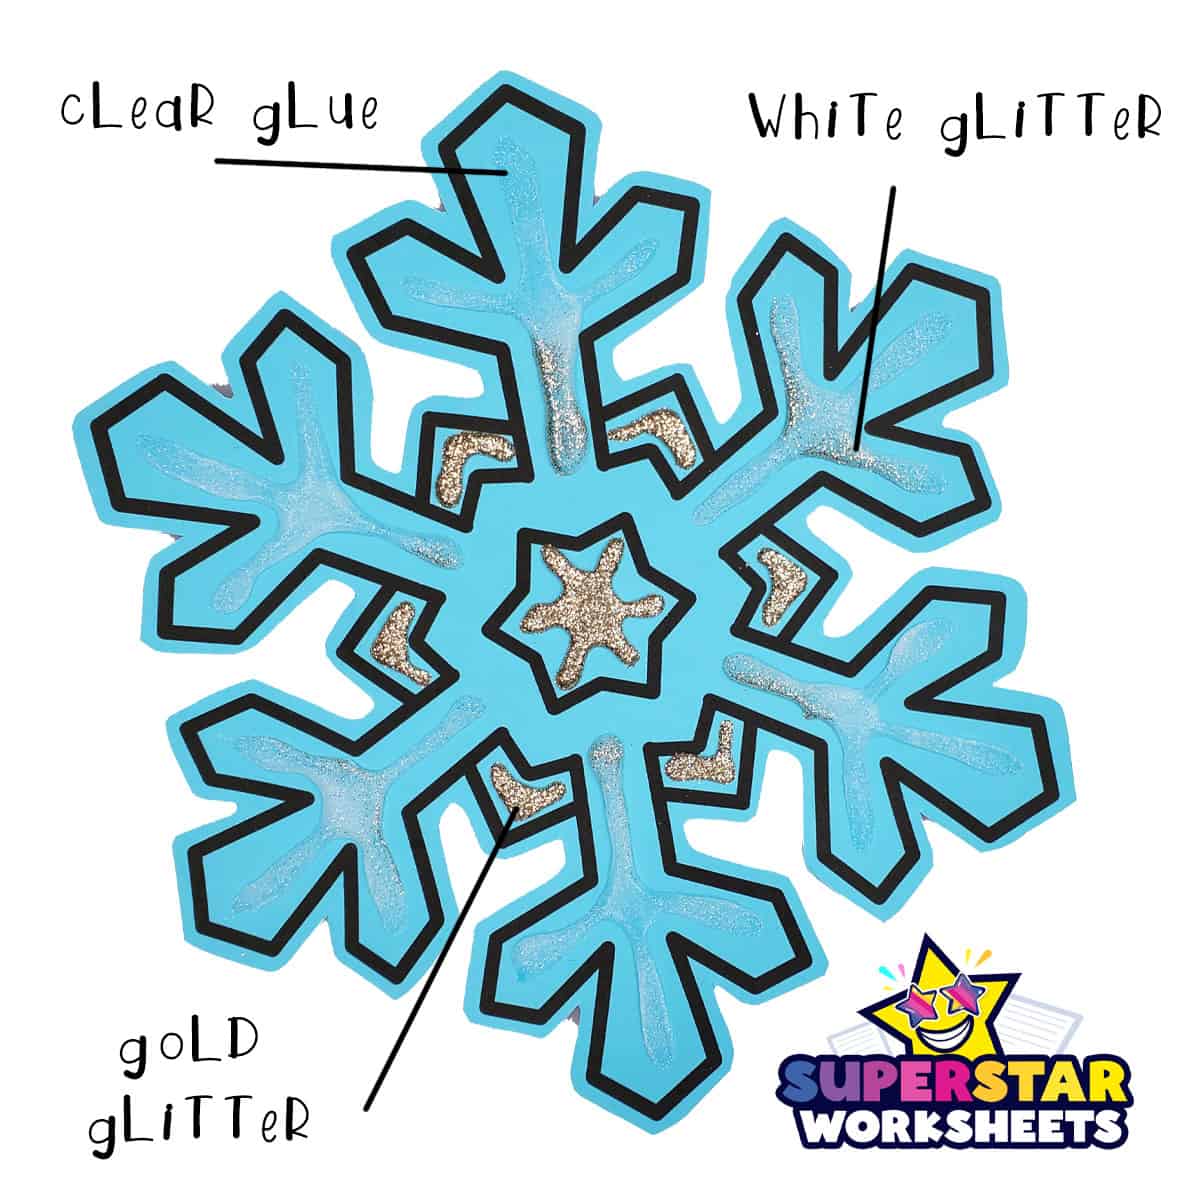
- Each student will need a glue bottle they can gently squeeze and trace inside the snowflake pattern.
- Once the glue is laid in lines, cover the glue with the glitter. Shake off the excess to a paper plate and return the extra glitter to the bottle.
- Repeat with multiple colors of glitter. In the example above, we’ve used white glitter on the edges of the snowflakes and gold glitter in the center. You can play around with blending colors of glitter to make some amazing designs. Be sure to provide your students with a variety of snowflake templates and designs.
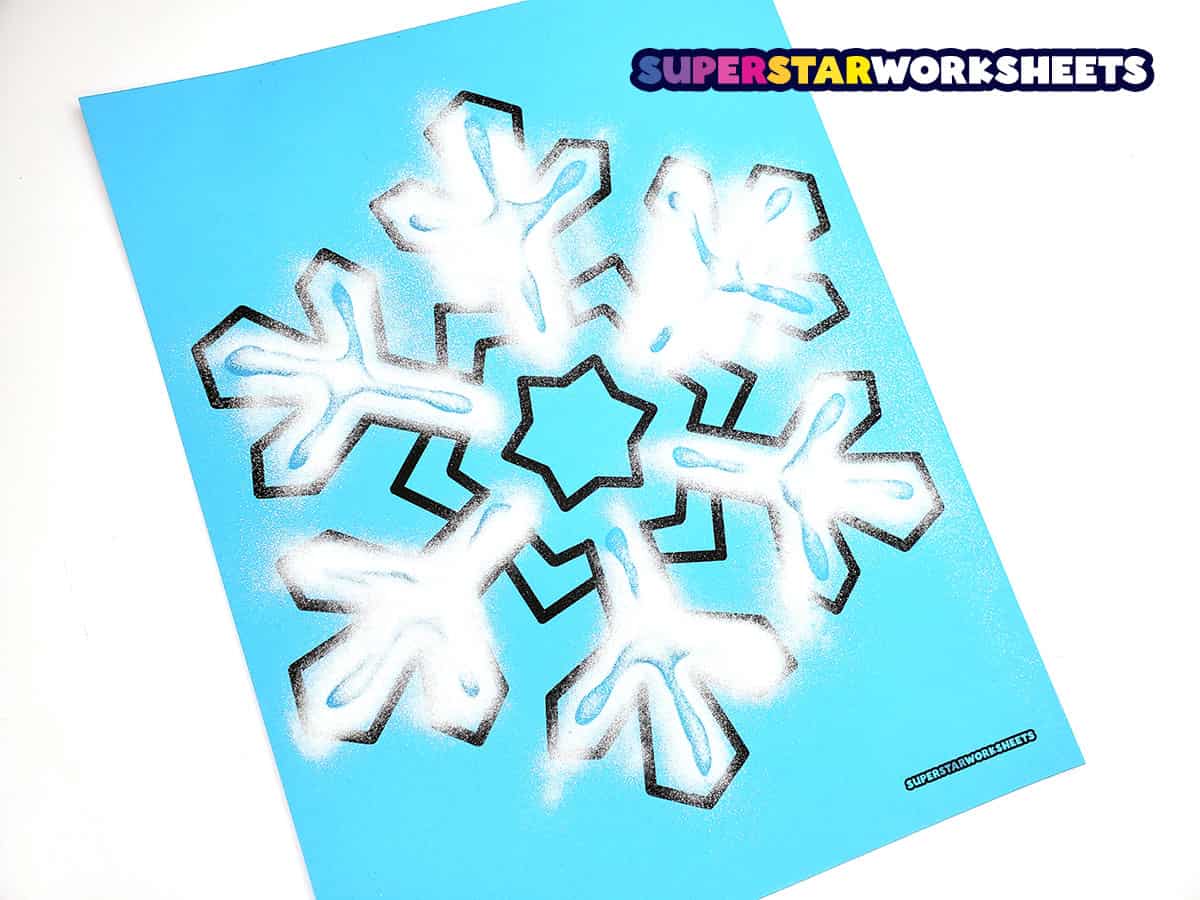
Try this fun Watercolor Snowflake Craft next!
Leave a Reply