

Are you looking for beautiful butterflies to color? We’ve created an easy butterfly craft or art project you can use for all ages! This simple butterfly coloring page craft takes very little prep and the results are always stunning. This butterfly art project is just right for preschool, elementary, teens, or adults and you’ll love how easy it is to prep! Simply print our free printable butterfly template and provide your students with your favorite colored markers to get started today.
Beautiful Butterflies Coloring Tutorial
This art project might seem simple, but there are plenty of opportunities to teach and learn key art standards. Just look at all the learning opportunities within those beautiful butterfly wings! Here are some concepts to keep in mind and to point out as you teach and instruct your students.
- Color Blending
- Value & Hue
- Saturation
- Warm & Cool Colors
- Butterfly Anatomy
Simple Coloring Pages of Butterflies
While we have a ton of free butterfly coloring pages available, we’ve designed this simple coloring template to include extra thick lines. This makes it super simple for young students to find success coloring in the lines. In fact, older students, and adults will soon find themselves coloring along too. Just be sure to print up enough butterfly templates to go around. We based this design on a monarch butterfly, but it’s definitely an artistic representation. This is sure to be a hit in your classroom so have enough for students to take home as well.
Butterfly Coloring Craft Materials
Here is a list of materials you’ll want to have on hand for your students:
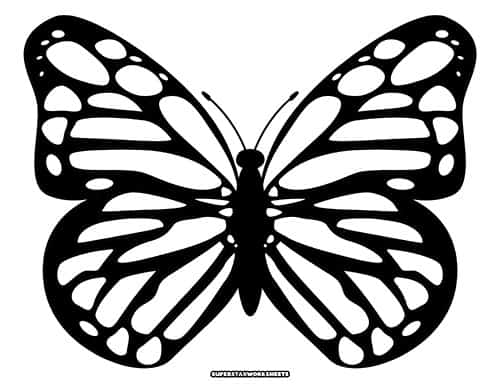
- Butterfly Template
- Brightly Colored Water-Based Markers (Kid-Friendly Washable)
- Brightly Colored Alcohol Markers (Adults)
Butterfly Coloring Ideas:
We are sure the unique butterfly template will inspire your artists to color each section carefully. However, if you are looking for quick ideas to help spur their imagination, here are a few:
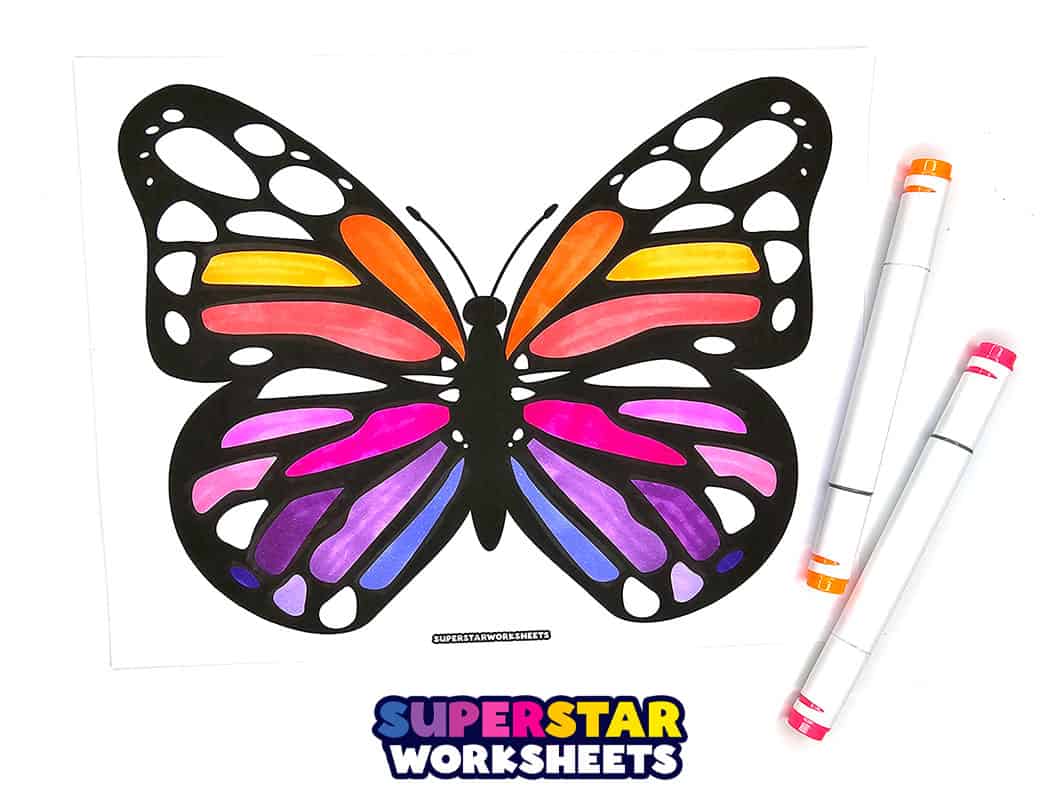
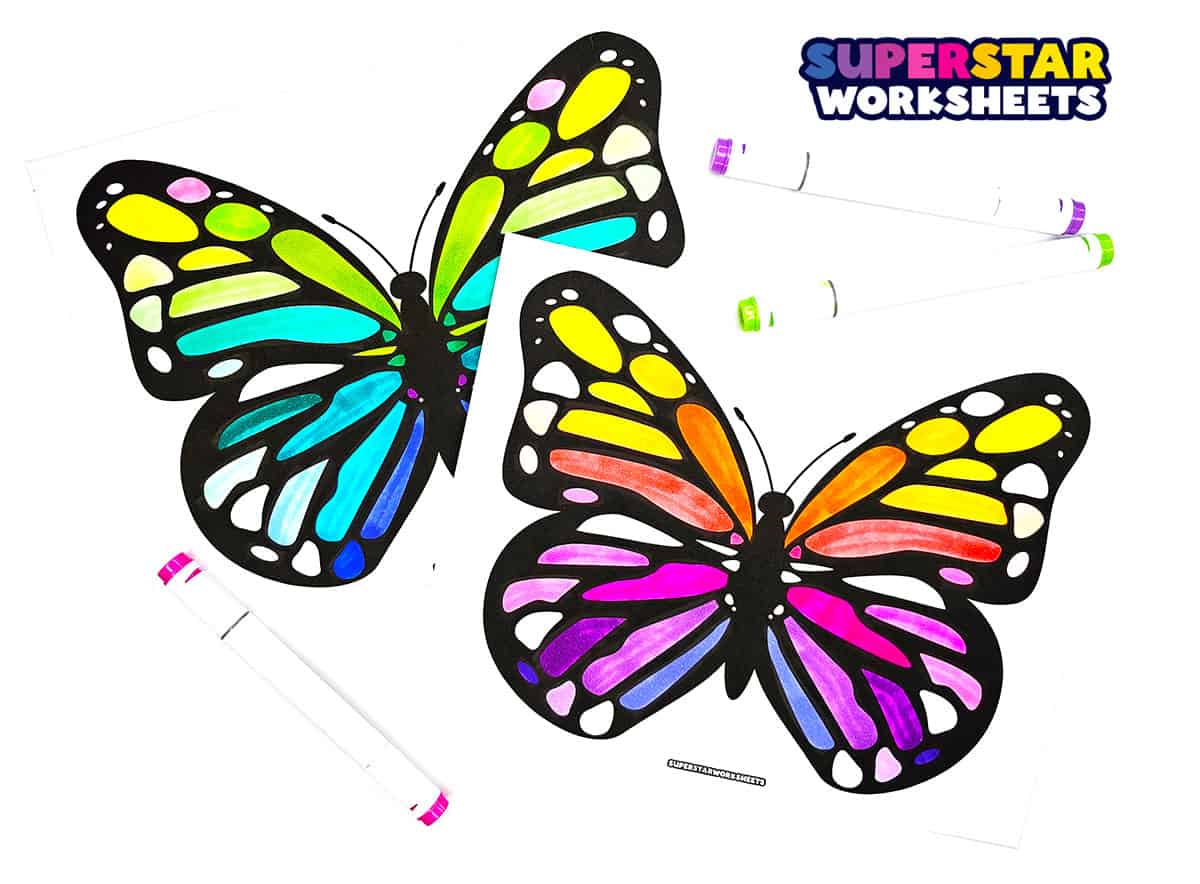
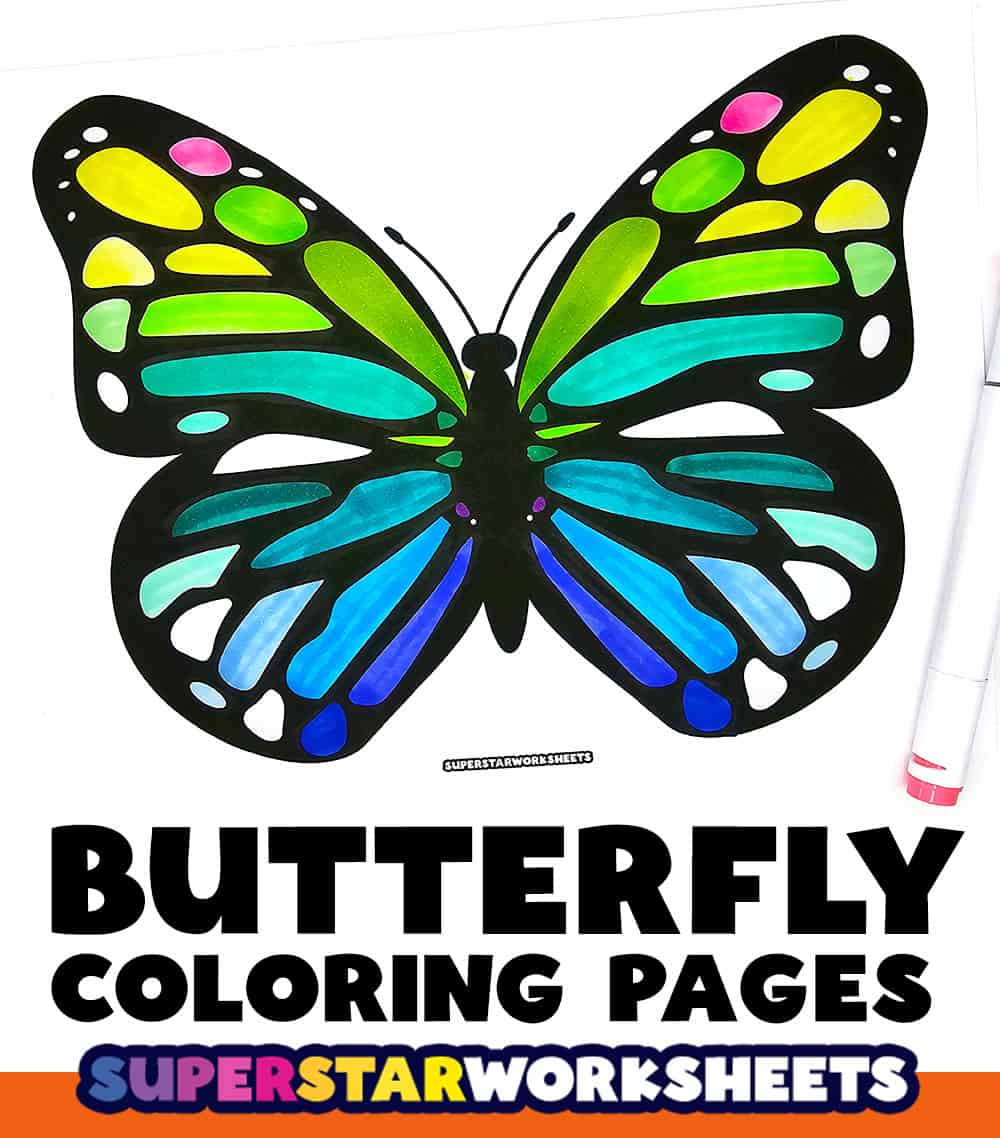
Create a rainbow butterfly! Color in varying hues as seen in the photos above, move from warm colors on the forewings (top wings) and cool colors on the hindwings (bottom wings). This creates a beautiful rainbow- colored butterfly that is sure to delight. Encourage your students to practice testing their colors on a second sheet of paper, and to line up their markers in the order they want to use them. Provide a few examples showing how the lighter colors create a more transparent look. Learn more about the parts of a butterfly with our free butterfly worksheets.
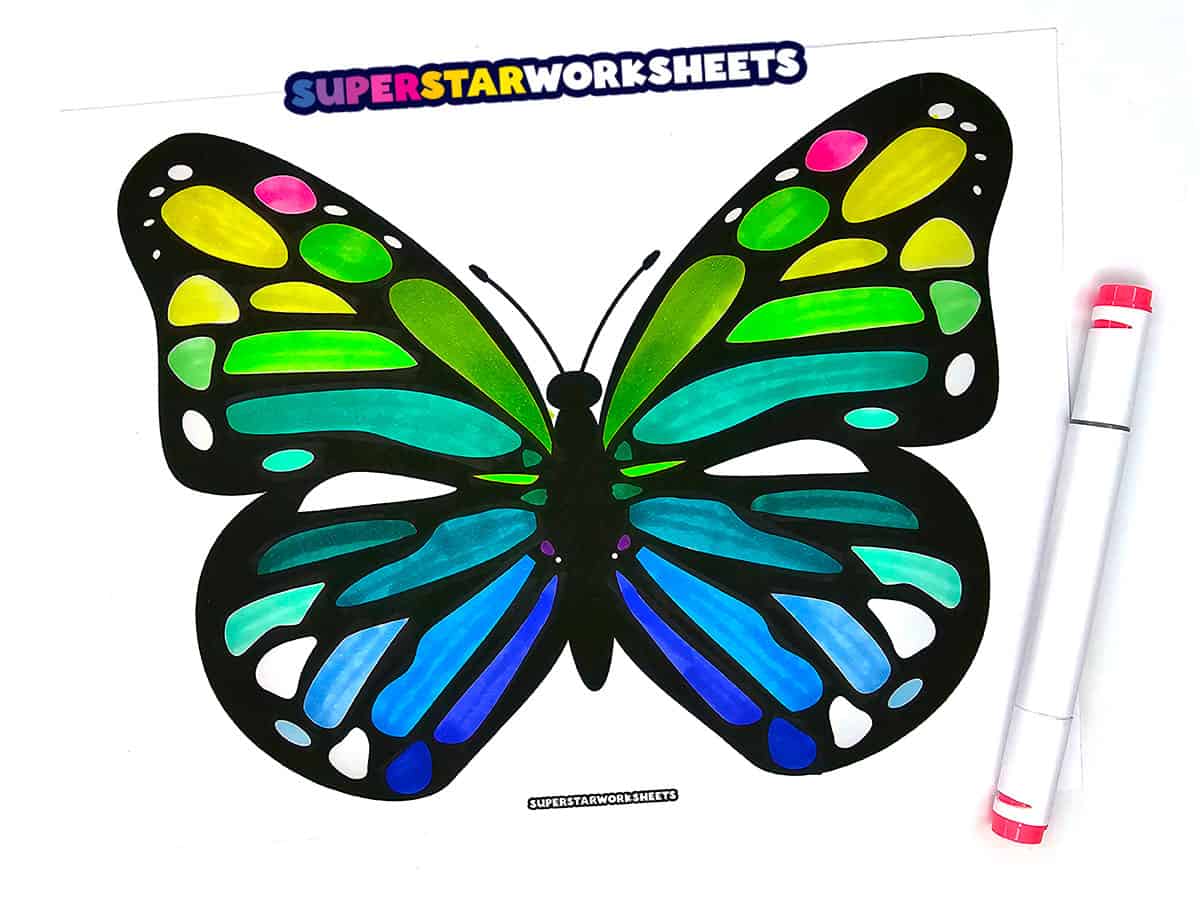
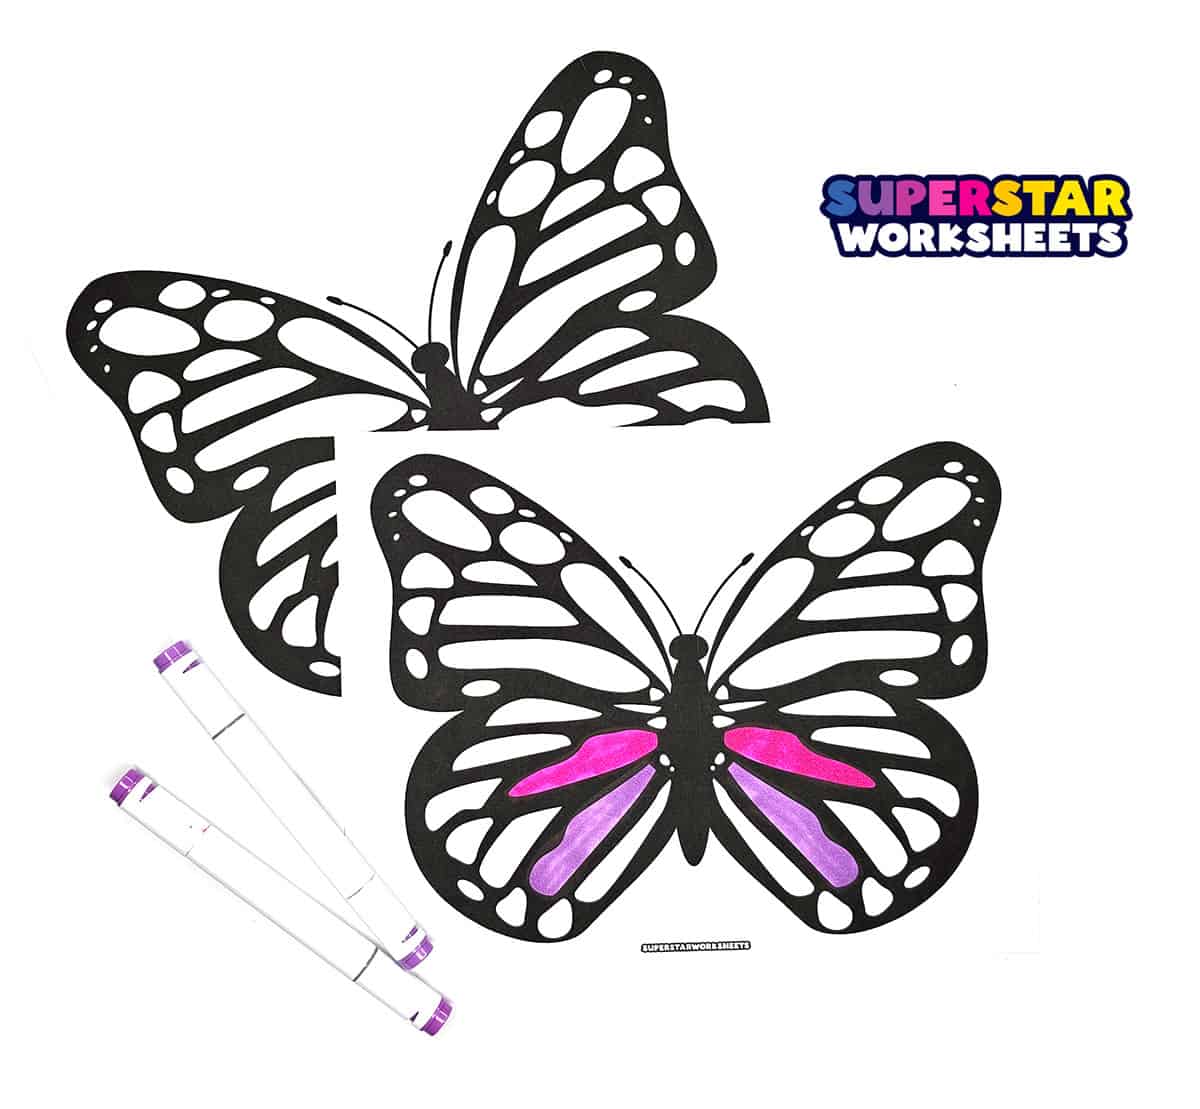
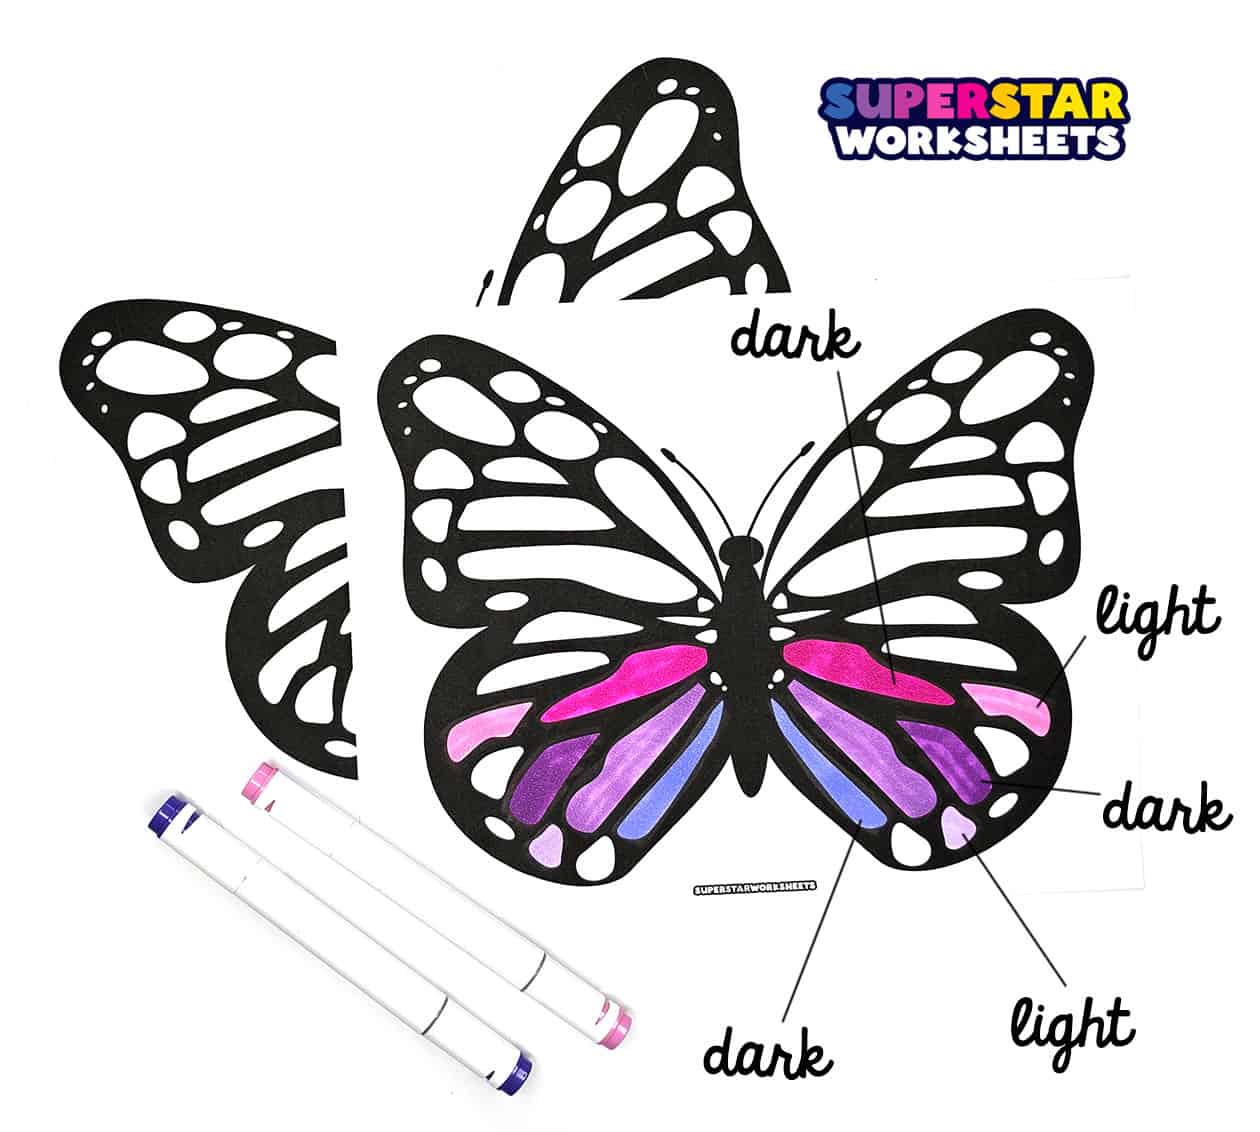
Along the same concept, and as seen in the photo below, you can choose only two adjacent colors on the color wheel and color in sections based on light and dark hues. This only works if you have many differently-hued markers for each main color. Note that this variation looks amazing with a contrasting color pop (like the pink in the photo below) Also note the use of white space to help the other colors pop. In both examples above we’ve left some sections of the wings white. This gives a wonderful contrast that helps convey the transparency of the wings. You could even use a white gel pen to create details on the butterfly’s body, or to add more white dots around the wings.
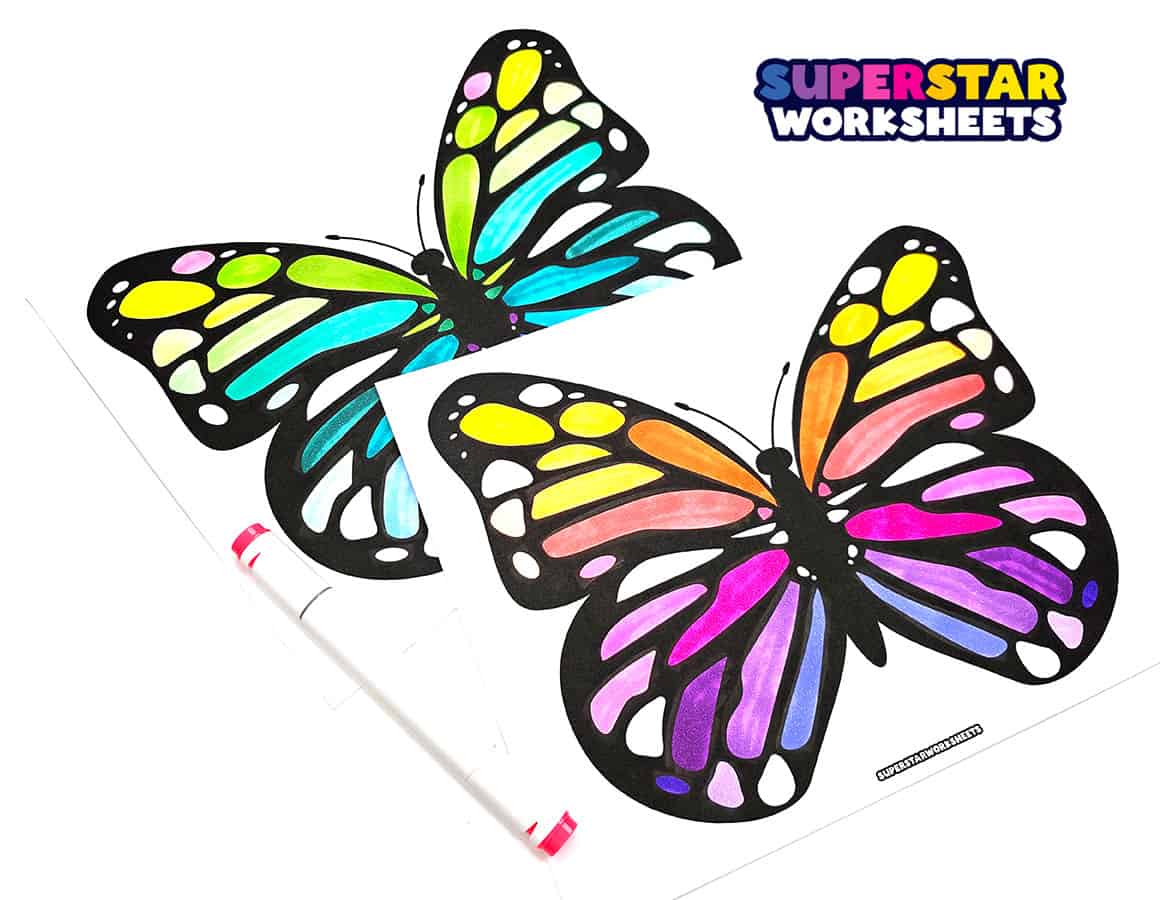
However your students decide to color in their butterflies, they are sure to come up with some beautiful colorations that will build confidence in their artistic ability. You can print 20 more free butterfly templates for your students to color here. Send a few butterflies home with them to share with friends and family. Adjust your printer settings to print them out smaller for Mother’s Day cards, the possibilities are endless and we’re sure you’re going to make amazing things with your students.
How to display Butterfly Art Projects:
There are many different ways you can display your students’ hard work. Here are few fun ideas that will brighten up your classroom this spring.
- Use a fishing line to hang the butterflies from the ceiling. Imagine how excited your students will be to walk into the classroom with a sky full of flying butterflies above their heads. This might work best if your butterflies are downloaded and printed on cardstock paper.
- Fold the wings inward and staple the butterfly bodies to the bulletin board. Adjust the wing to give a 3-D look to the board. (This looks especially beautiful if you created butterflies in various sizes.)
- Cut out the butterflies and tape them to a bright window. When the sunlight streams through, it will look like beautiful stained glass butterflies. TIP: Take a cotton swap that has been lightly dipped in vegetable oil and lightly spread it across the back of a butterfly that has been colored. Allow to dry overnight. In the morning, the paper will have a more transparent quality for a stronger stained glass look.
Comment (1)
Thank you; these look amazing.